Ikea Wall Shelves: How to Hang Shelves in 3 Easy Steps
Stepping foot into IKEA is altogether overwhelming, so I thought I’d at least make hanging those IKEA wall shelves you bought a little easier.
Hanging shelves isn’t as simple as it seems, especially if you’re hanging several of them.
The thing you’ll spend the most time on is measuring. You need to make sure everything is straight, aligned, and properly distanced.
I honestly thought it would be a walk in the park. I guesstimated 20 mins at most.
It took two hours.
What you’ll need
- Anchors
- Wood screws
- Drywall screws
- Hammer
- Electric drill
- Screwdriver
- Measuring tape
- Pencil
- Stud finder & level
Steps on how to hang IKEA wall shelves
Step 1: Measure everything
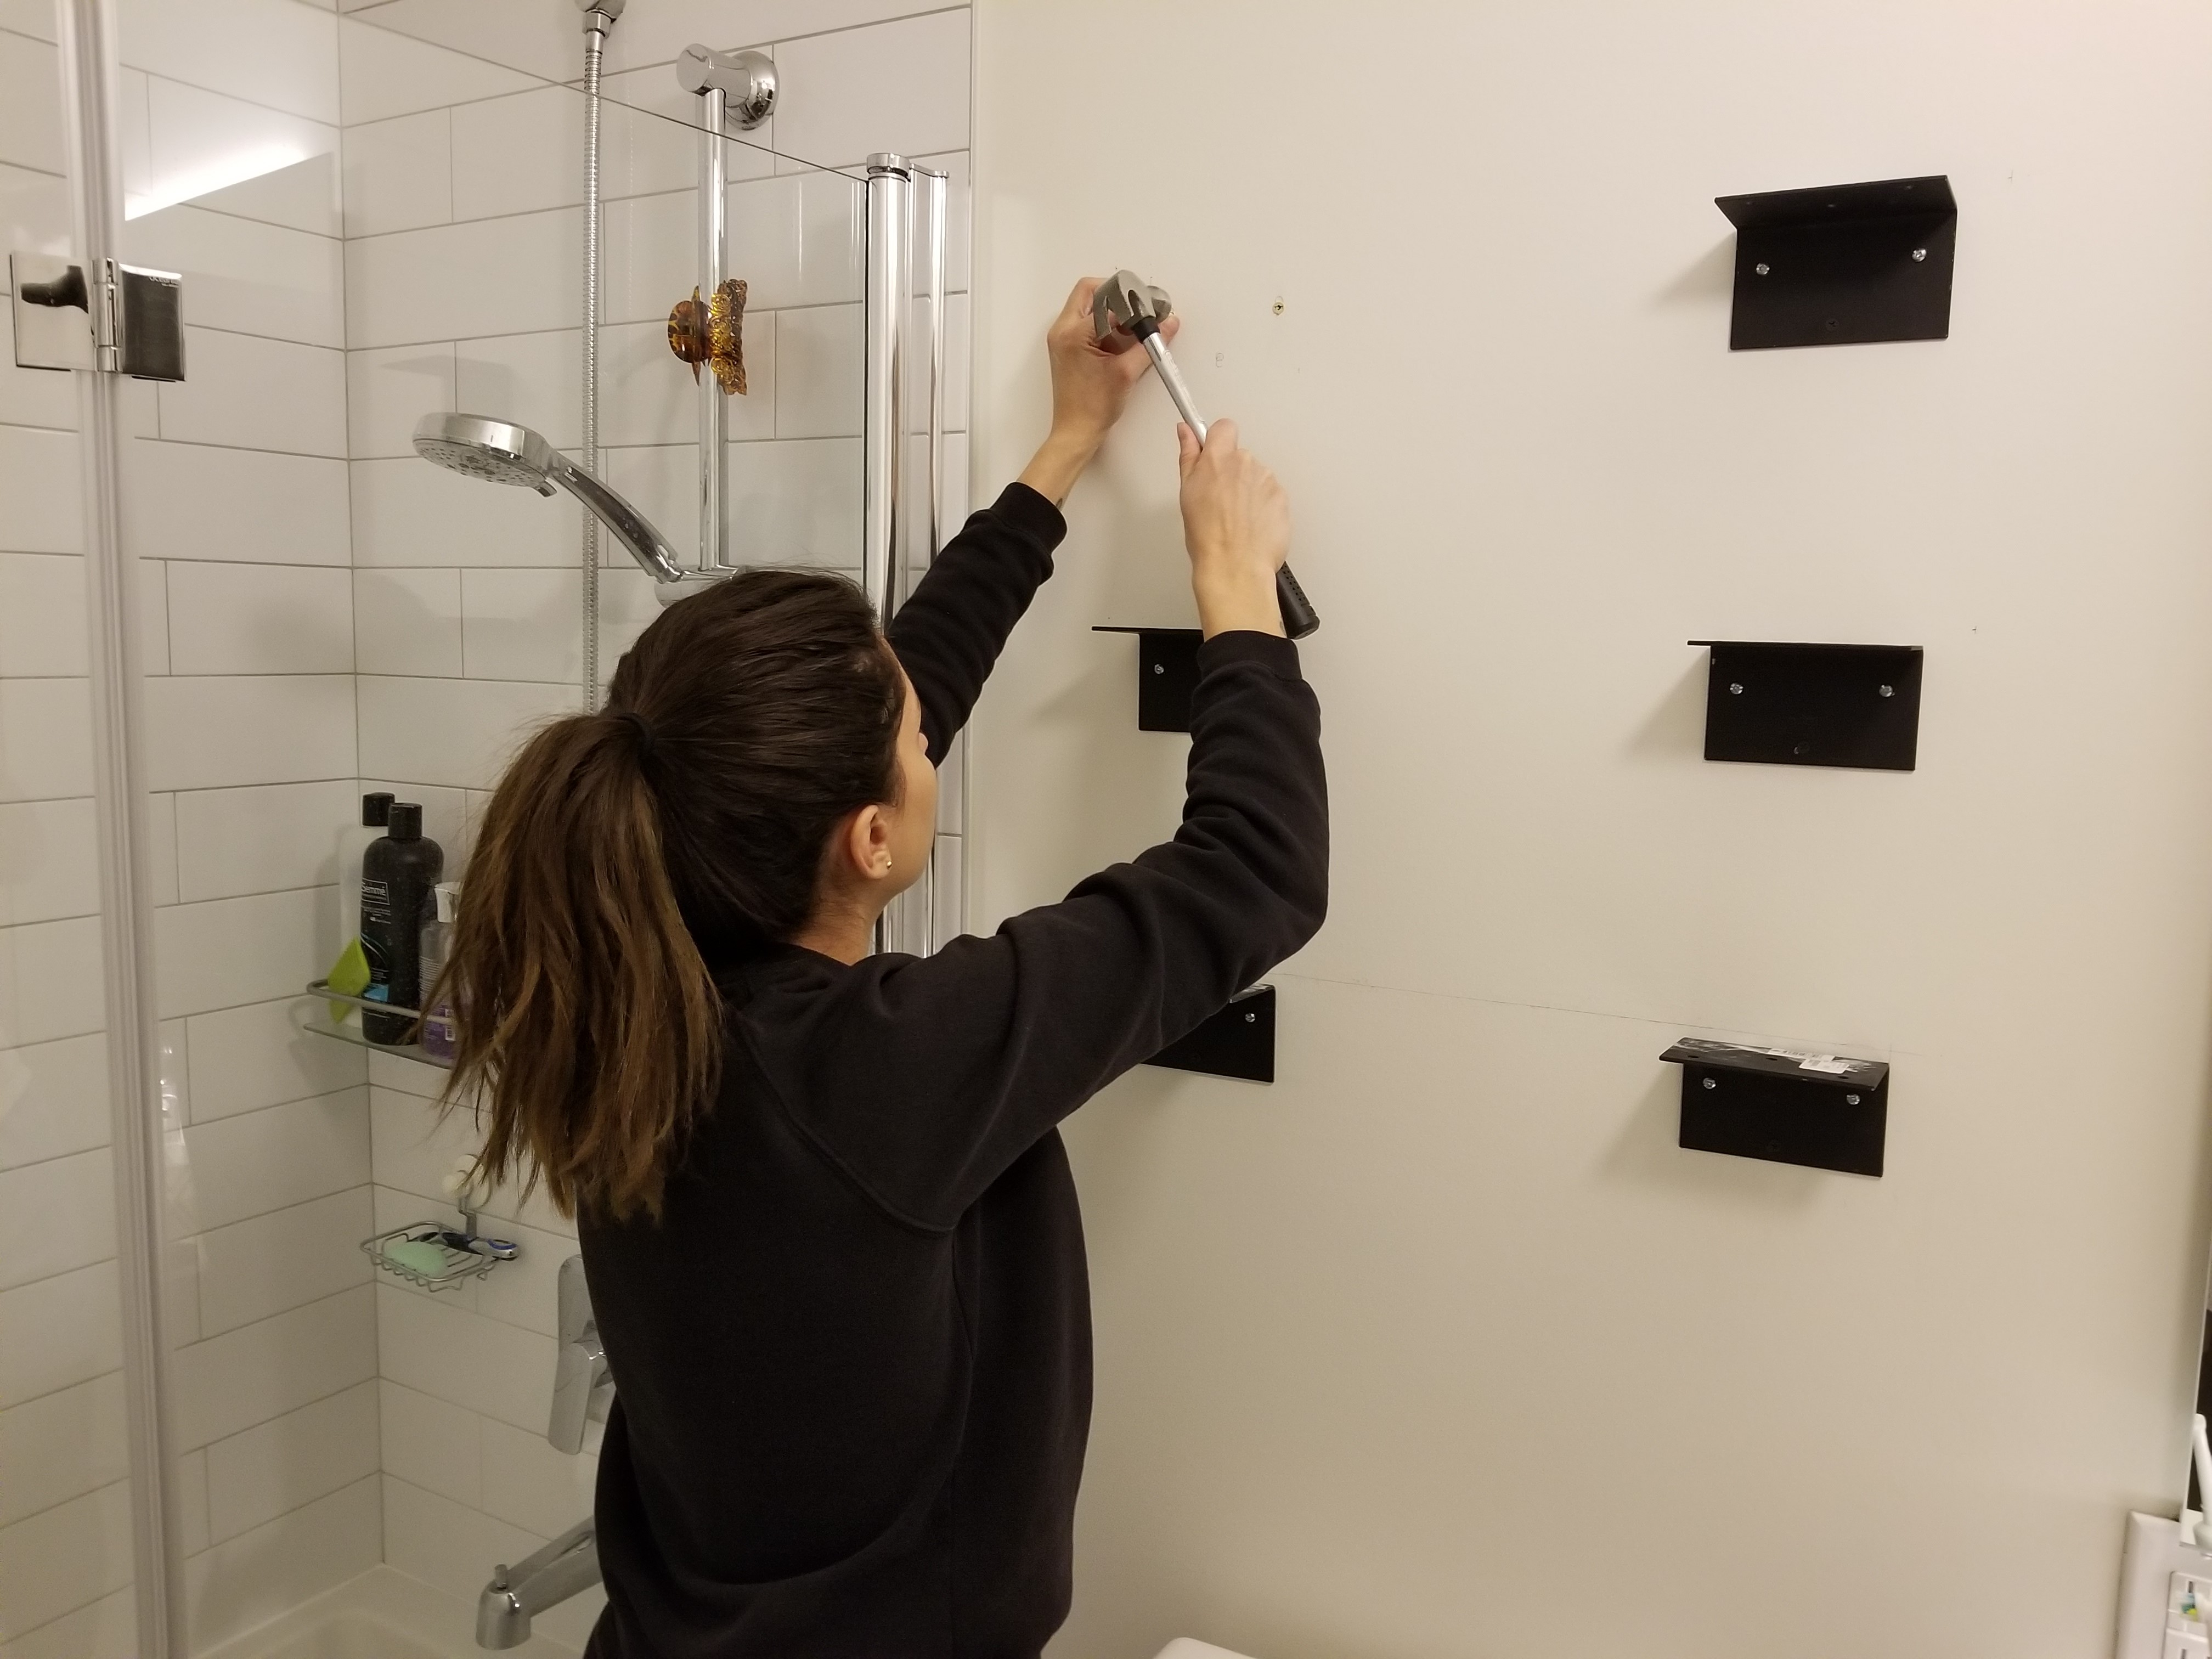
I hung my shelves above the toilet, so I made sure to align the center of the shelves with the center of the toilet tank. It helps that my husband held the shelves up while I scribbled measurements and lines on the wall.

I marked where the brackets would go and where the IKEA wall shelves start and finish. I then calculated the distance between each of the 3 shelves to make sure they were equidistant.
Do not be afraid to use your level every step of the way. You seriously don’t want to end up with crooked shelves.
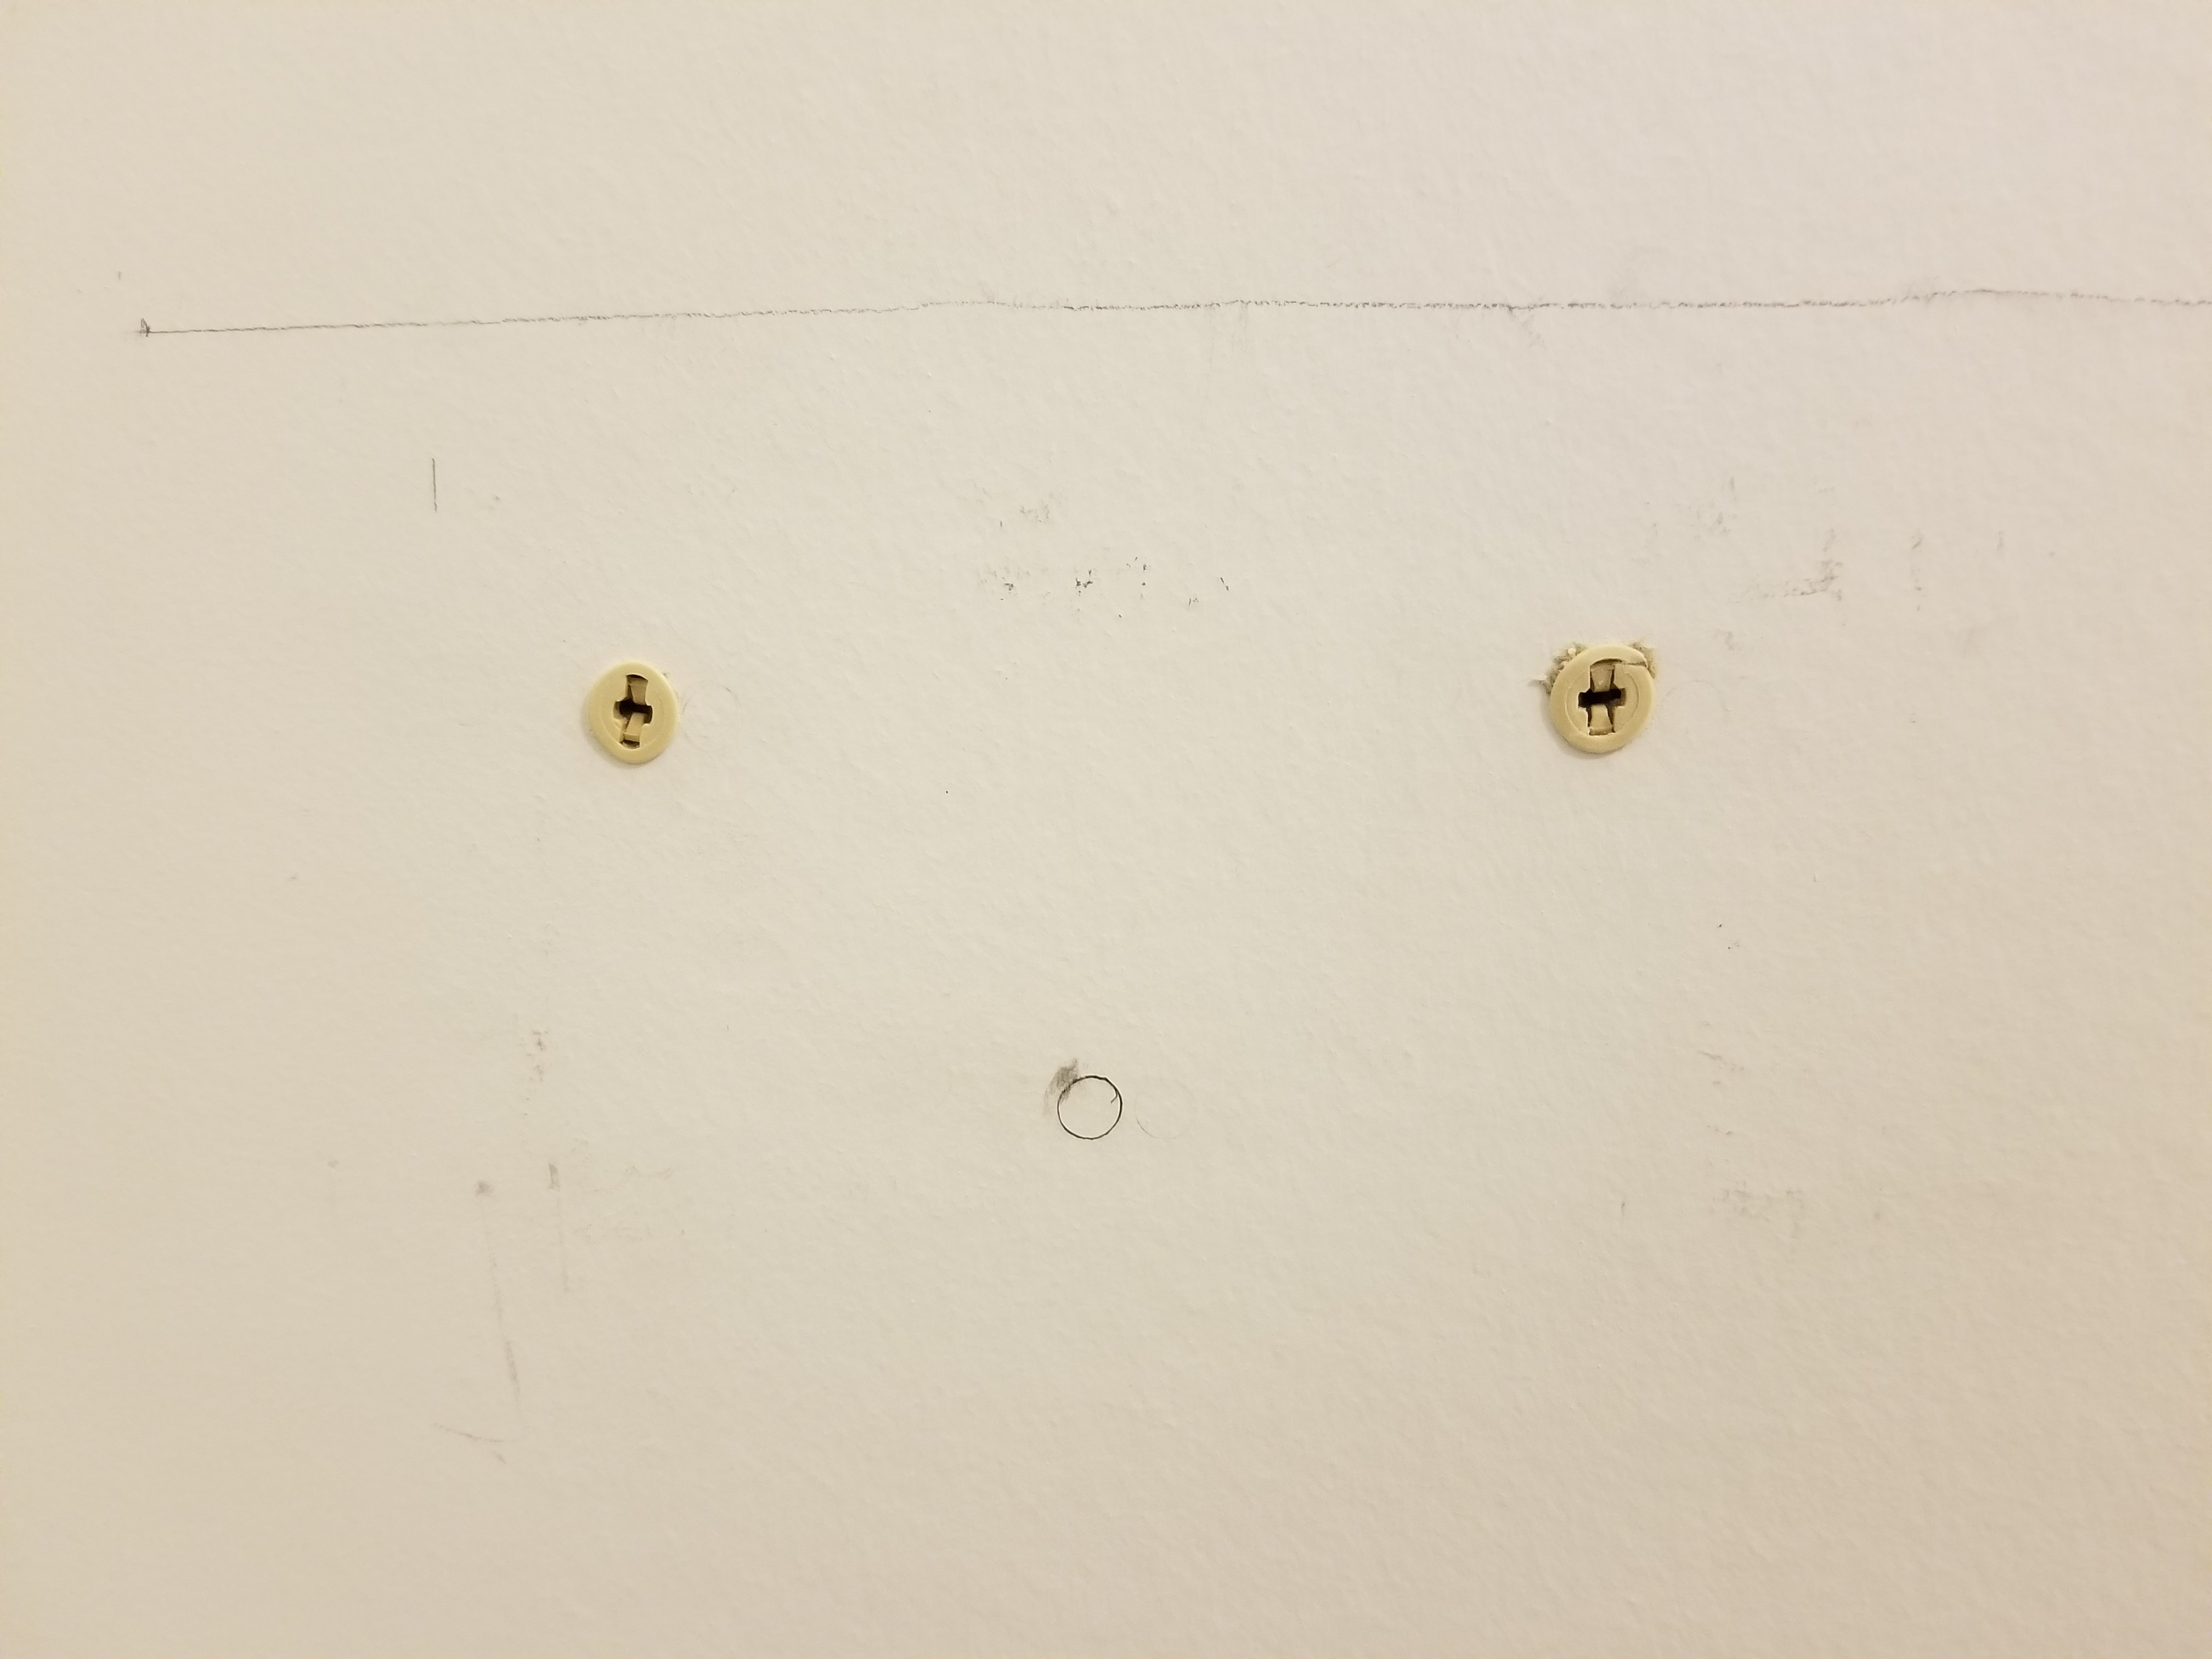
Once you’ve double and triple checked your measurements, it’s time to drill.
Step 2: Install the brackets
If you’re lucky enough to have studs perfectly aligned with where your brackets are going to be hung, then don’t even bother with the anchors. You can drill directly into the drywall with the drywall screws.
If you’re unlucky like me, you’ve got to use anchors. Buy a box of anchors with the matching screws to make things easier.
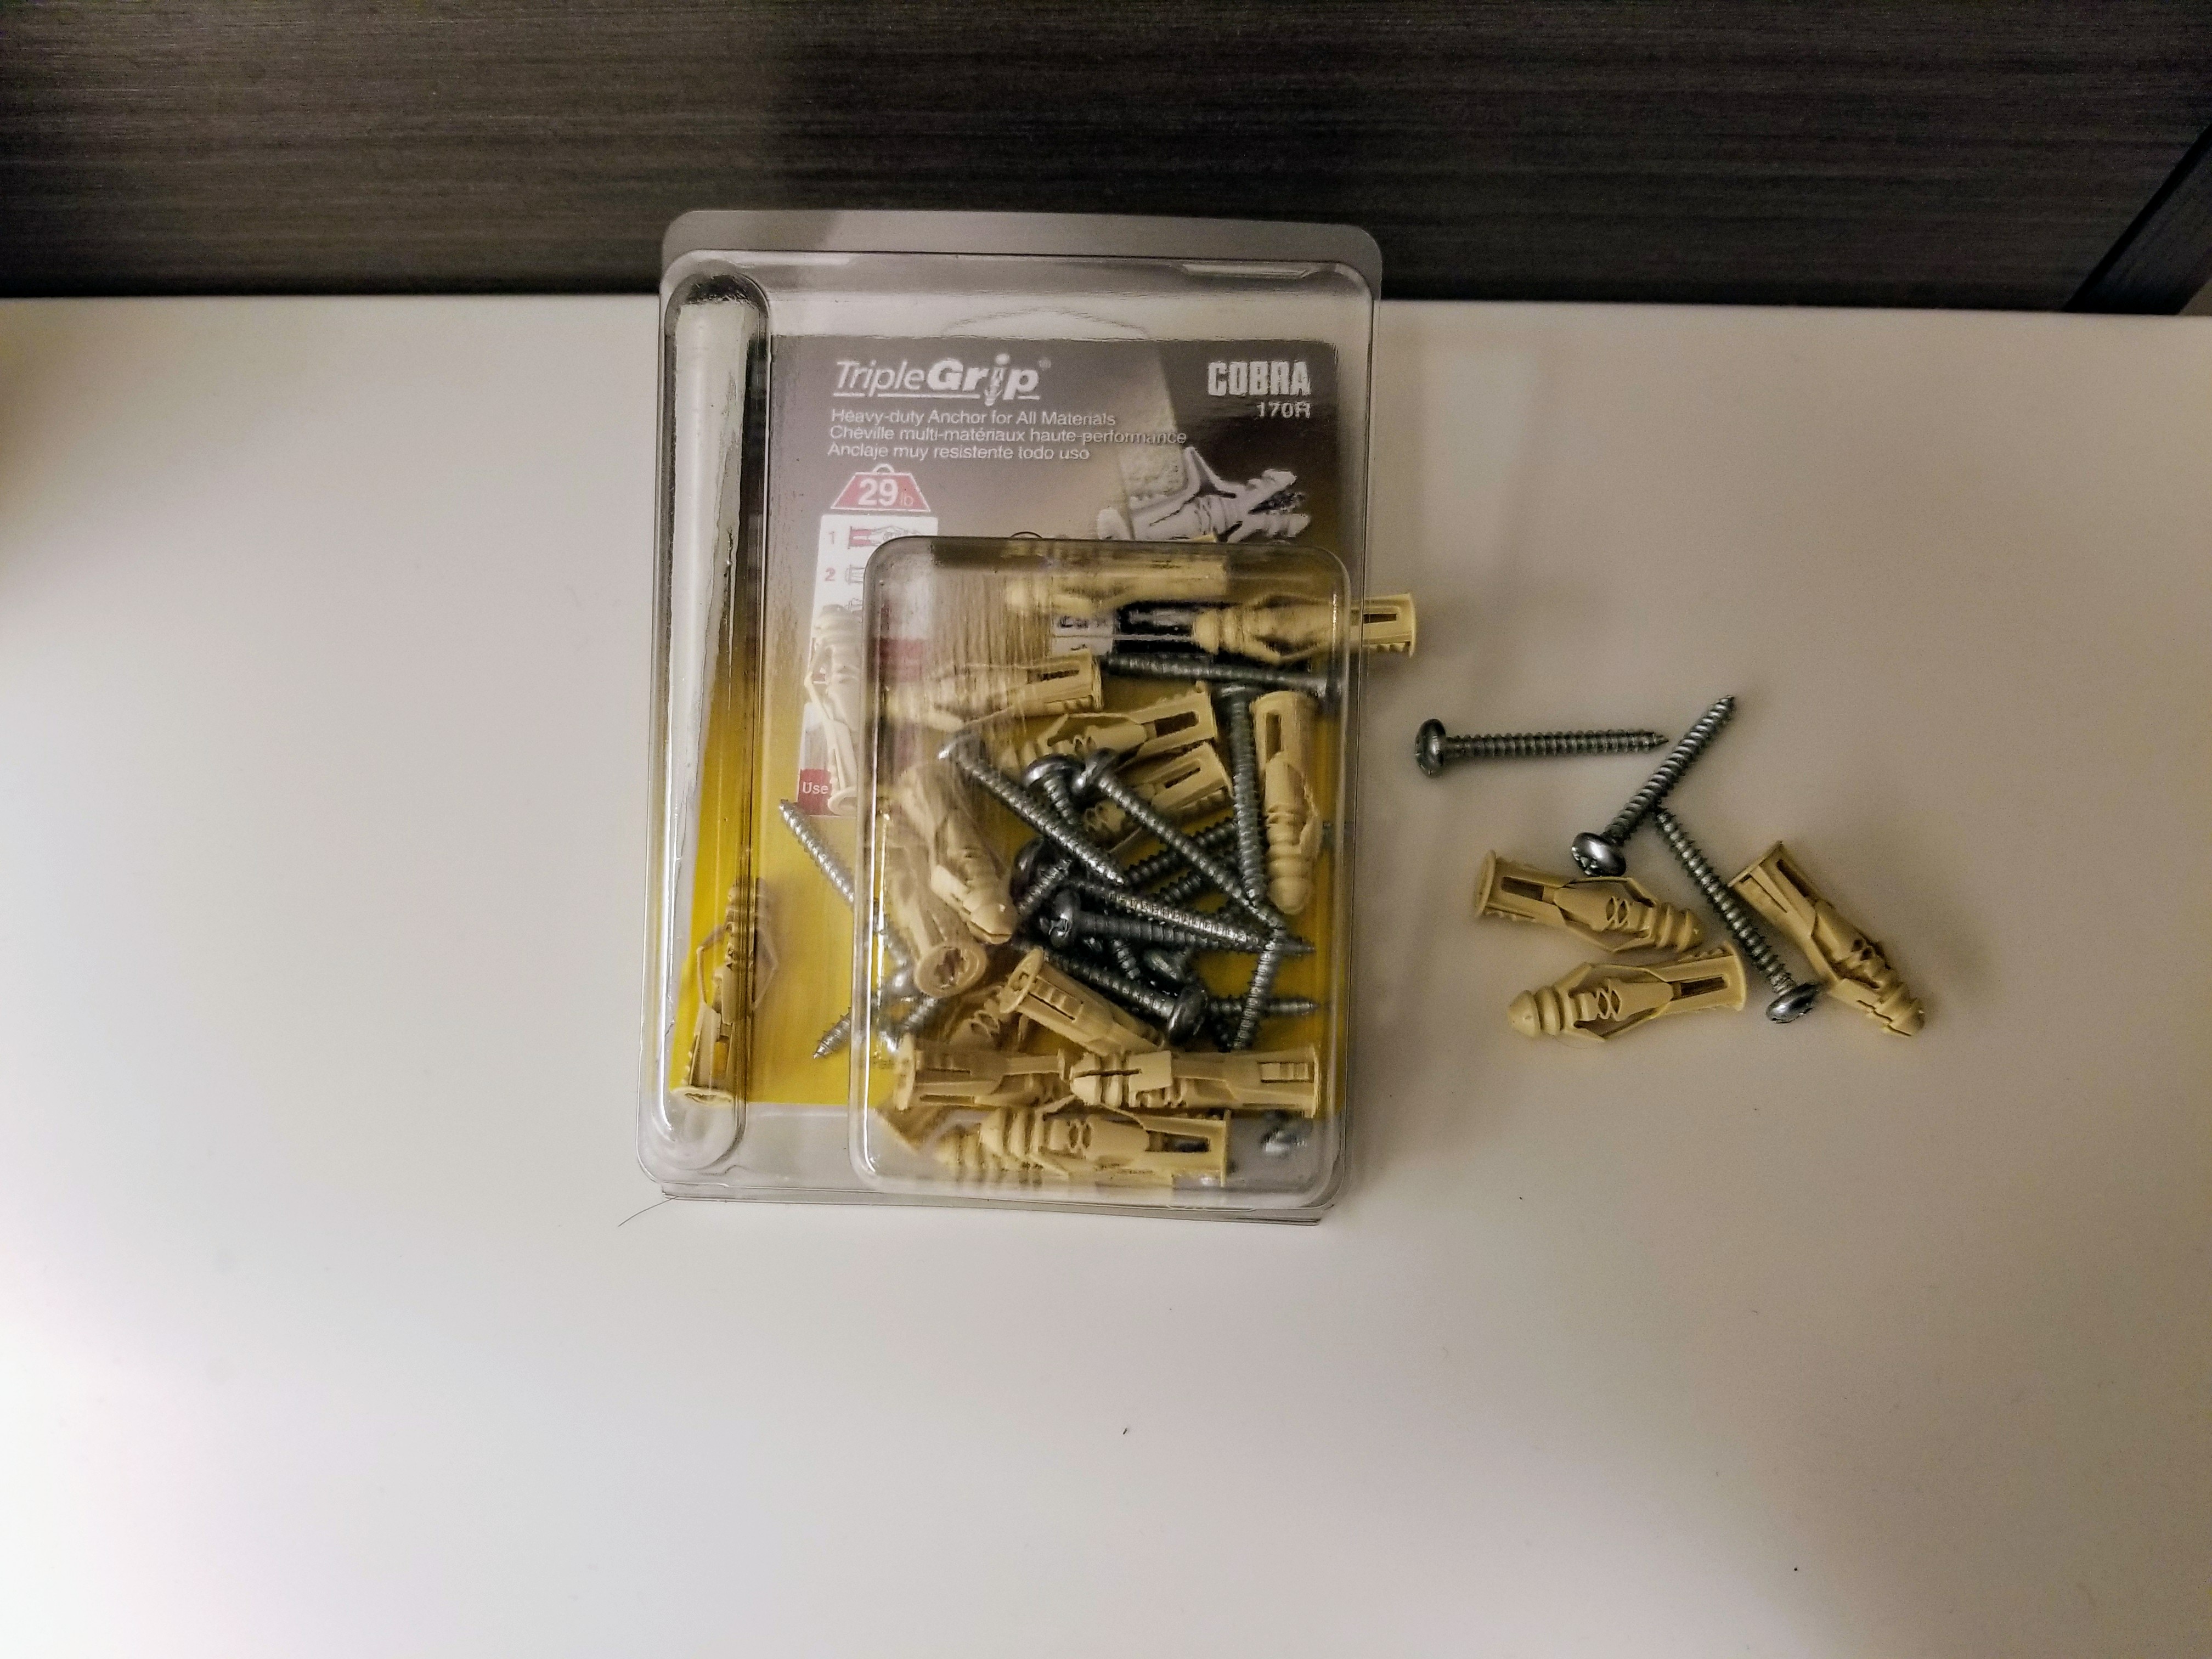
We had to drill pilot holes, hammer the anchors in, and then use a screwdriver to screw in the brackets. We installed 2 anchors per bracket and 1 regular drywall screw for extra grip.
If you have trouble choosing the right anchor, this detailed guide might help.
Step 3: Drill in the IKEA wall shelves
Now that all the hard work is done, it’s time to drill the brackets into the wooden shelves.
Make sure the wood screws you buy are the right size for your shelves.
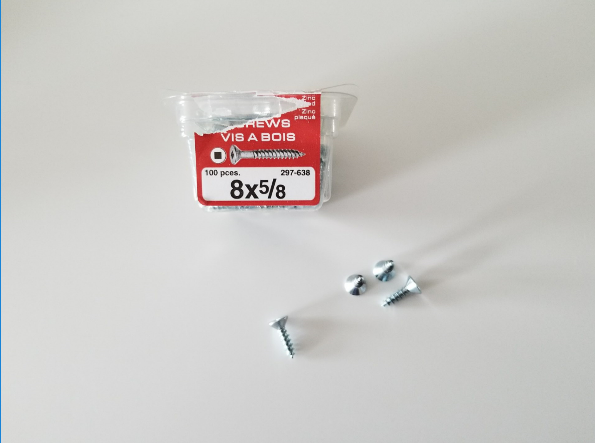
The IKEA wall shelves we bought were ¾ inch thick, so we got screws that were 8 5/8”. The “8” represents the thickness of the screw/screw head, and the “5/8” represents the length of the screw.
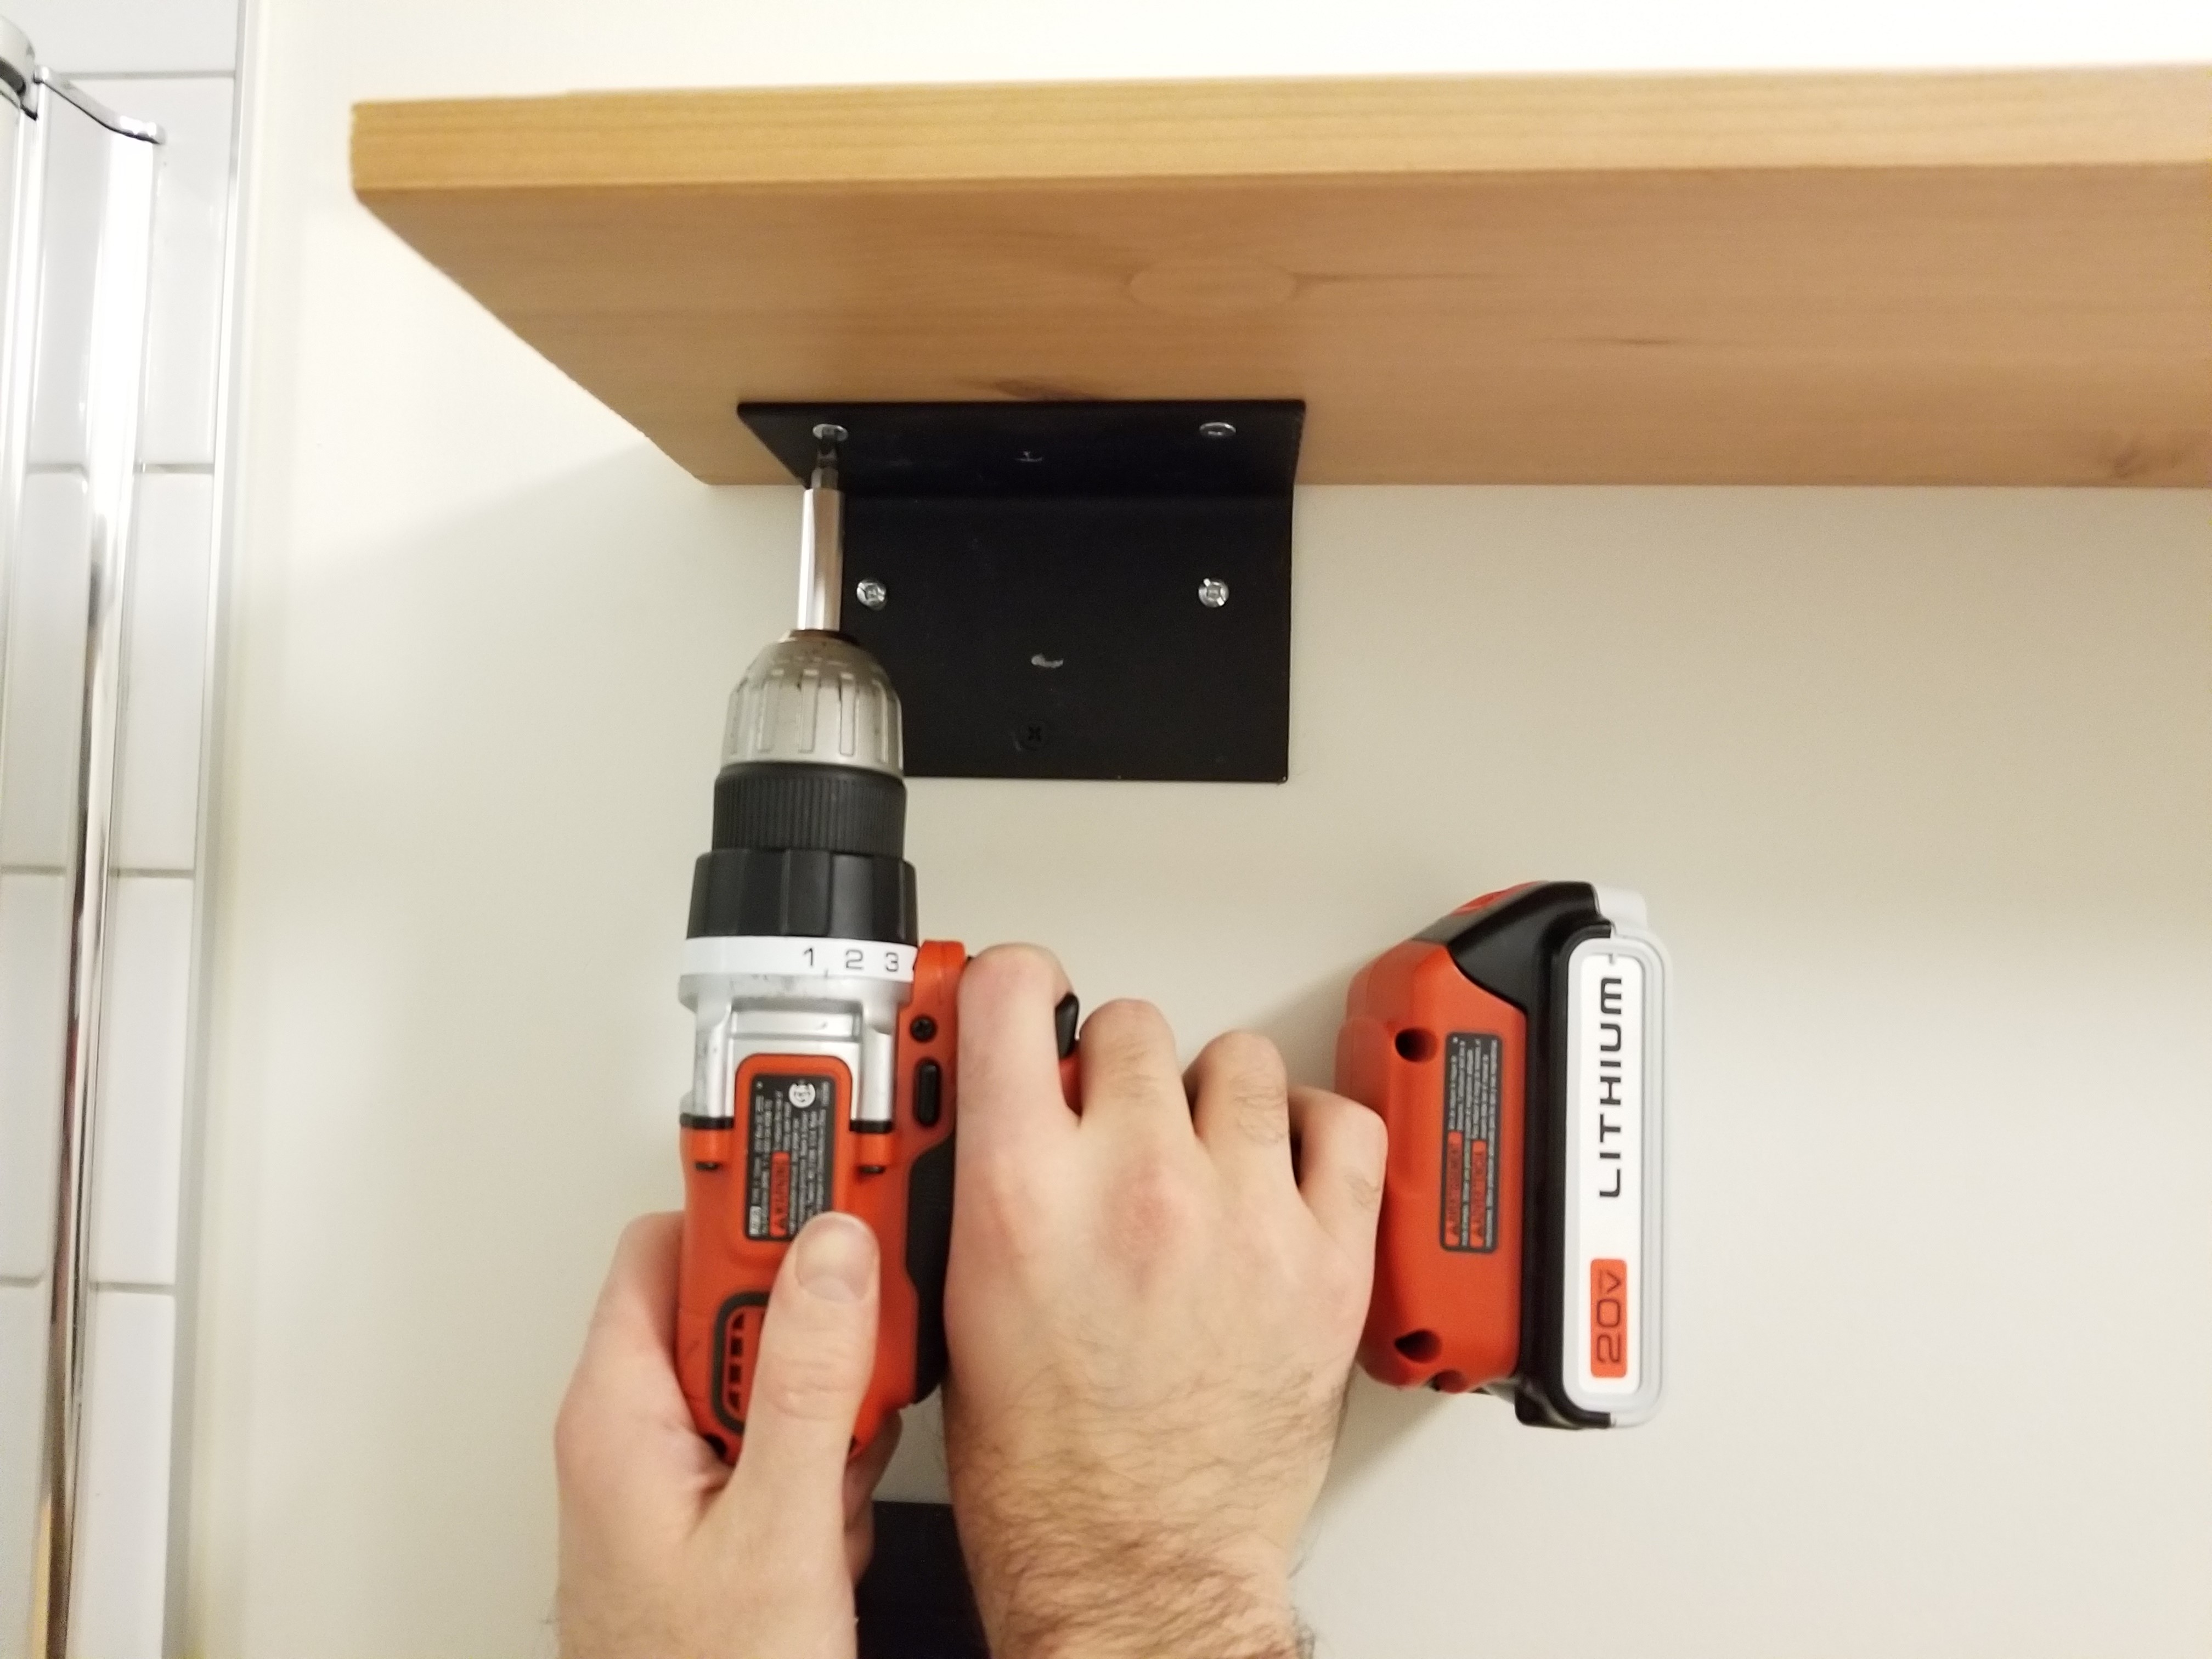
Grab your electric drill and drill away.
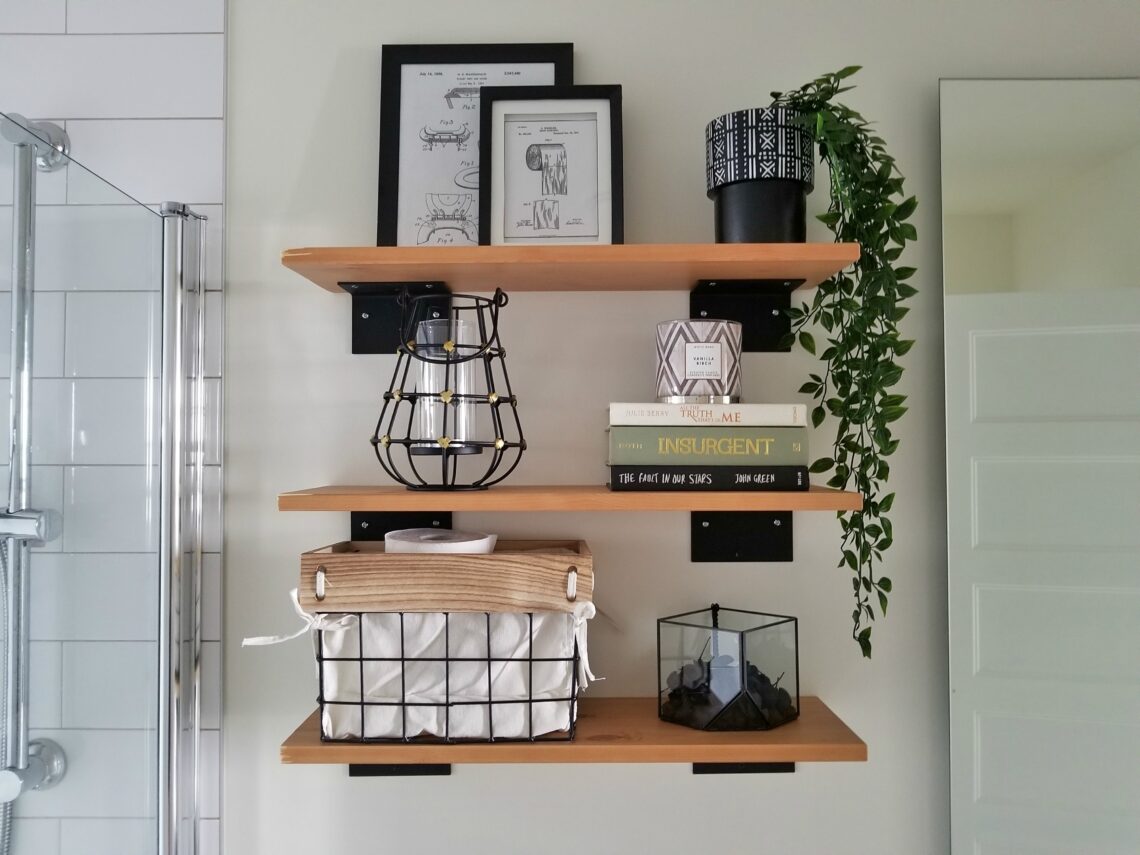
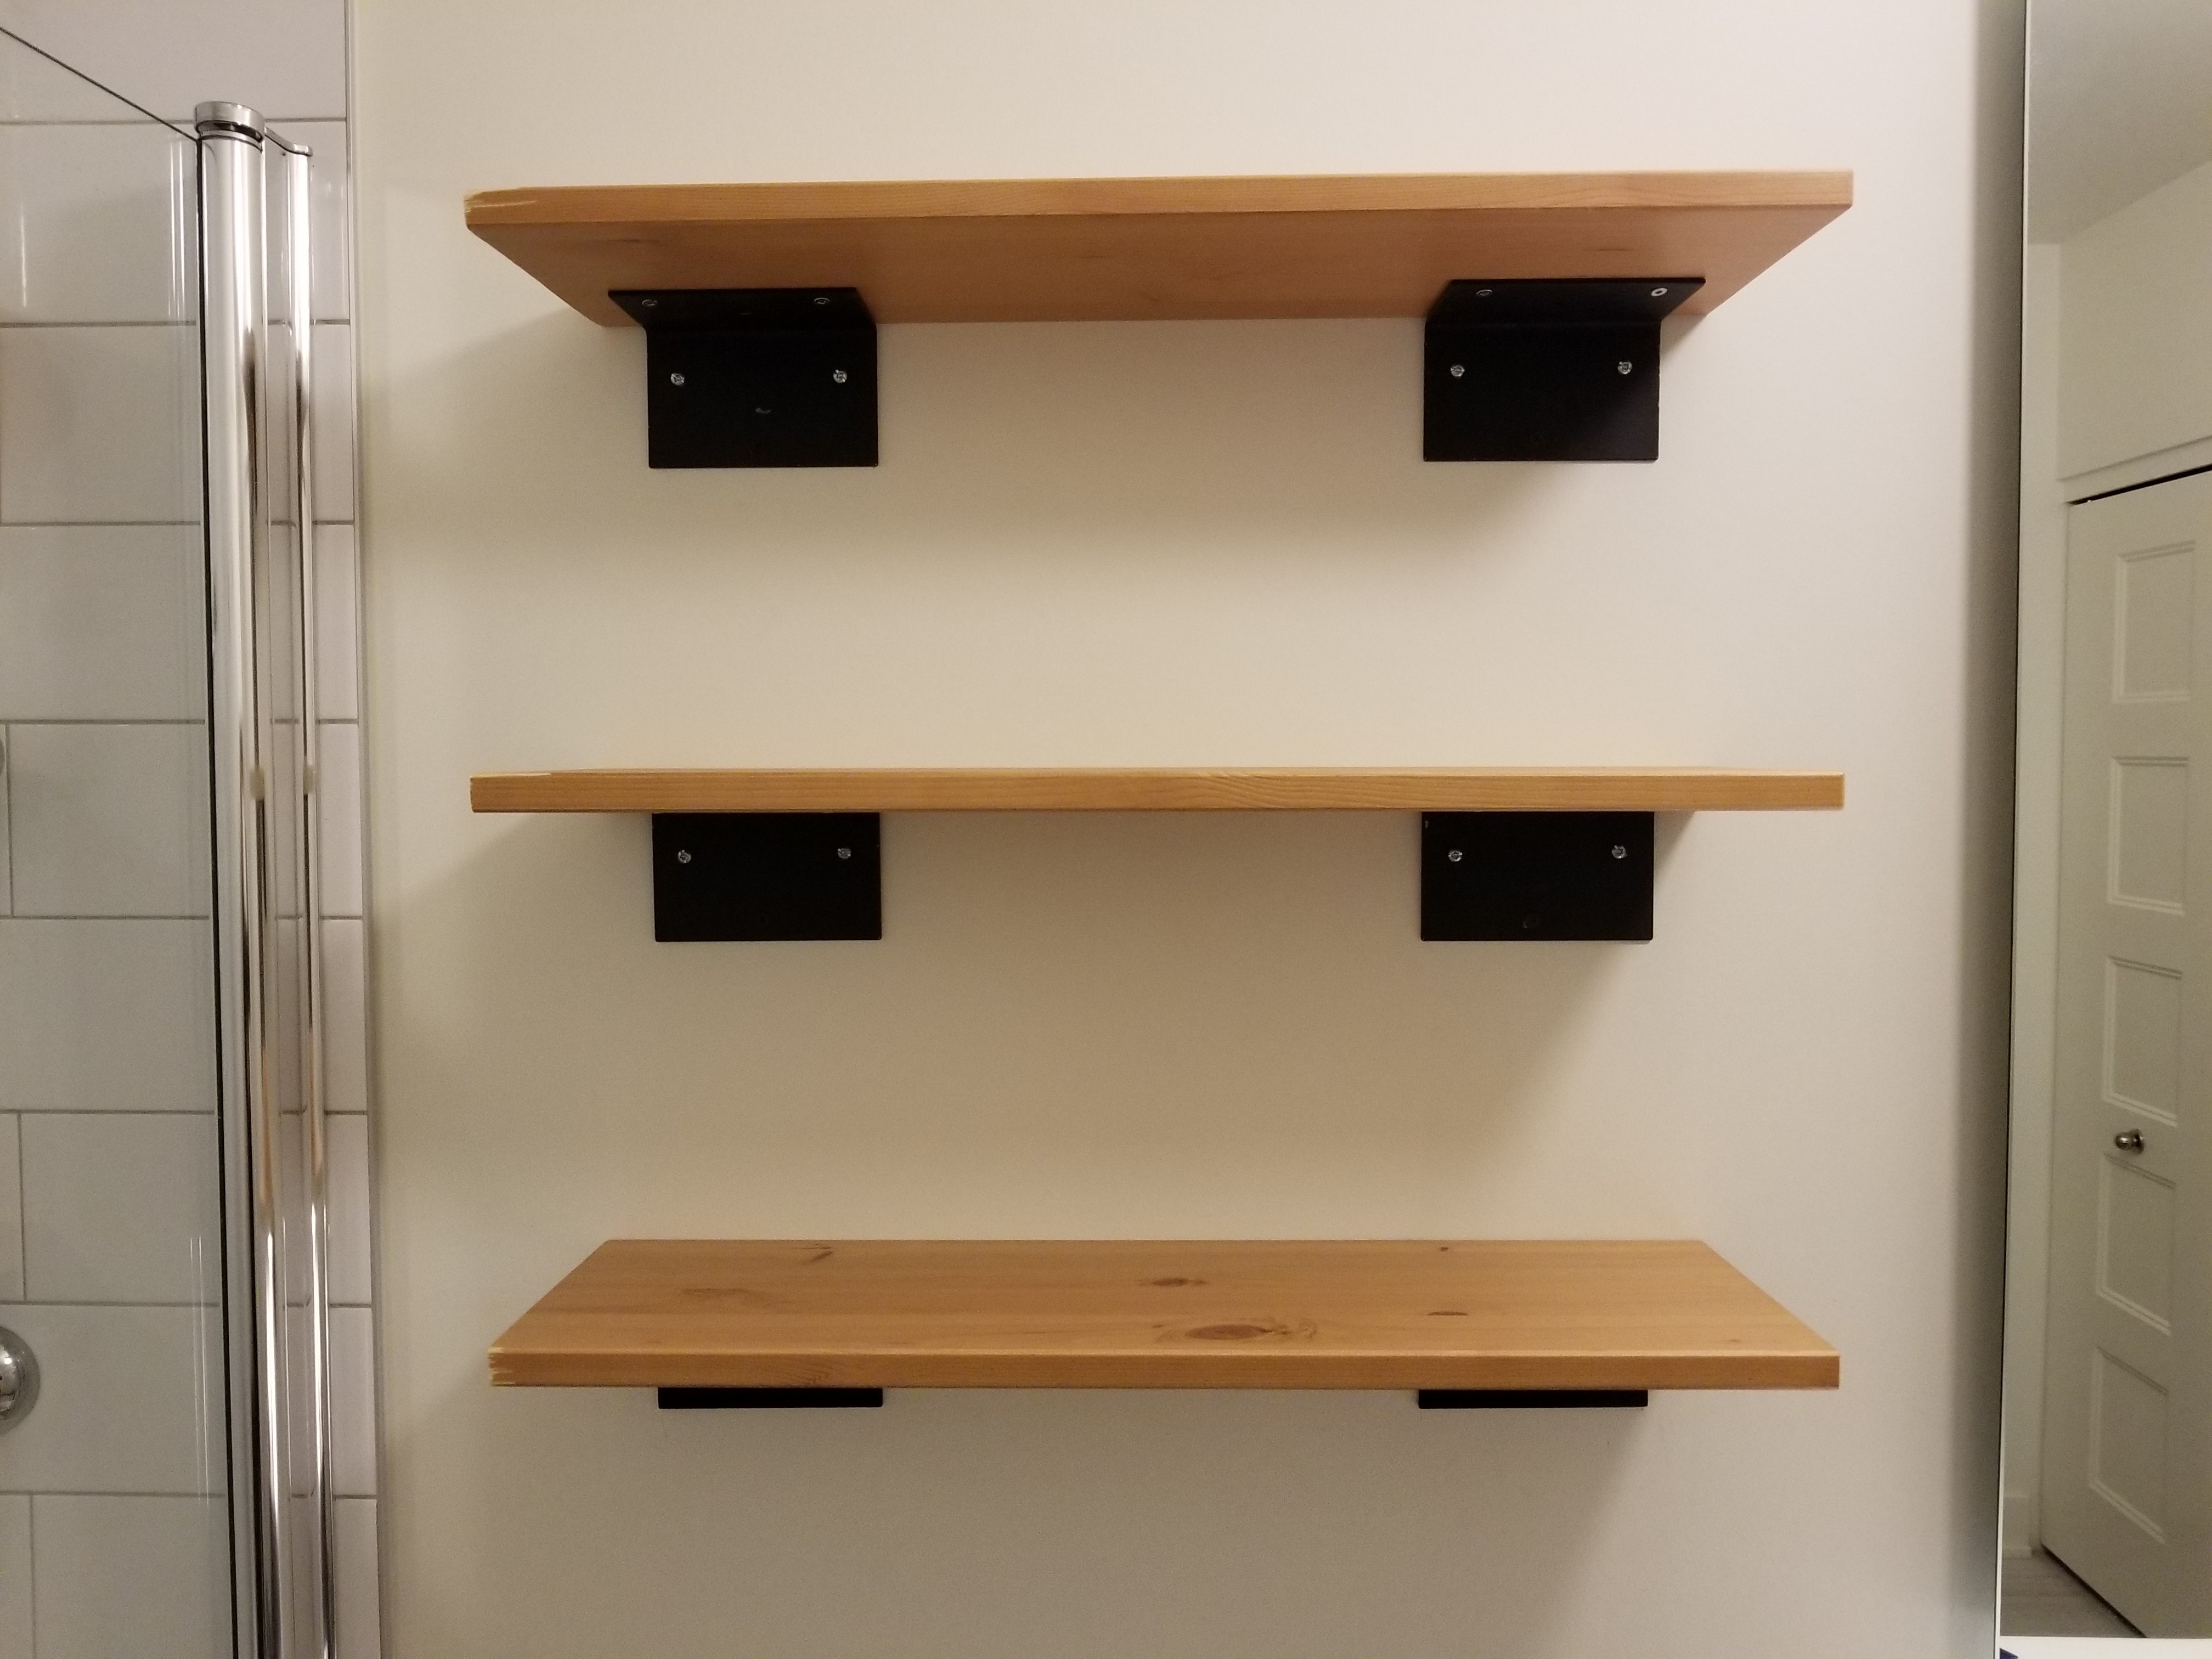
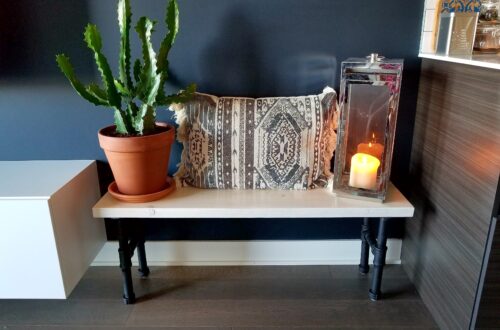
What your IKEA wall shelves should look like
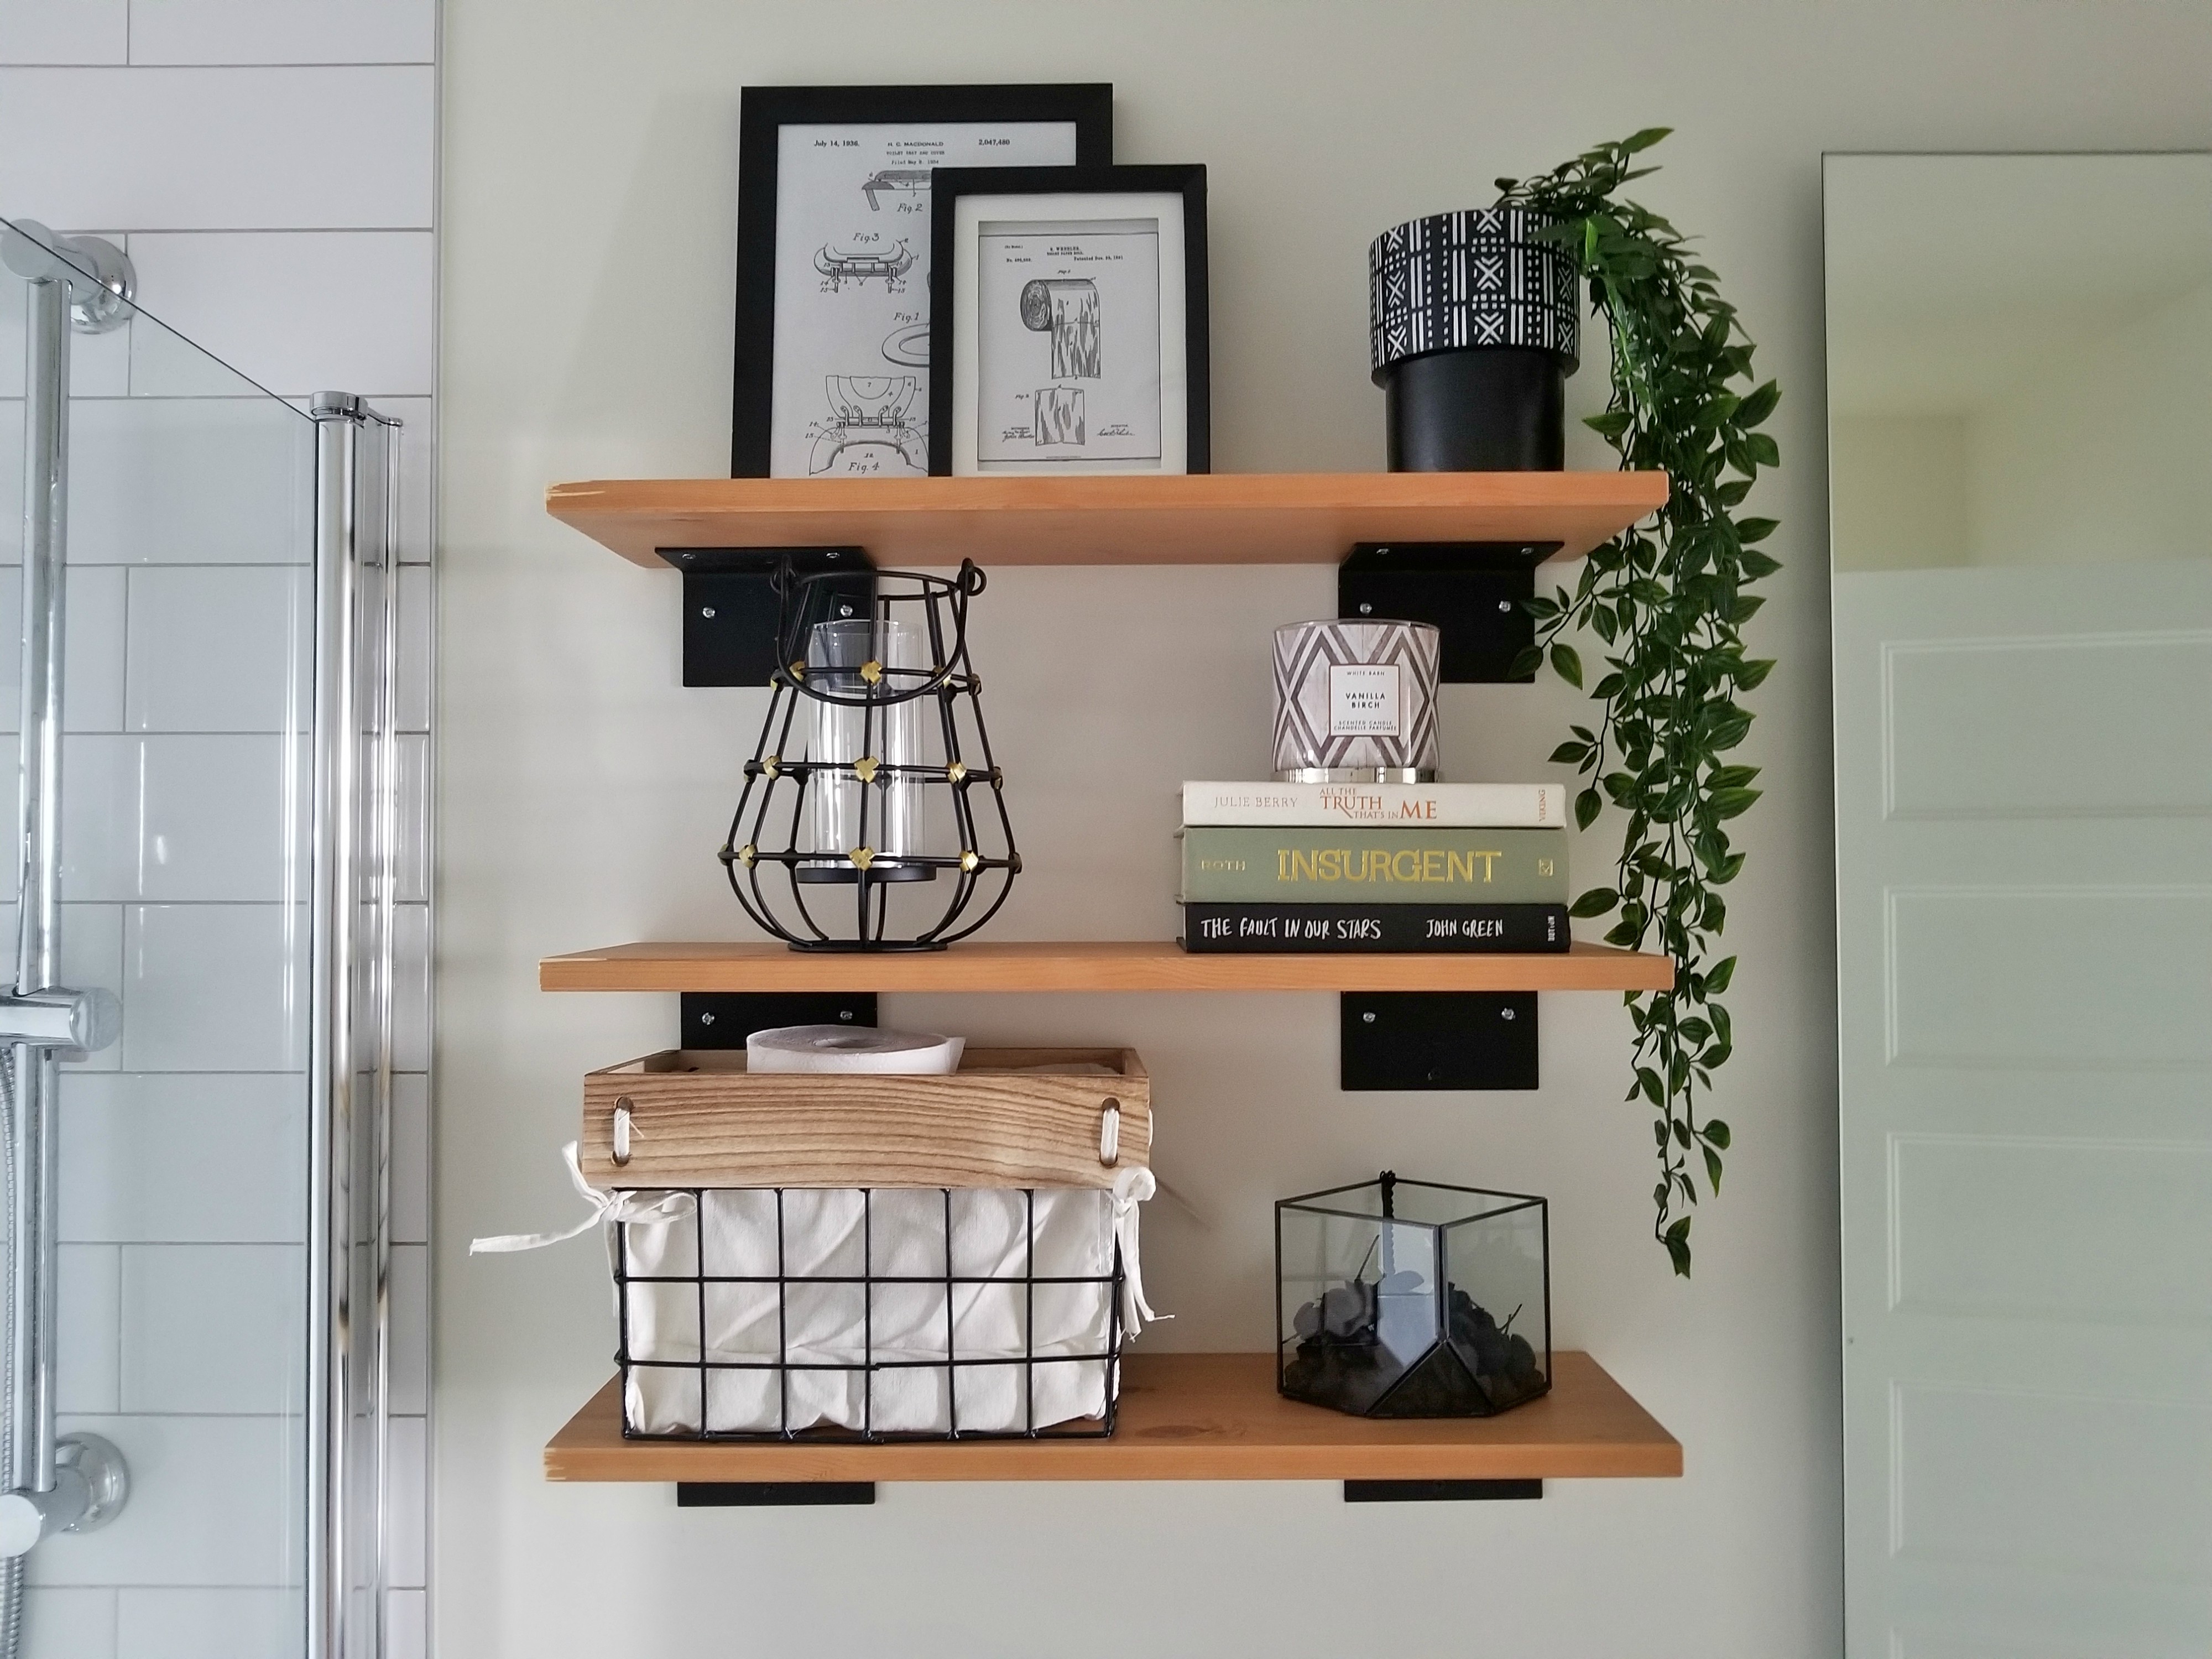
I hope this guide made hanging shelves a little easier for you!
If you’re interested in more DIY projects, check out these posts:
10 Rustic Bathroom Decor Ideas You’ll Love
How to build open kitchen shelving
*This post contains Amazon affiliate links. The owner of the website will receive a small commission if items are purchased via these affiliate links at no extra cost to the buyer.


2 Comments
Cherie
Thanks for posting this awesome article. I’m a long time reader but I’ve never been compelled to leave a comment.
I subscribed to your blog and shared this on my Facebook.
Thanks again for a great article!
smallspacedesigner
Hi, the brackets are from a store called Z’Axe. I bought them in Montreal – not sure the store exists elsewhere…