DIY: How to Make a Faux Brick Wall
Even before we moved into our tiny condo, I knew I wanted to install a brick wall somewhere in the house. Living room, bedroom, kitchen, wherever.
Brick walls add such a bold and unique flare to any room: they scream COOL, and you know it.
There’s just one problem.
If your home doesn’t already come with a brick wall and you’re on a tight budget, you’re screwed.
Sure, you can save on the labor by trying to install it yourself, but the bricks themselves will still cost you an arm and a leg.
This was the dilemma I was faced with: Do I splurge on this thing I’ve been wanting since forever? Or do I find a suitable compromise?
Since my husband and I had already spent our life savings buying our new condo, we decided to go with the compromise.
Enter the faux brick wall.
We were super skeptical at first, convinced that it wouldn’t look realistic and would cheapen the look of our bedroom. After doing a ton of research and annoying the sh*t out of the people at the hardware store, we decided to throw caution to the wind and just go for it.
There are several options when it comes to installing a faux brick wall:
- Faux brick paneling
- Wallpaper
- Stencilling
We went with the faux brick paneling because I couldn’t find textured wallpaper that looked authentic enough for my standards.
Oh, one more thing: I wanted a white faux brick wall, which complicated things even further. But not to worry; I’ll guide you through all the steps you need to take to make a fake brick wall happen.
Materials used:
- Faux brick panels
- White paint
- White caulk
- Painter’s tape
- Pencil
- Drywall screws
Tools used:
- Jigsaw or heavy-duty utility knife
- Drill
- Paint brush
- Paint roller
Installing your faux brick wall
Step 1: Getting your panels cut to size
Once you have your wall panels in your cart, roll it over to the cutting station. Unless you have a very steady hand and a precision saw at home, you’ll want to have the pros cut the panels to size at the store.
The panels are 8 ft. x 4 ft. and are 5.2 mm thick. You’ll have to measure your walls and take any wall mouldings into consideration before you get the panels cut. We needed 3 panels total, the last one cut in half.
Once everything is cut to size and you’ve bought all the tools and materials you need, drive on home and get things started.
Step 2: Cut out holes for outlets and switches
We have two outlets and two switches on our bedroom wall, so we needed to cut out 4 holes in our brick panels. We measured the distance between each individual outlet and the edge of the wall, and we drew out the outlines on the panels.
Once drawn, you can either use a jigsaw to cut out the holes, or you can use a heavy-duty utility knife. We had a crappy one that wasn’t strong enough to cut through the panels, so we went with the jigsaw.
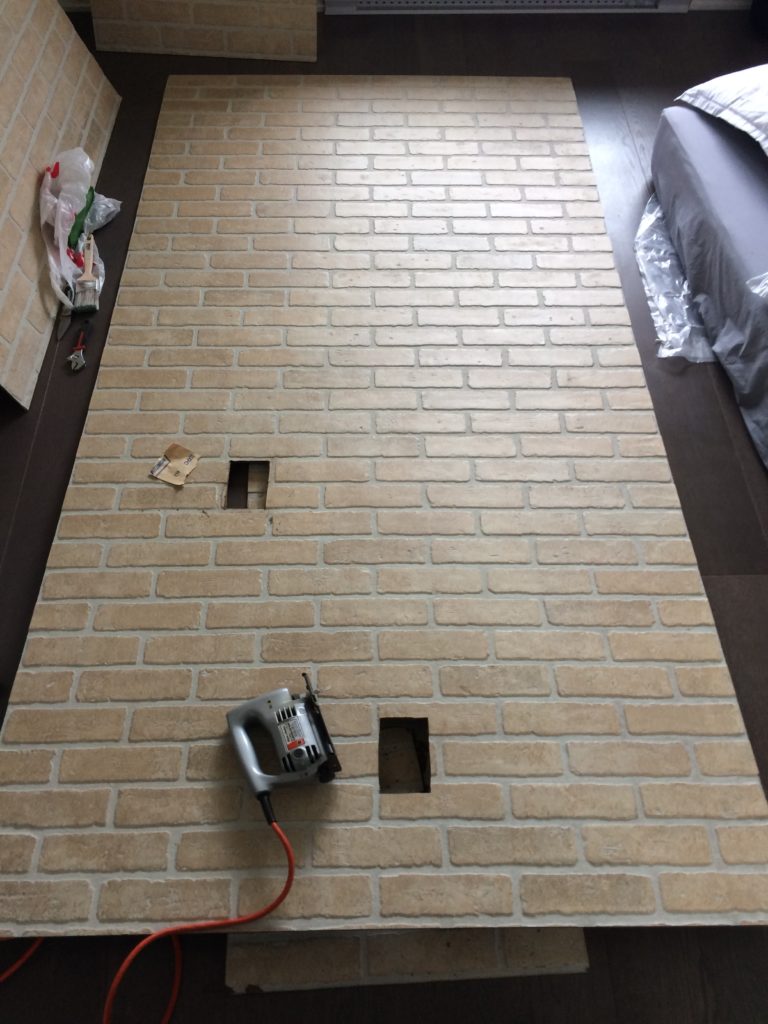
After you’ve cut out all the holes, you’re ready to drill the panels to your wall.
Step 3: Drill panels to the wall
This is the easiest step. We have moulding (skirt) at the bottom of our wall, so we just rested the fake brick panels on top of that.
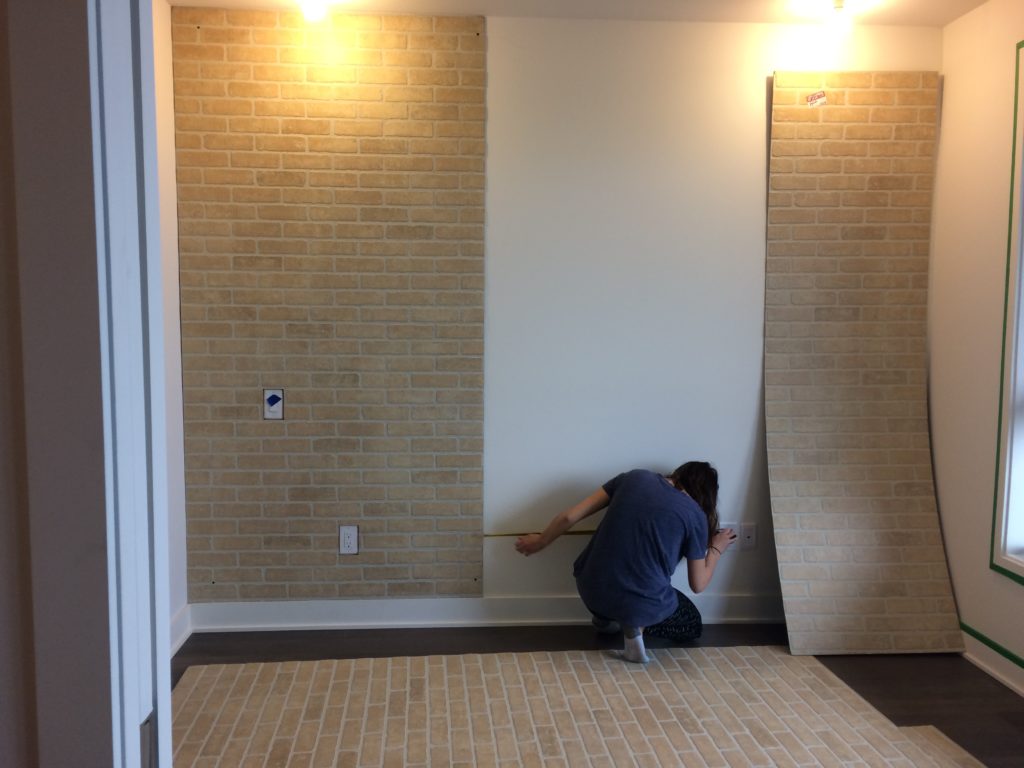
Then we drilled each corner of the panels.
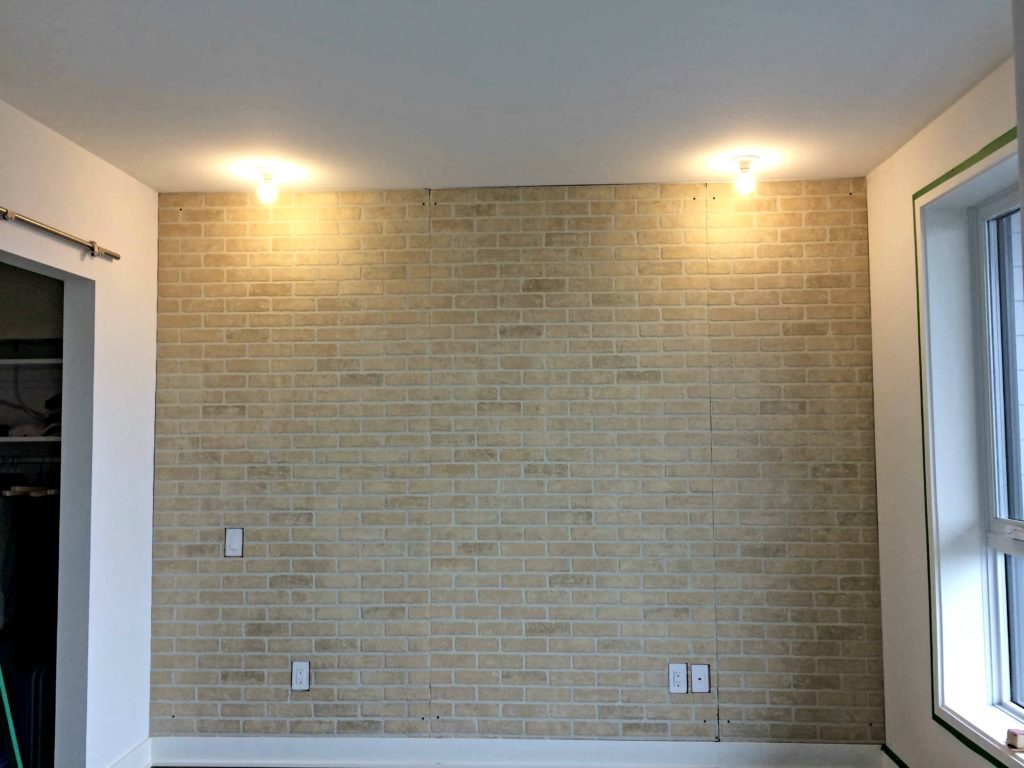
You’ll notice some of the screws and the joints between the panels, but don’t worry, once the caulk is put in and it’s painted, the imperfections are barely noticeable.
Tip: We decided to screw in the panels instead of gluing them to the wall because we didn’t want to ruin the wall completely. If you use glue, you’ll have to redo your entire wall if ever you decide to remove the panels.
Step 4: Fill in gaps with caulking
If you’re a perfectionist like I am, you’ll want to fill in your gaps with caulking. The caulking recommended in the materials section is fast-drying so you can paint over it within 20-30 mins (read the label first).
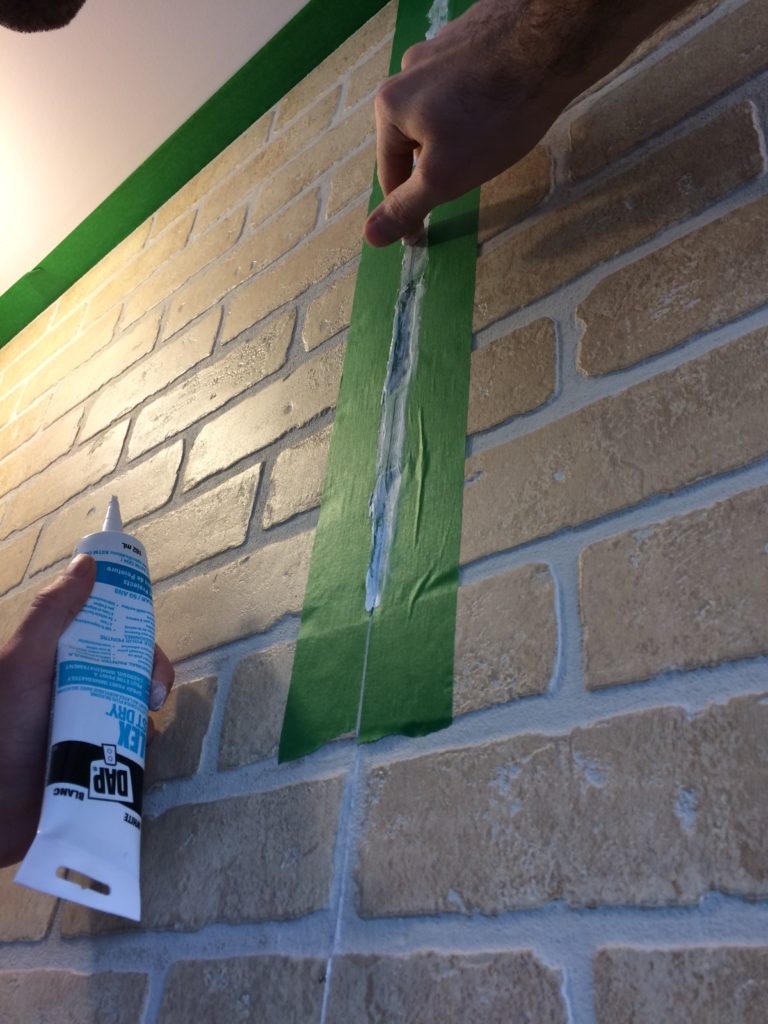
We used painter’s tape on either side of the joints so the caulking doesn’t ruin the texture of the bricks. Then we just filled the gaps and spread it with our fingers. Easy peasy.
Then you remove the tape and you’re ready to paint.
Step 5: Paint panels
Painting is the final piece of the puzzle. If your bedroom is white, you’ll want to color match your faux brick wall.
You’ll need to use a paint brush to cut in the edges (since the roller can’t reach). Here’s a lovely picture of me hard at work.

Once the edges are cut in, you can use the foam roller to paint the rest of the faux brick panels (including the screws).
Because of the textured nature of the panels, there might be spots your roller will miss. You can just use your paint brush to touch up trouble spots later.
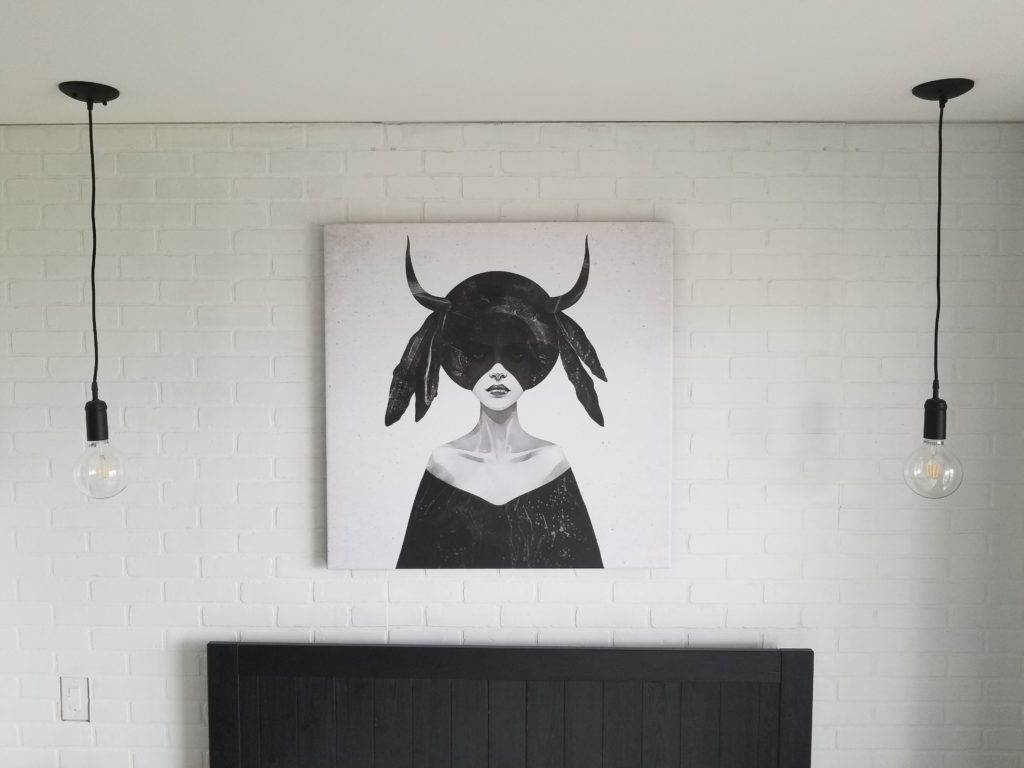
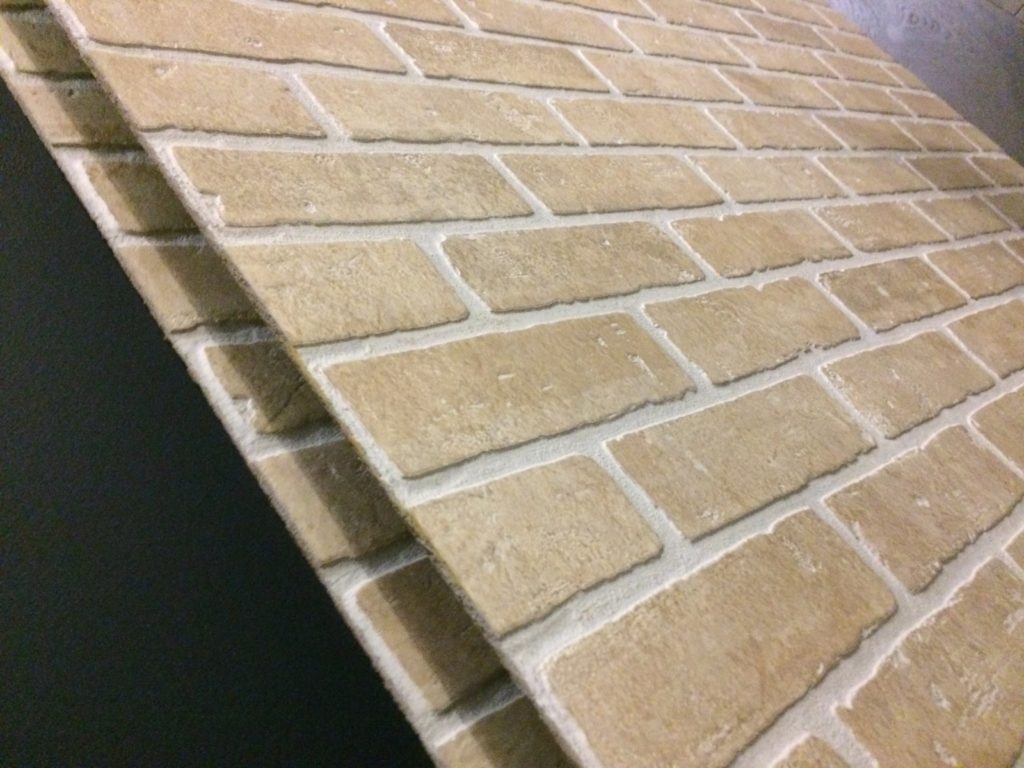
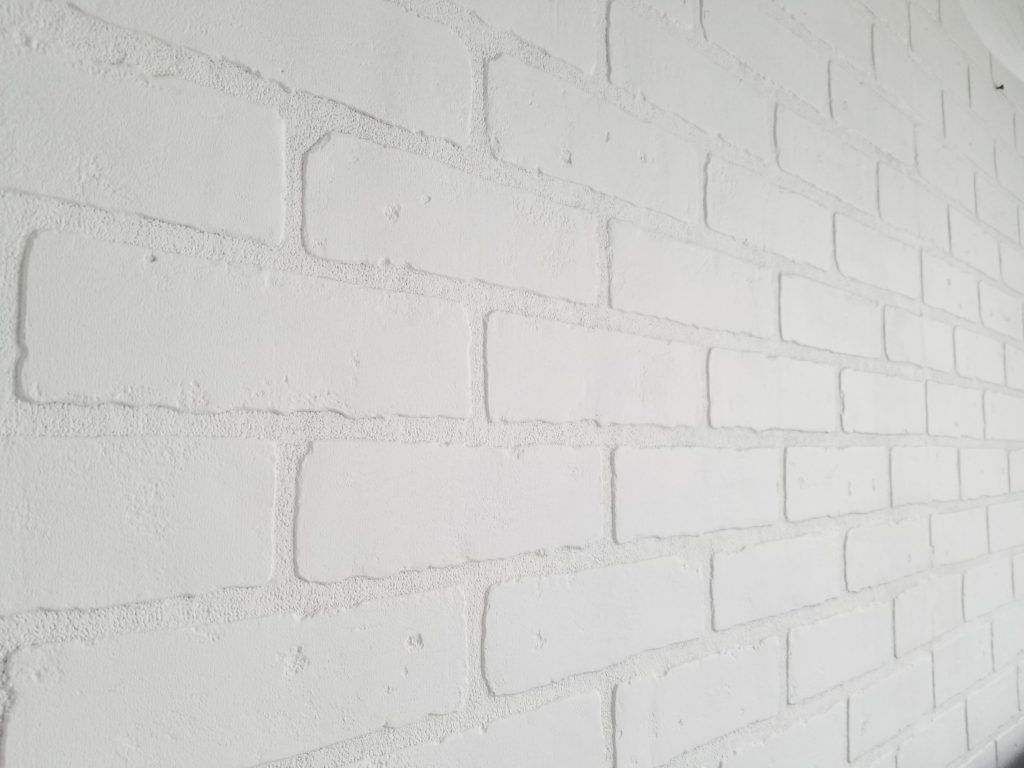
Final results
Below is what our white faux brick wall looks like up close. We’re very satisfied with the results. The screws and joints are barely noticeable, and it seriously looks like the real deal.
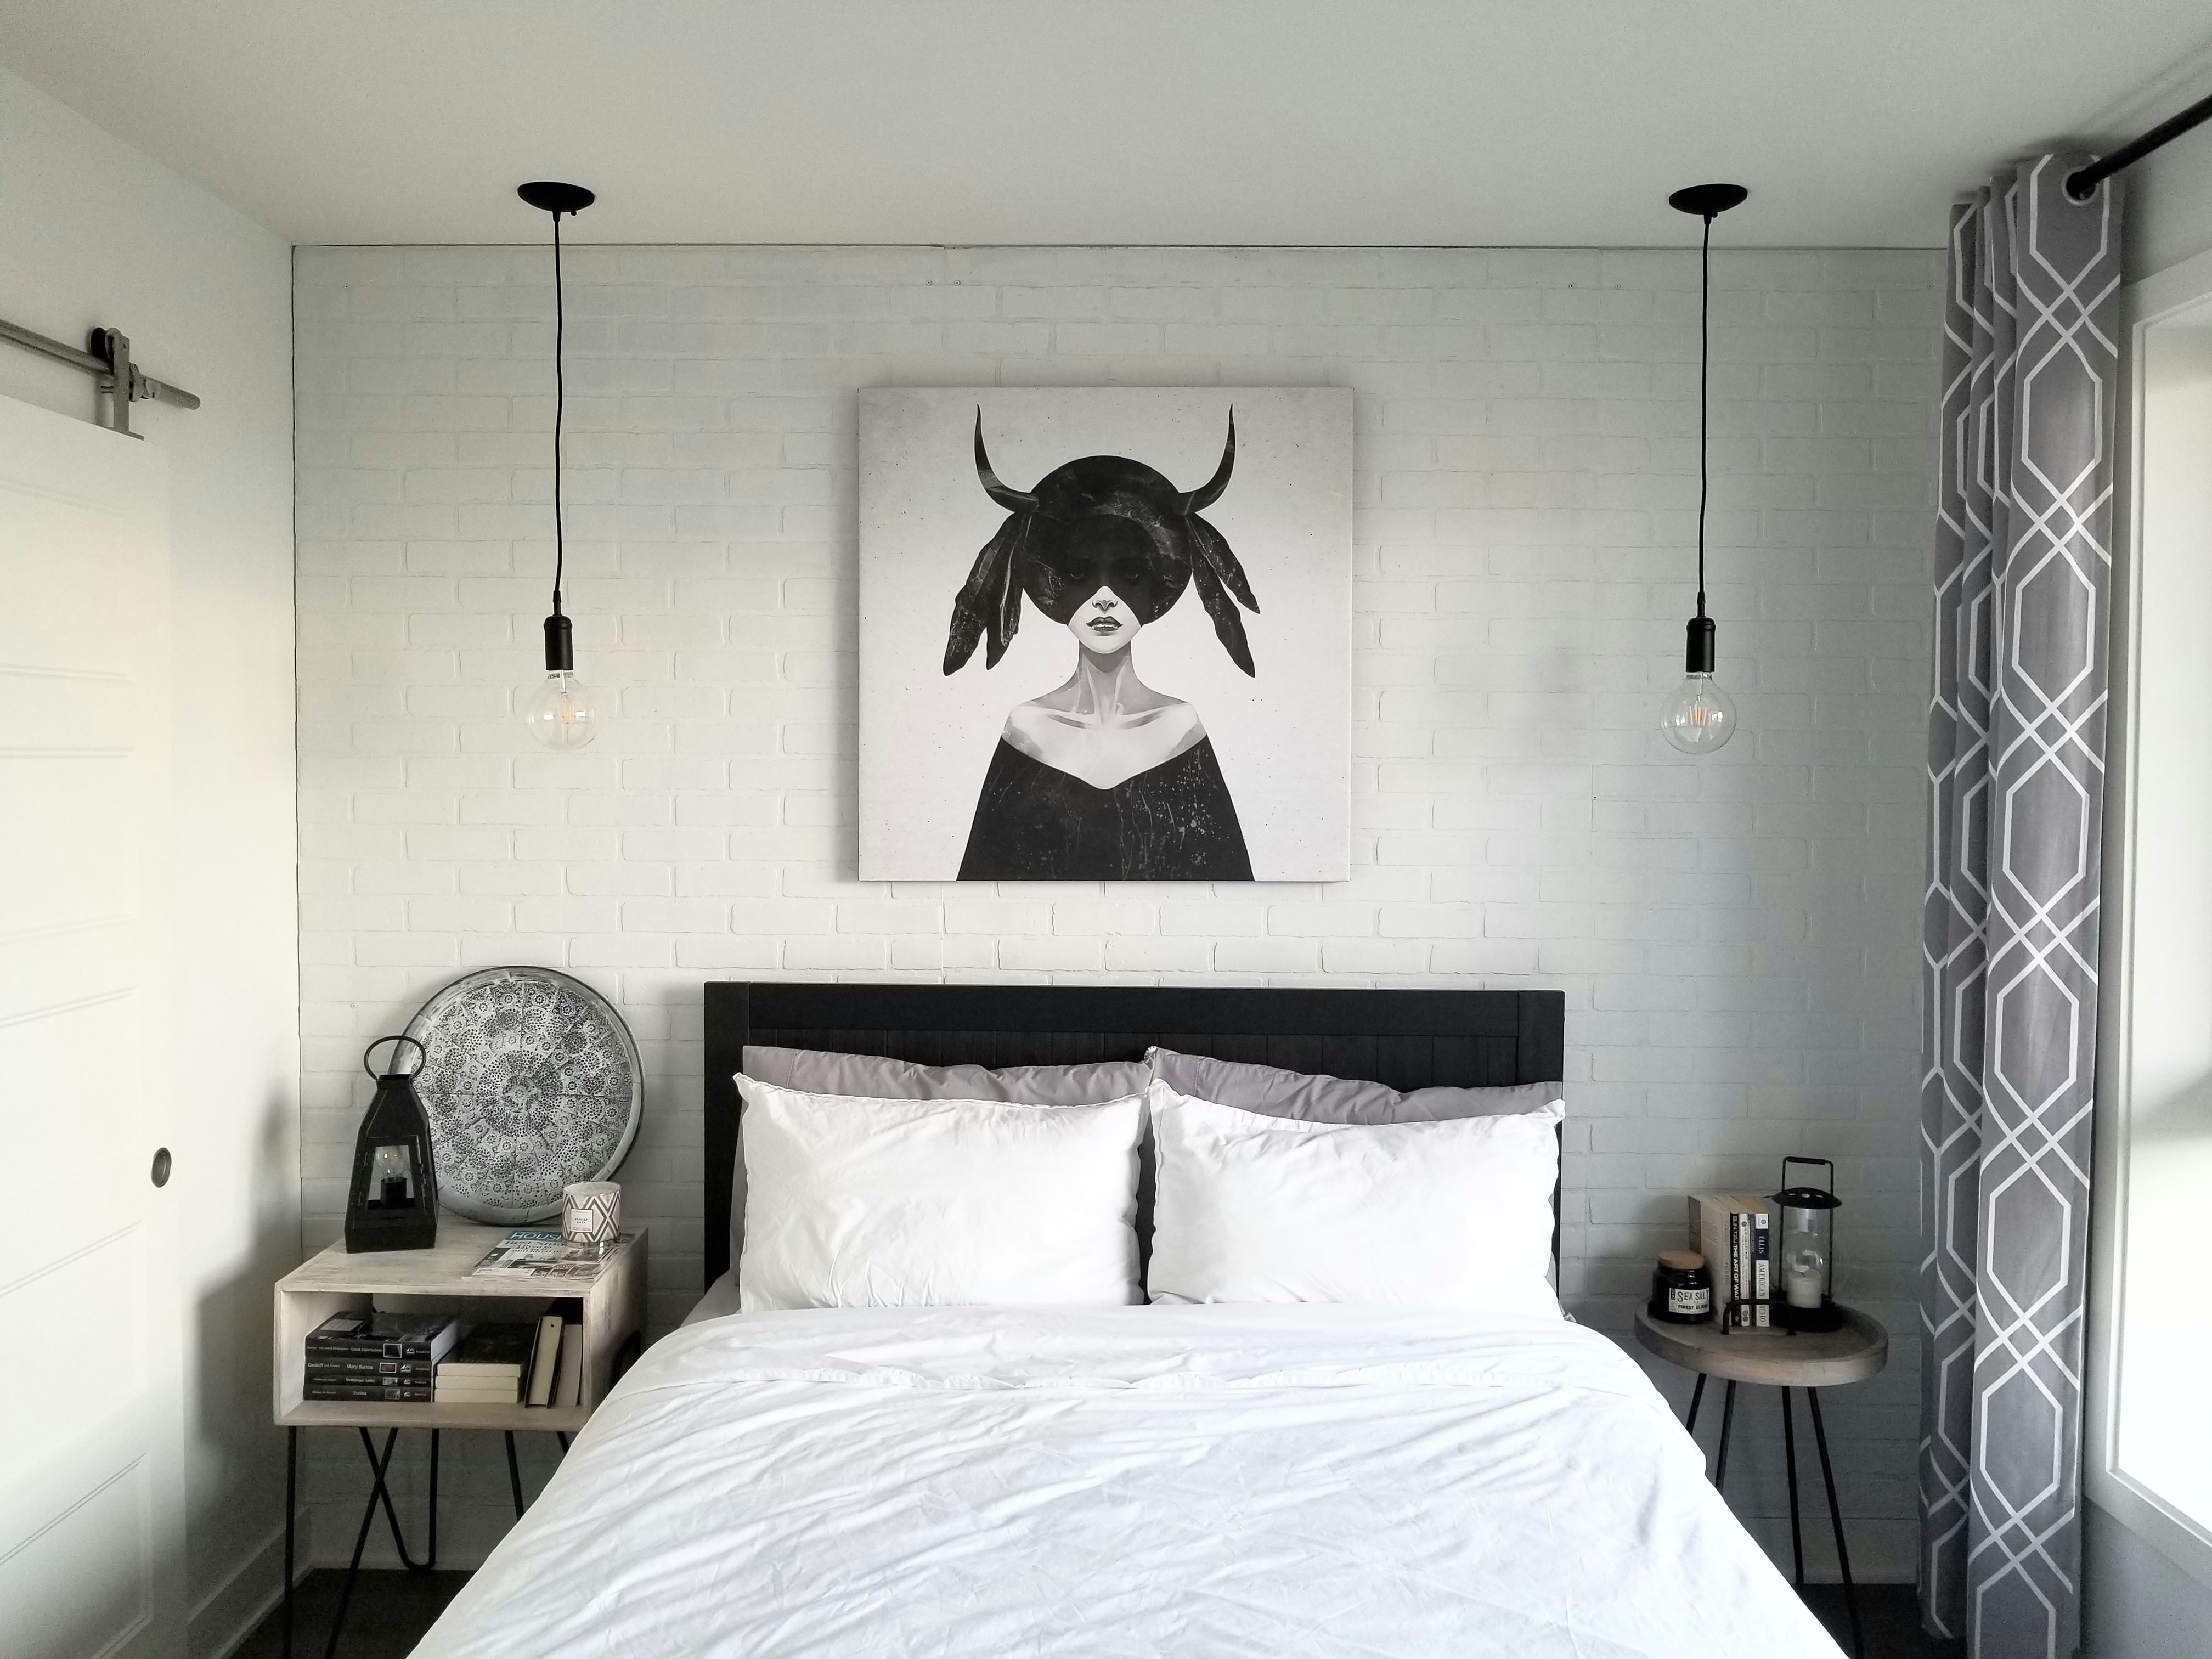
Good luck on your project and let me know how it goes in the comments below. You can also head on over to my Instagram page for more pics of our bedroom.


14 Comments
Ronda Tozzi
Nice walls and bedroom decor 🙂 great job
Sylva
Finished product looks amazing! I would definitely want to give this look a go!
Hovig
Cool, I was wondering how you filled in those gaps, looks clean and modern!
Simona
This looks awesome! Can’t wait to try it out on my living room.
Jack Kelber
Beautiful Work!
John Hatmaker
This excellent website truly has all the information I wanted about this subject
and didn’t know who to ask.
smallspacedesigner
Thank you John! Glad it helped you 🙂
Alessandra
That’s so cool! Im in love! Thank you !
smallspacedesigner
Thanks Alessandra 🙂 I’m glad you liked it!
Mel
Congrats for a very nicely decorated apartment !
smallspacedesigner
Thank you very much 🙂
Pingback:
Bernice
Great site. Just had a quick read.
smallspacedesigner
Thanks Bernice 🙂