How to Build and Mount Kitchen Shelves
Before moving into our condo, we were told our kitchen would come with closed cabinetry and a built-in range hood. It took us roughly 5 minutes to weigh the pros and cons of closed cabinets vs open kitchen shelving, and we decided to go with the latter.
Here’s why.
I’d be lying if I said open kitchen shelves are easier to maintain than closed cabinets. They’re obviously going to accumulate more dust, and you need to keep them neat and tidy because they’re exposed for all to see.
If you ask some people, they’ll say the added trouble isn’t worth it. But if you ask me, I’ll tell you it’s the best decision we’ve made in our home.
Displaying plates, wine glasses and cookbooks isn’t something I shy away from. I’m organized and I like to keep things clean, so open kitchen shelving makes sense to me. Plus, it’s really not that much more work – promise.
Anyway, after deciding to go with open shelves, we realized we would have to buy a different range hood to fit the style of our kitchen. And what goes better with open shelves than a chimney range hood?
Buying the range hood was a breeze. Finding kitchen shelves that matched our style was a whole other issue. I did a bunch of research, wasted hours of my life trying to find affordable ones made of real wood, and finally concluded we would have to build our own if we were to lead happy lives.
So let’s get right down to it. If you want to skip ahead to how to mount open kitchen shelving, click here.
Materials used
- Untreated pine wood (2″X12″12′)
- Water-based wood stain (SamaN – Hop #204)
- Staining kit
- Water-based wood varnish (satin, clear finish)
- Assorted sandpaper (100 to 180 grit)
Pro tip: When buying the wood varnish, make sure you are getting one that has a CLEAR finish. You do not want to get amber finish, especially if you’ll be using it for other projects too.
Pro tip 2: When buying the pine wood, remember that the dimensions the hardware store advertises are not the actual sizes (I HAVE NO IDEA WHY). So in reality the board is 1.5in X 11in X 12ft.
Tools used
- Power sander
- Paint brush
- Mask
- Protective goggles
- Earplugs
Steps on how to build open kitchen shelving
Step 1: Cutting the wood
First and foremost, you’ll have to get your wooden board cut to size. If you want to cut it yourself, that’s fine. Since they’re small cuts you won’t have much trouble (but you’ll need a saw).
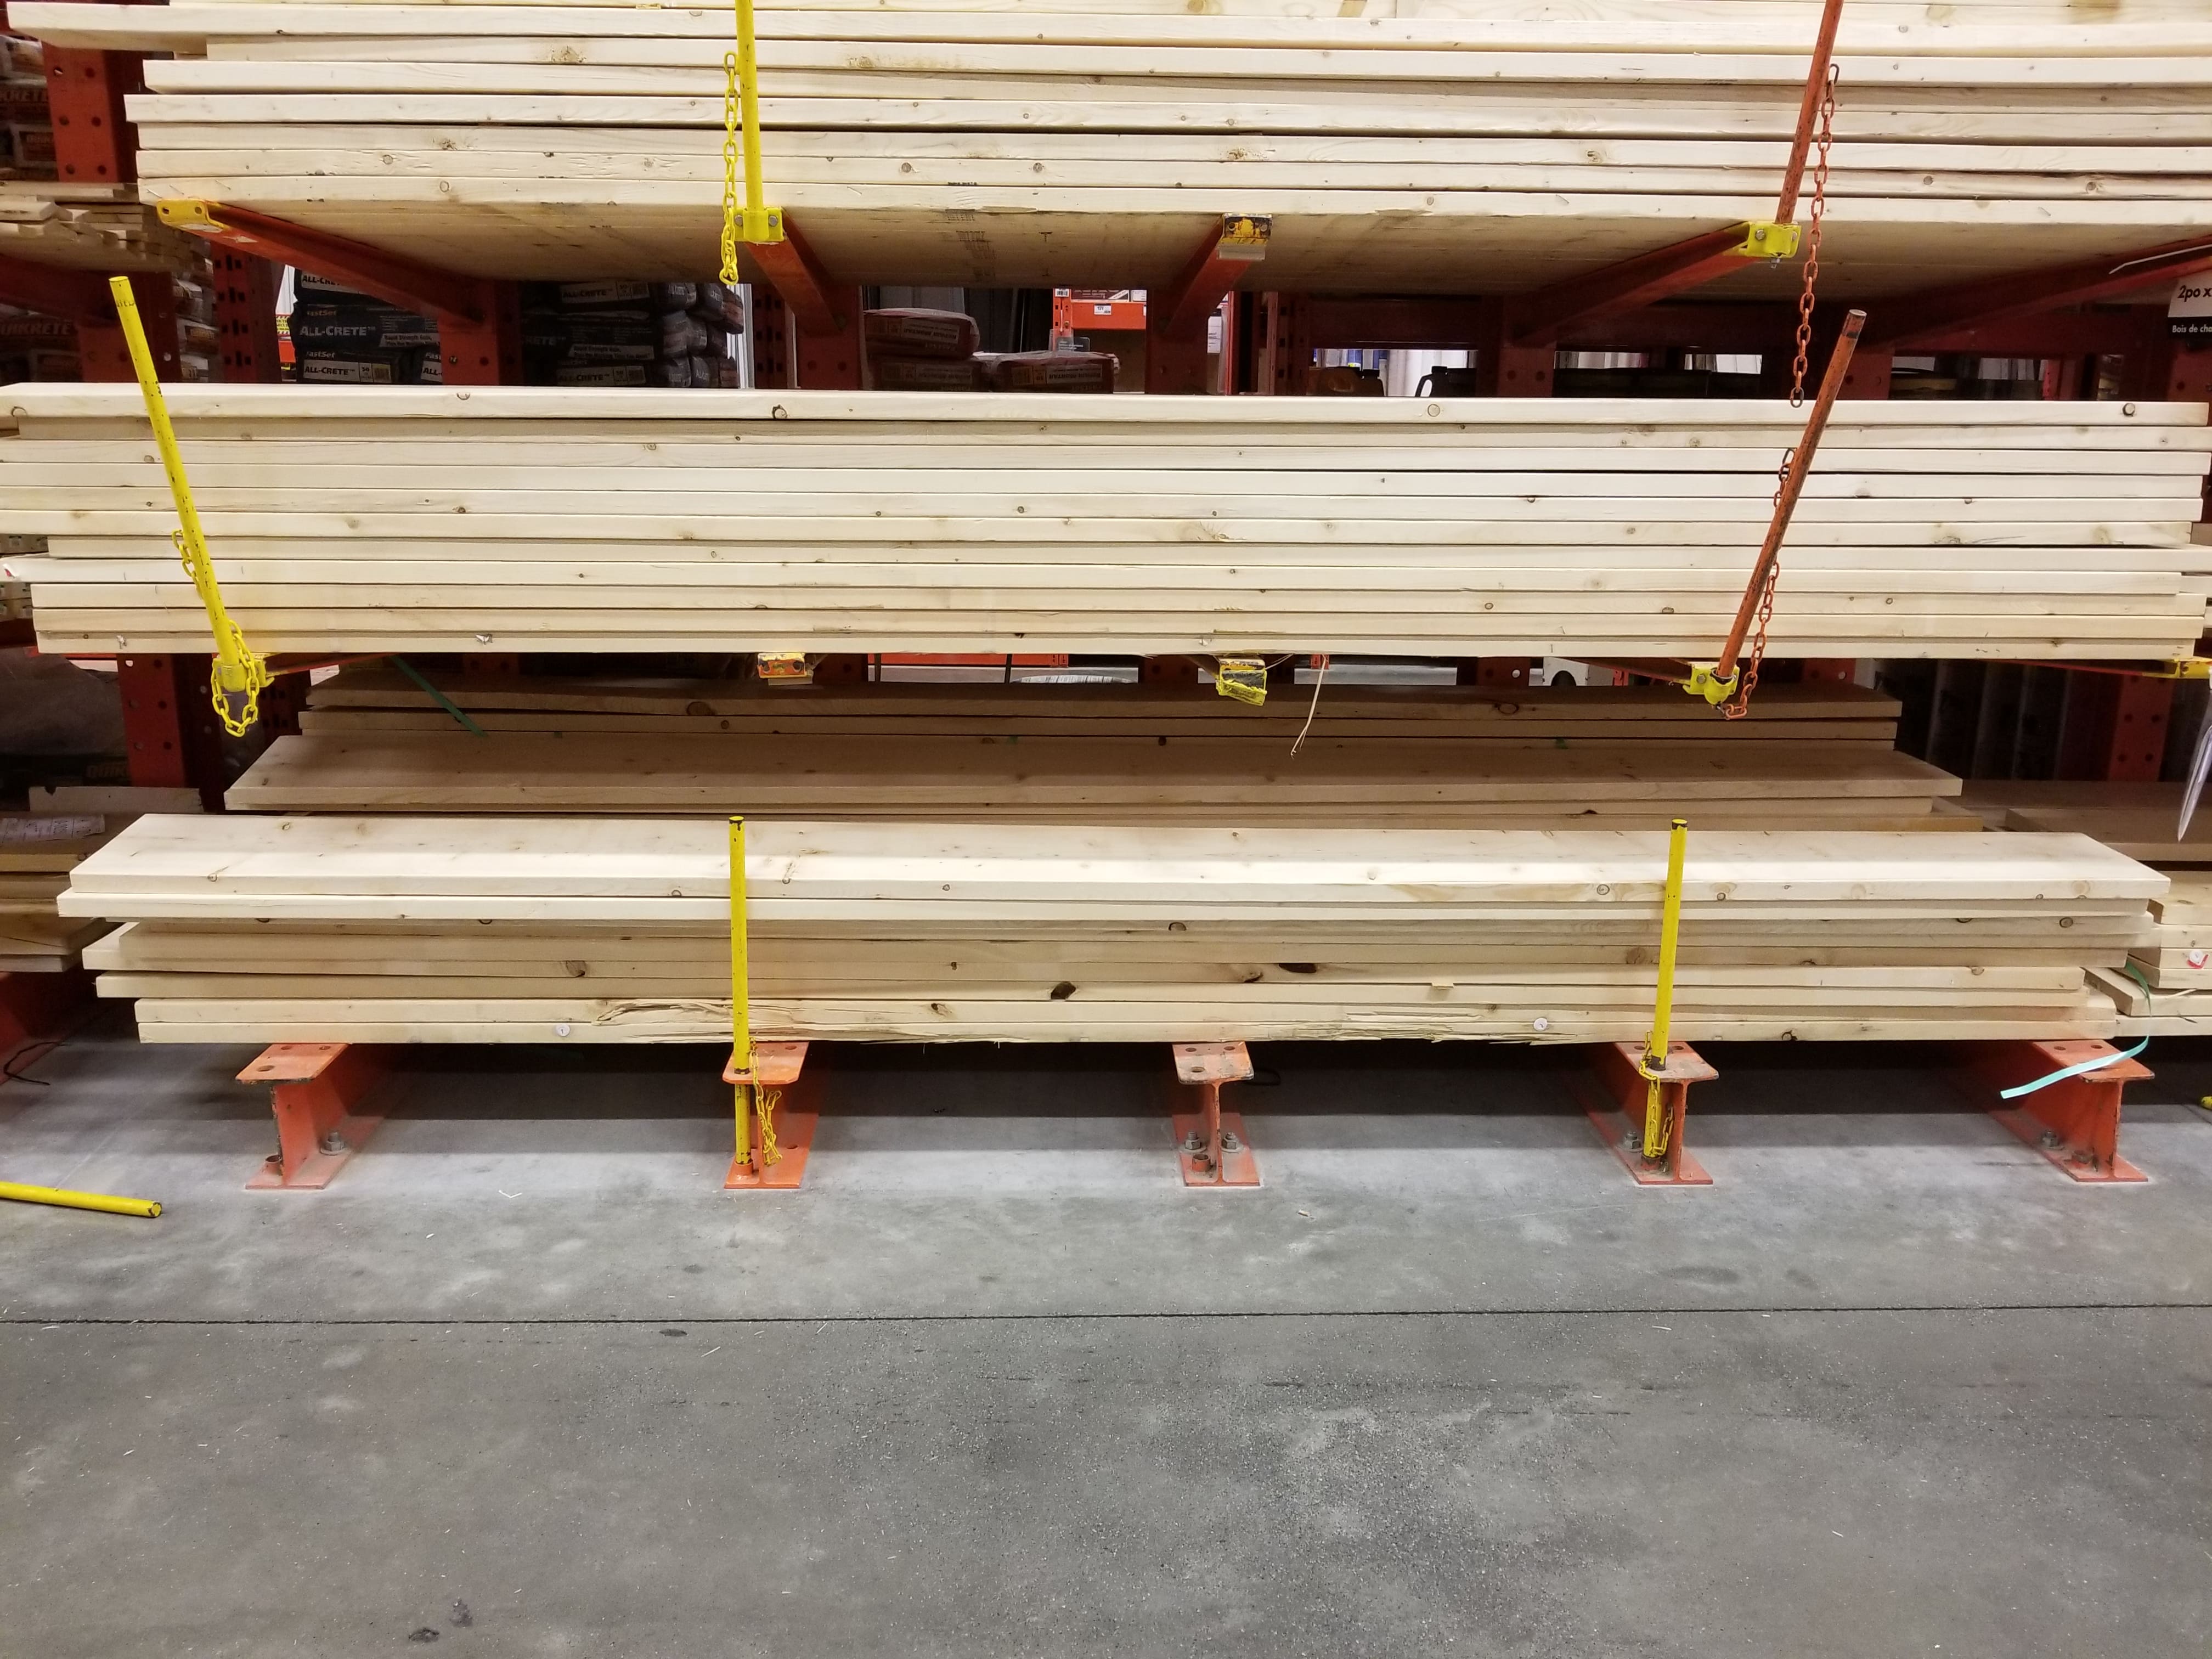
Or you can just save yourself the trouble and get it cut at the store for an extra 5 bucks.
The size will vary on how much space you have on your wall, the size of your range hood, and how big you want your shelves to be.
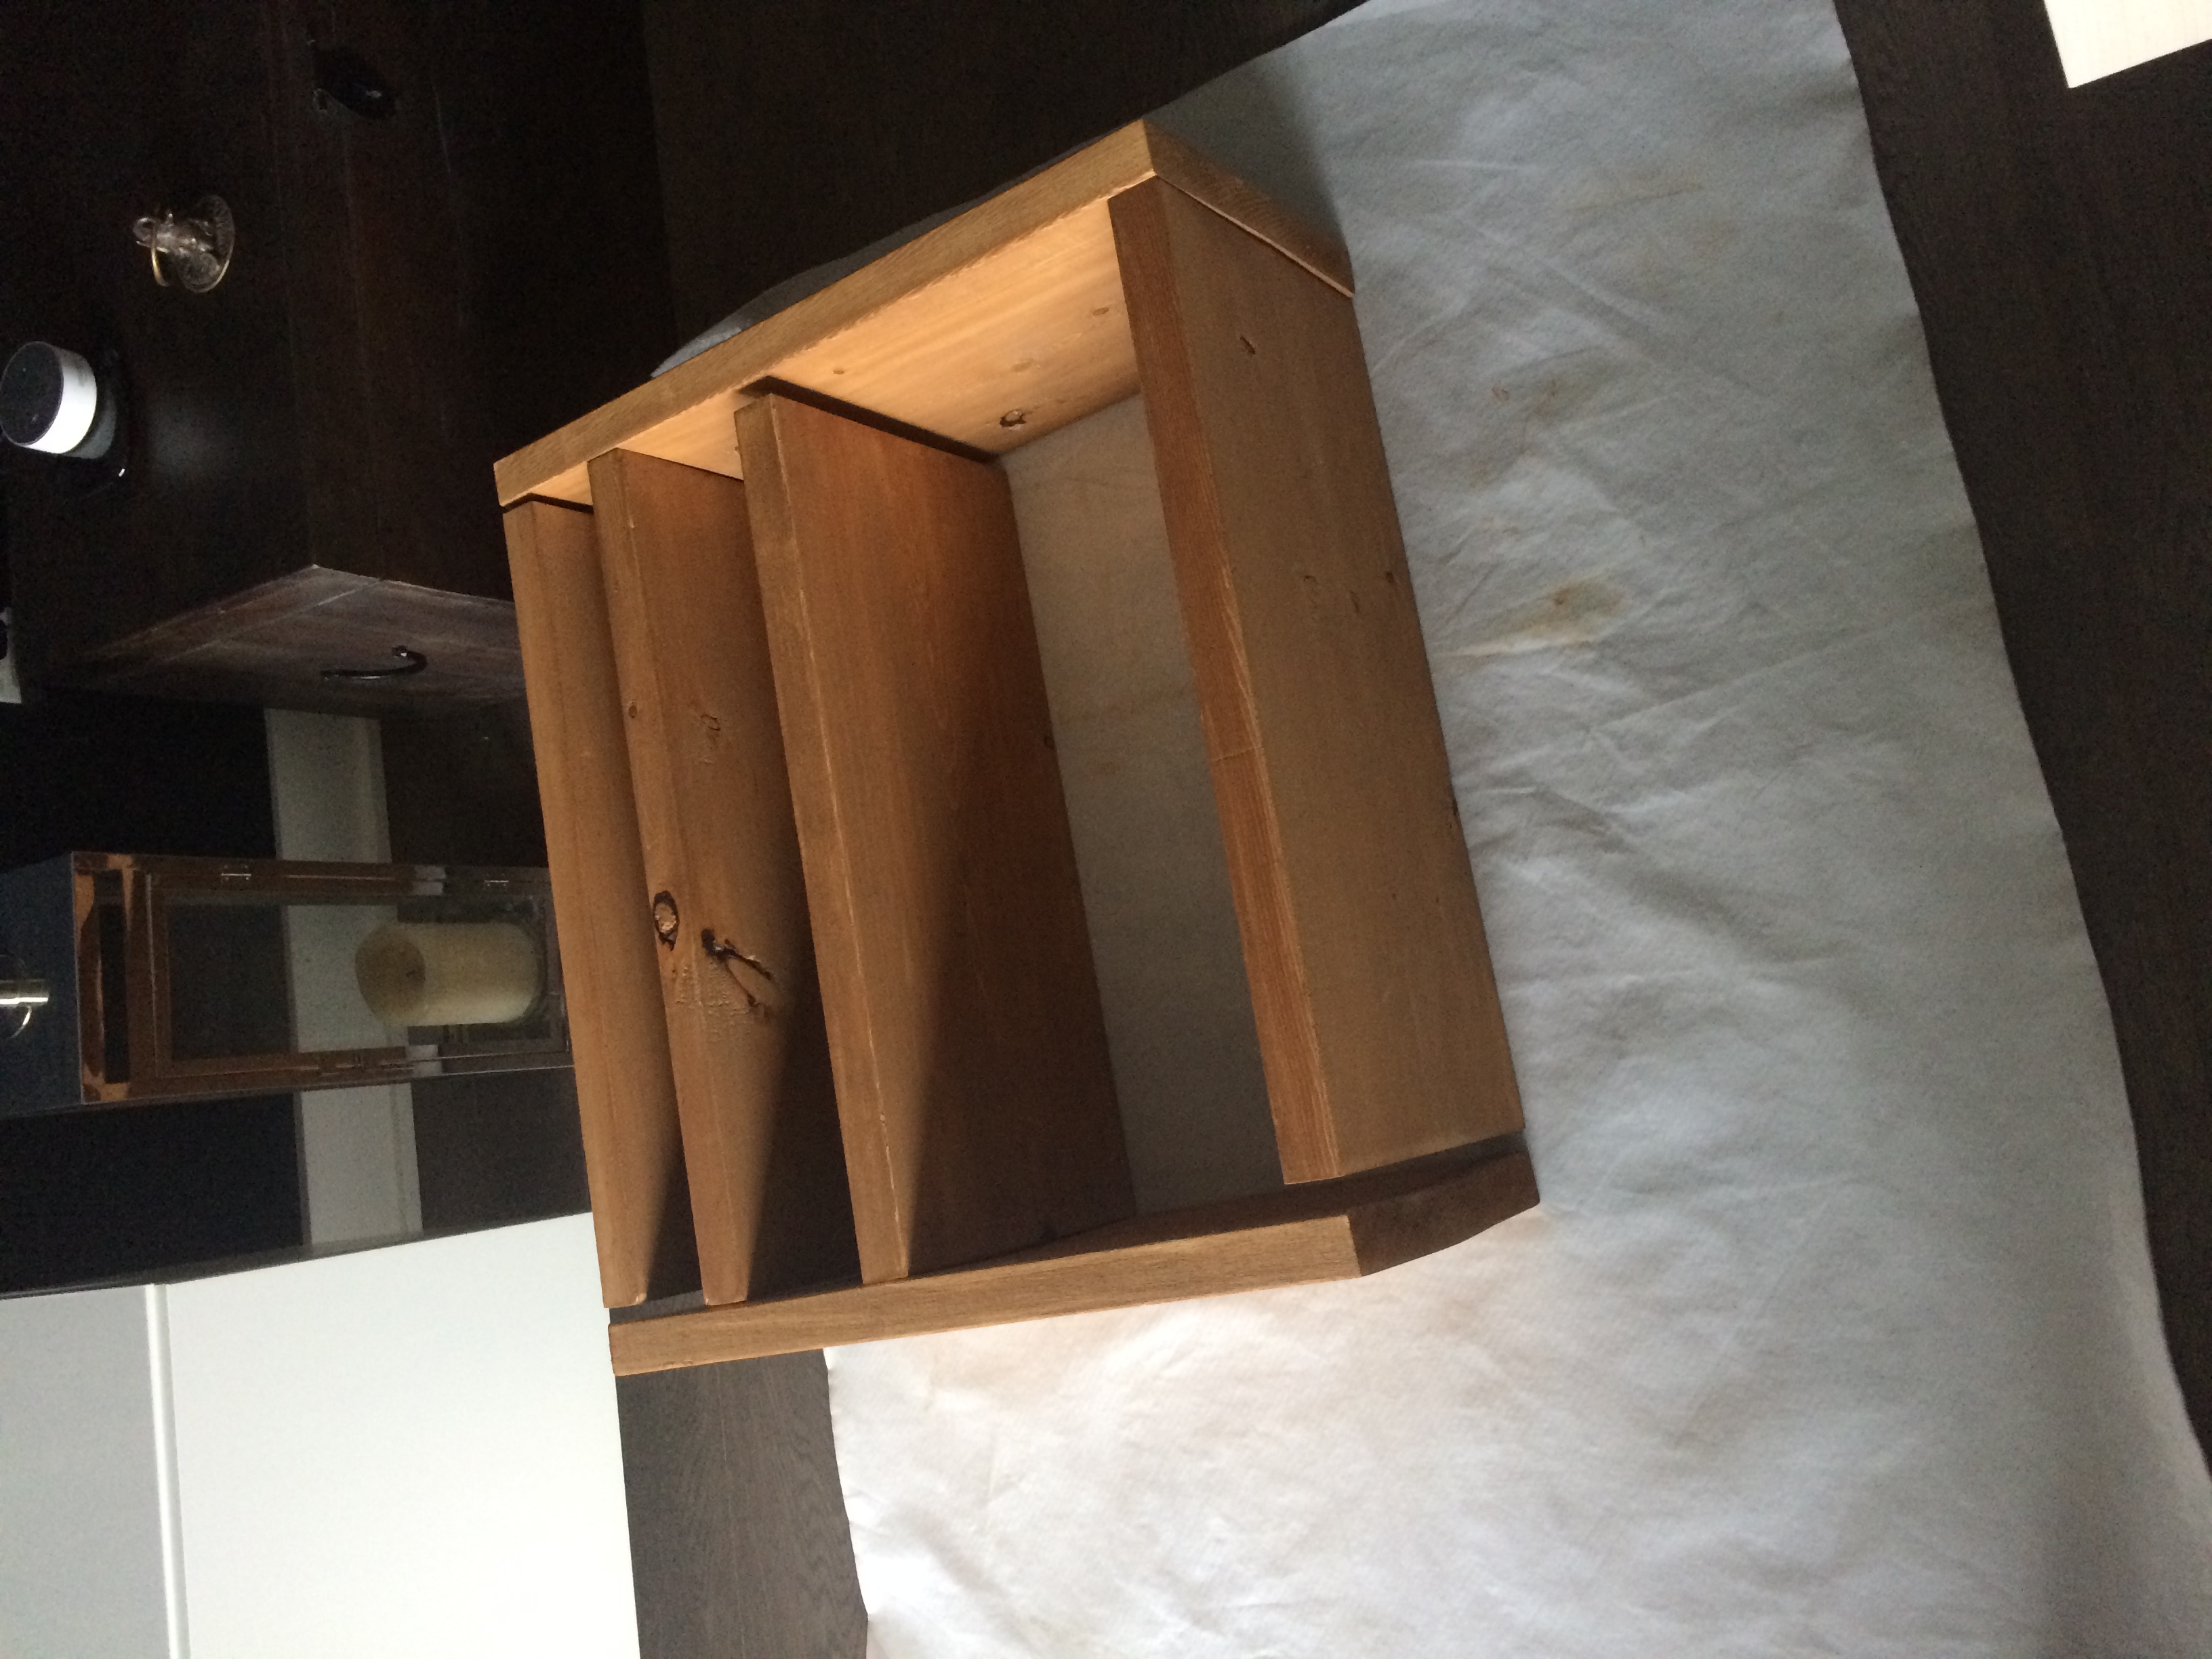
Ours were cut 24” in length each (6 pieces total). We also chose a wooden board that had 12” in depth so our big plates would fit comfortably on the shelves.
Step 2: Sanding the shelves
You’ve driven home with all the equipment and material you need to get this open kitchen shelving project rolling. Well done. Now what?
It’s sanding time.
Sanding is a pain in the butt, especially if you don’t have the adequate space for it. I would suggest doing it in your garage or outside.
If you’ve never sanded before, watch this video on the basics of sanding. And don’t forget to wear a mask, earplugs, and goggles to protect your face, ears and lungs.
Note: If you don’t want to use a power sander, you can definitely sand the wood by hand. Since pine is a soft wood that is easy to work with, it’s a good alternative to using a sander. It will take you way more time, but no big deal.
Step 3: Staining the shelves
Once you’ve sanded all sides of your shelves, it’s time to wipe off the dust and get to staining. I used a water-based wood stain made by SamaN. Their staining products are amazing and you only need to apply 1 coat.
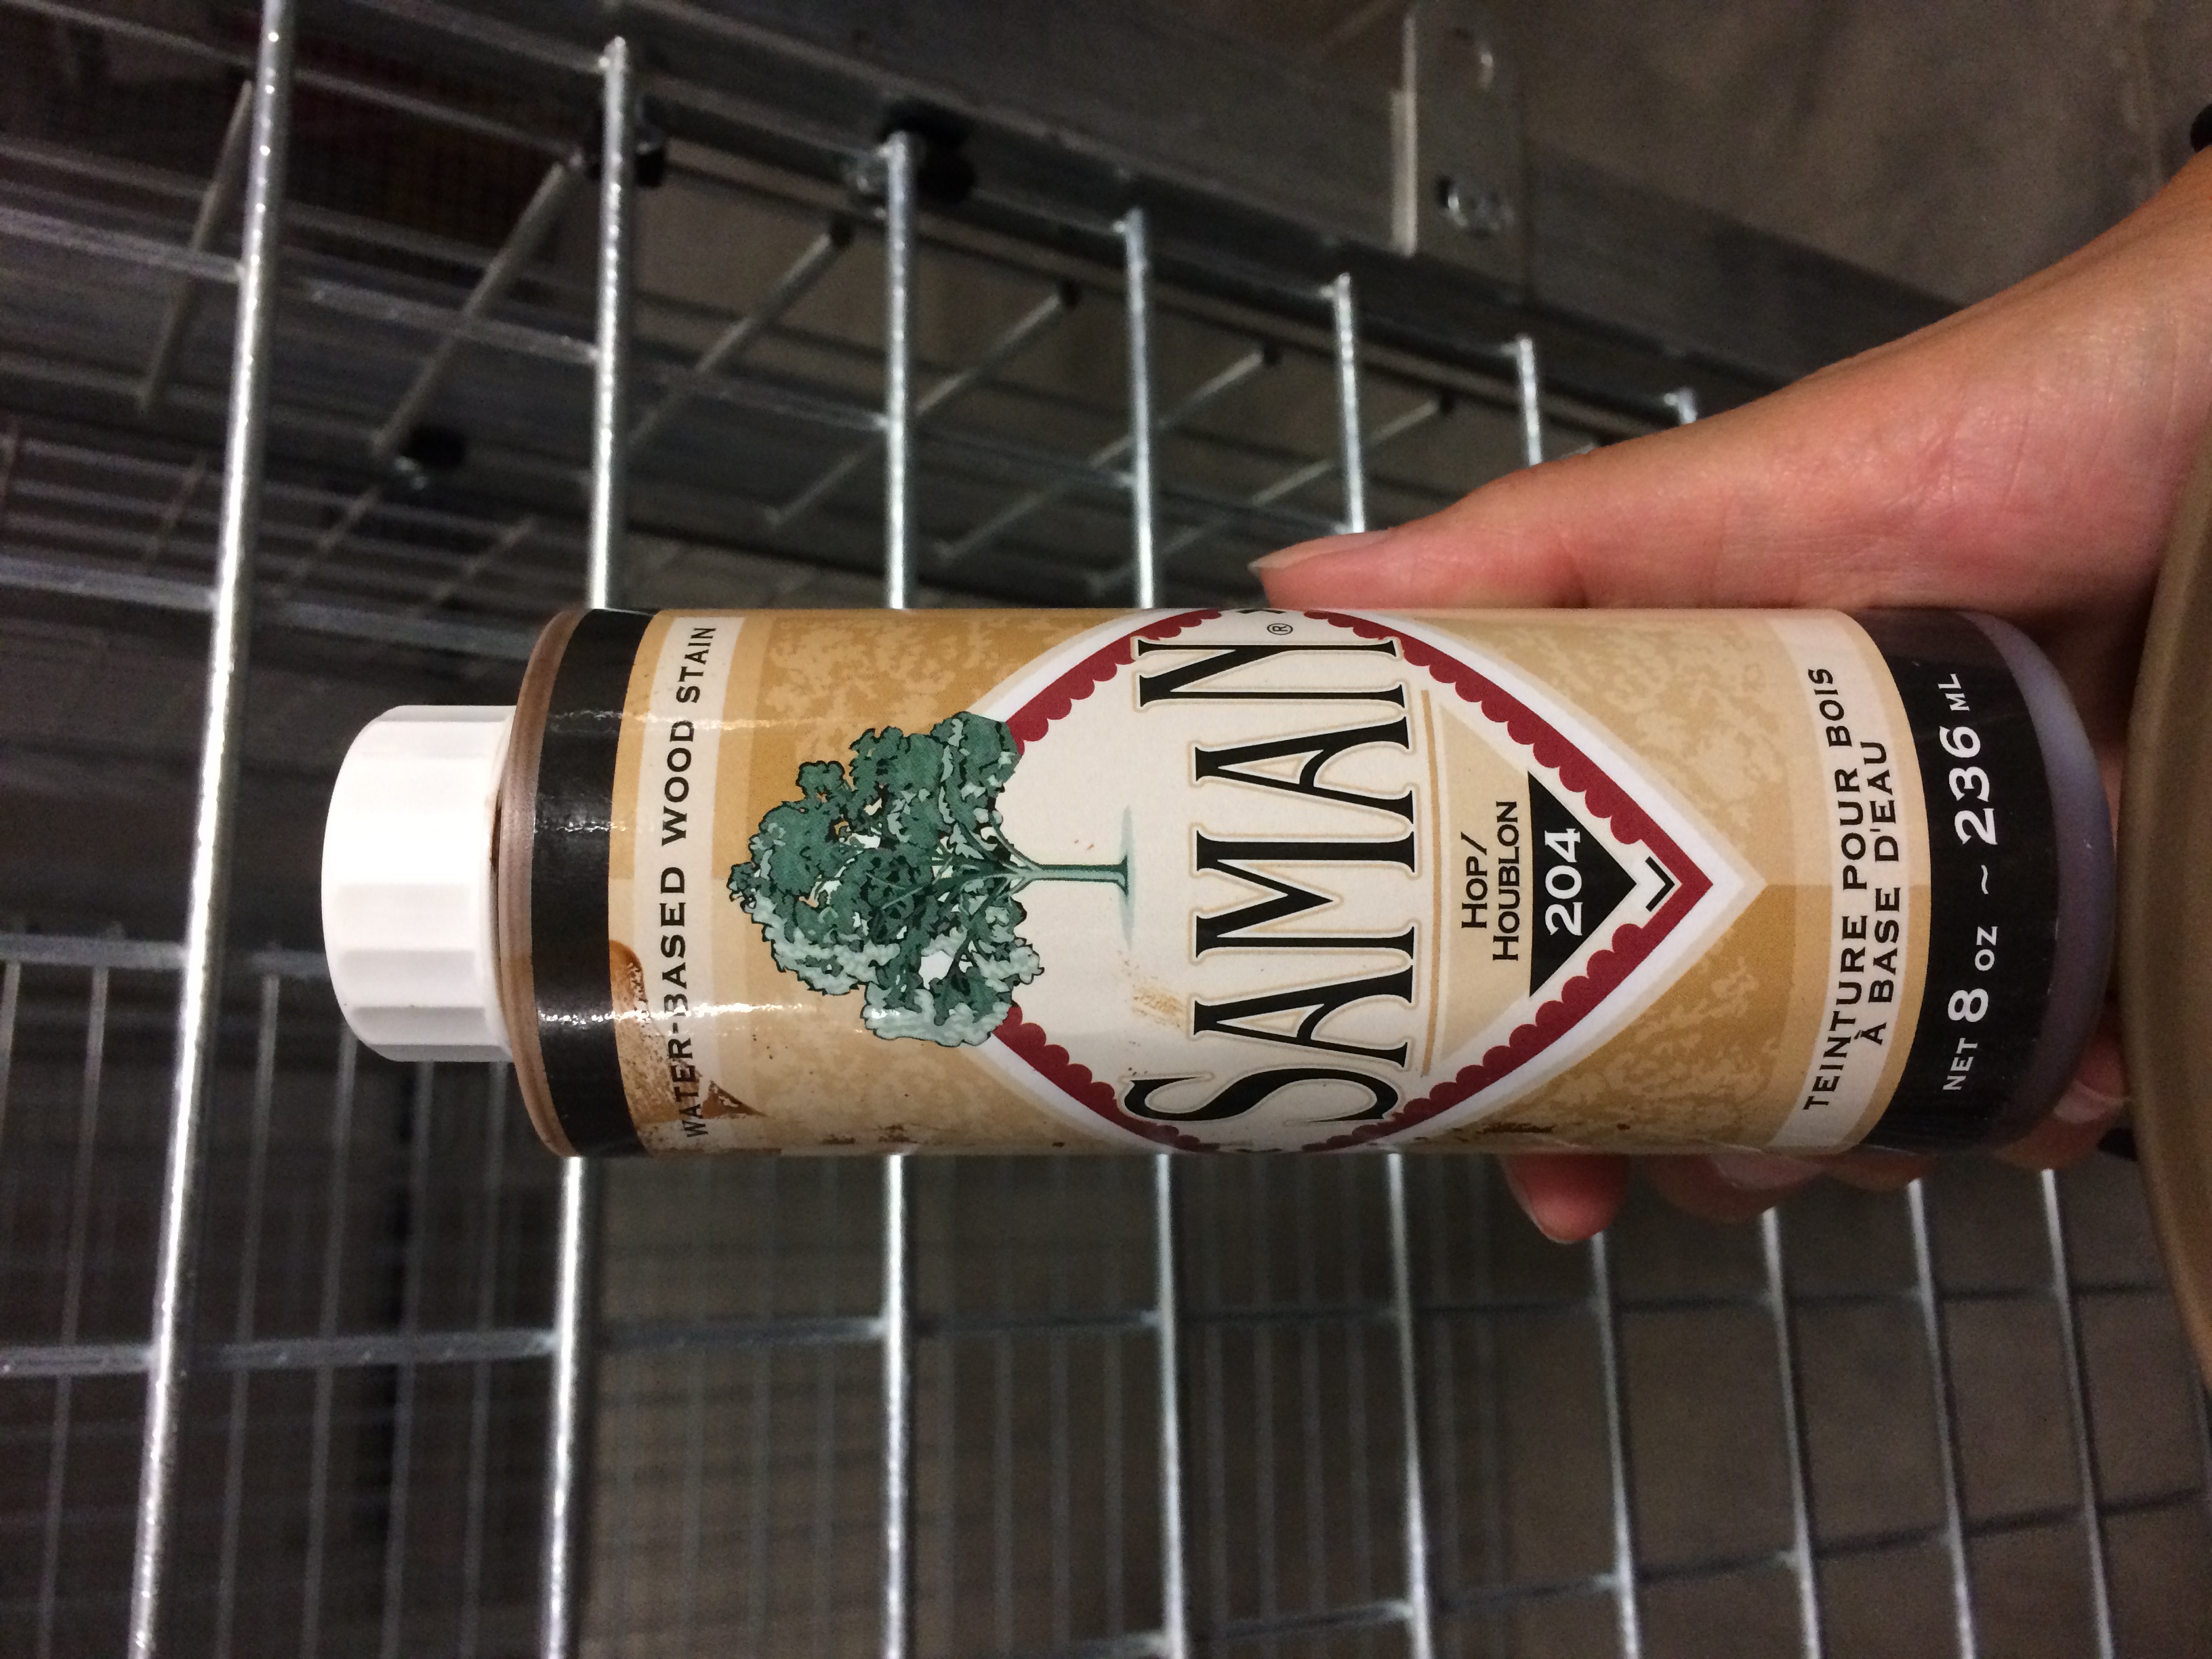
Use the staining kit mentioned in the materials section. Pour some stain on the sponge and apply it to the wood (go with the grain so the wood absorbs the stain properly). Once you’ve covered all sides, let it dry for an hour (read the instructions in case).
Then you’re ready to apply the polyurethane.
Step 4: Applying polyurethane
How amazing does that stain look? Impressive, right? Cool, let’s move on.
You need to apply at least 3-4 coats of polyurethane to your newly stained kitchen shelves to protect them against scratches and stains (apply with a paint brush). I only applied 3 and it looked fine.
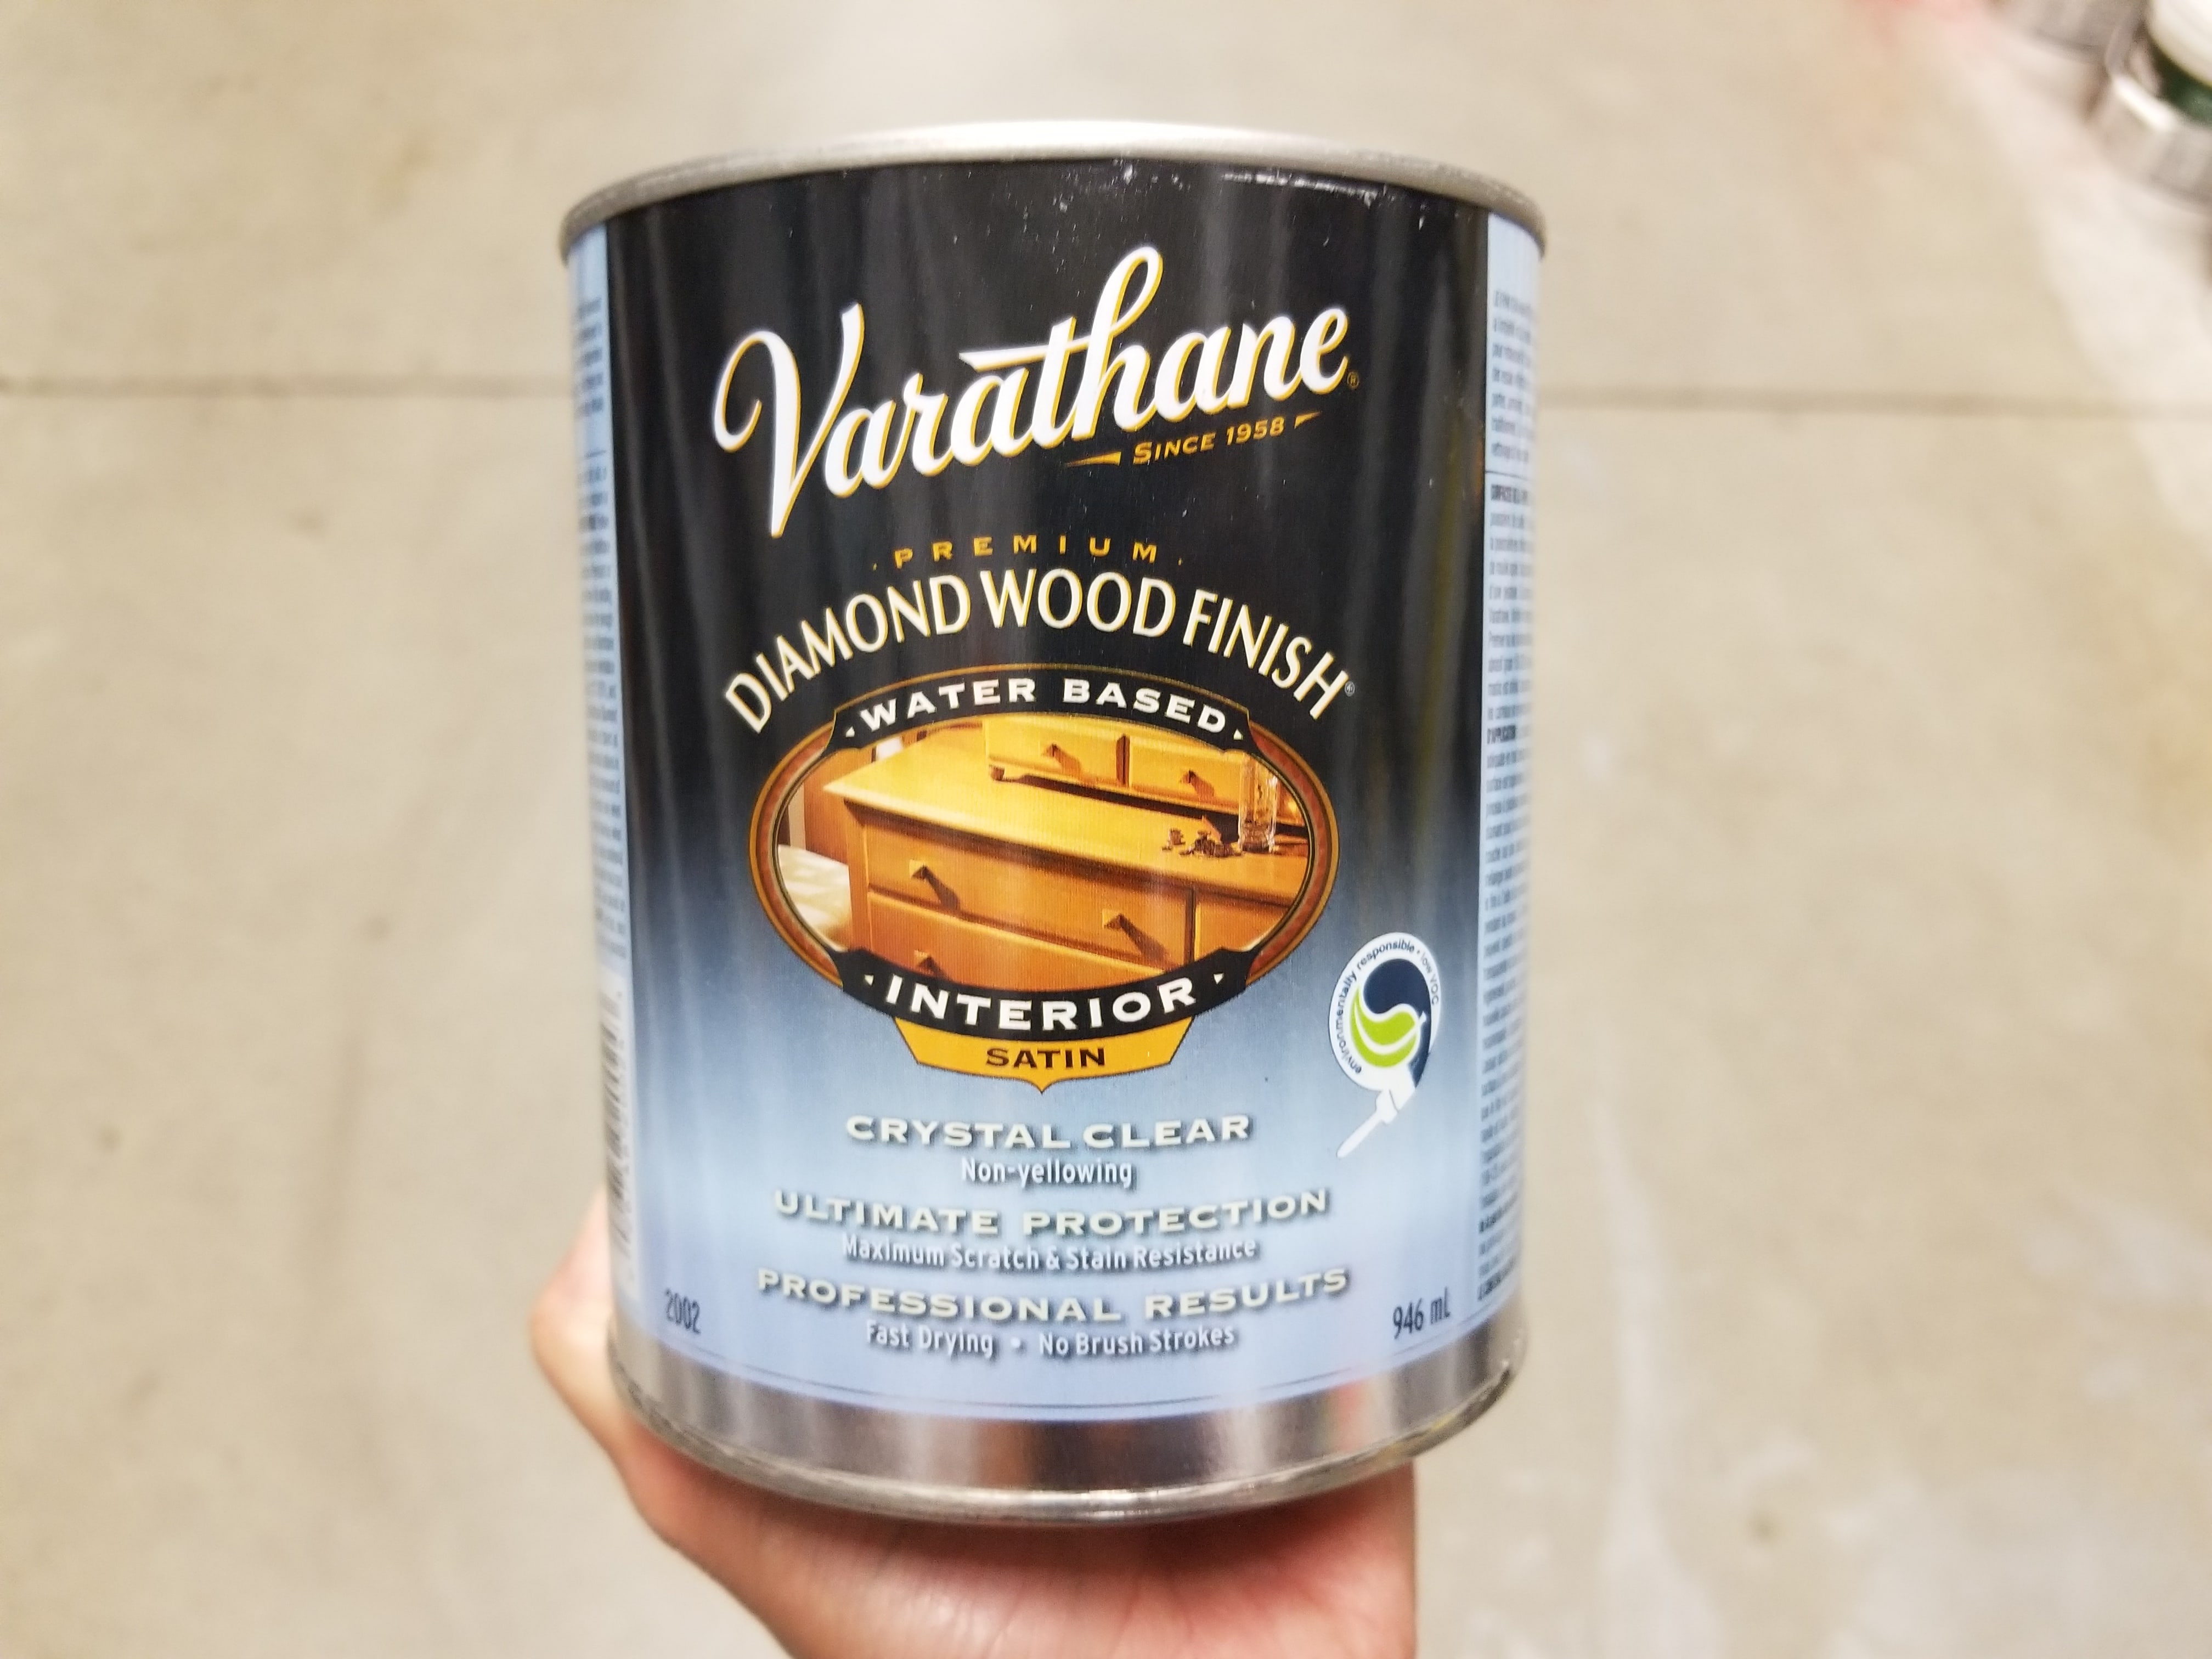
You need to let the varnish dry for at least 2 hours between each coat. If you wait 24 hours between a coat, you might have to slightly sand the wood again before applying another coat (make sure to read the instructions before you do any of this).
Once all coats have been applied, leave the shelves alone for at least 24 hours before mounting them (or 2-3 days if you have the time).
How to mount open kitchen shelving on tiles
Alright, so the easy part is done. “Are you kiddin’ me? That was the easy part?” Yeah.
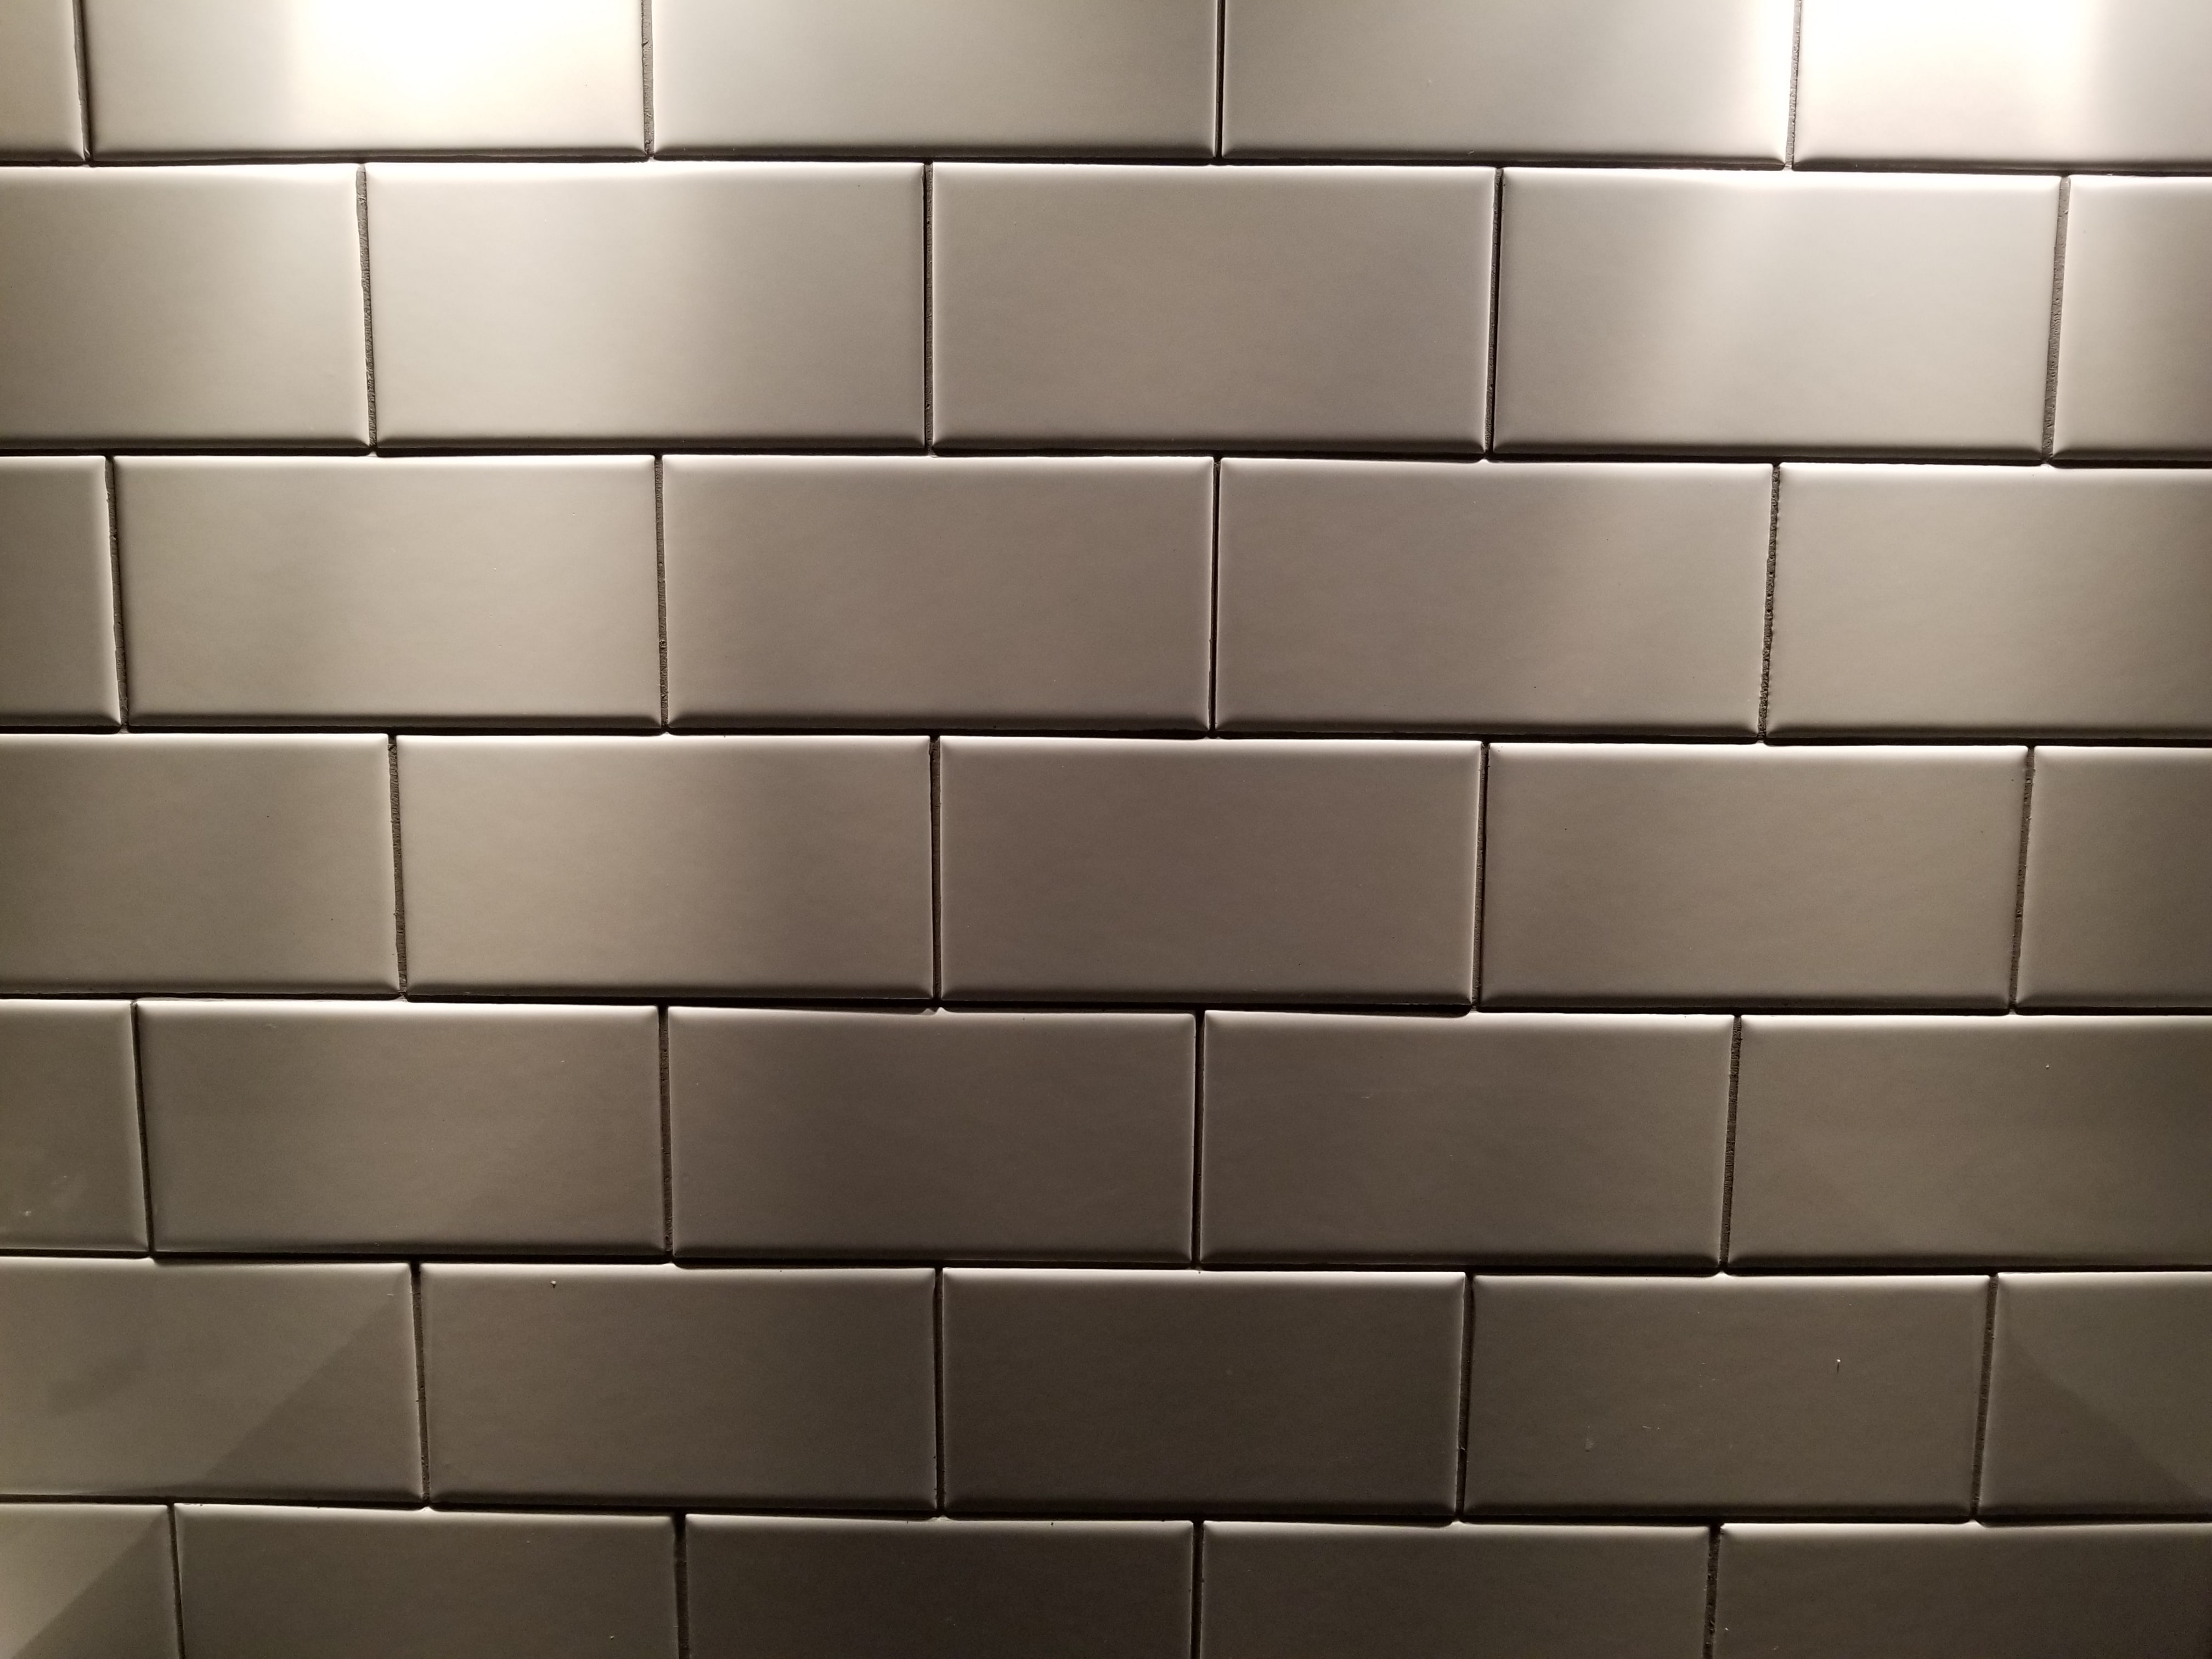
We cheated a little bit and hired a handyman to drill the holes for the open kitchen shelving because we had to mount them on subway tiles without any studs for support. YIKES.
But we were with the handyman the whole time and I can tell you exactly how he did it.
Note: if you don’t have to install your kitchen shelves on tiles, this process becomes a lot easier. If you have studs in the wall where the brackets will go, you’re golden. For the rest of you, follow these instructions closely.
Materials used:
- Shelf brackets (2 per shelf)
- 3/16″ snap toggle bolt (minimum 2 per shelf)
- Screws
- Marker
- Masking tape
Tools used:
- Drill
- ½” drill bit for tiles (ask your hardware store for the right one, and check if your tiles are ceramic or porcelain first)
- Hammer
- Stud finder
- Level
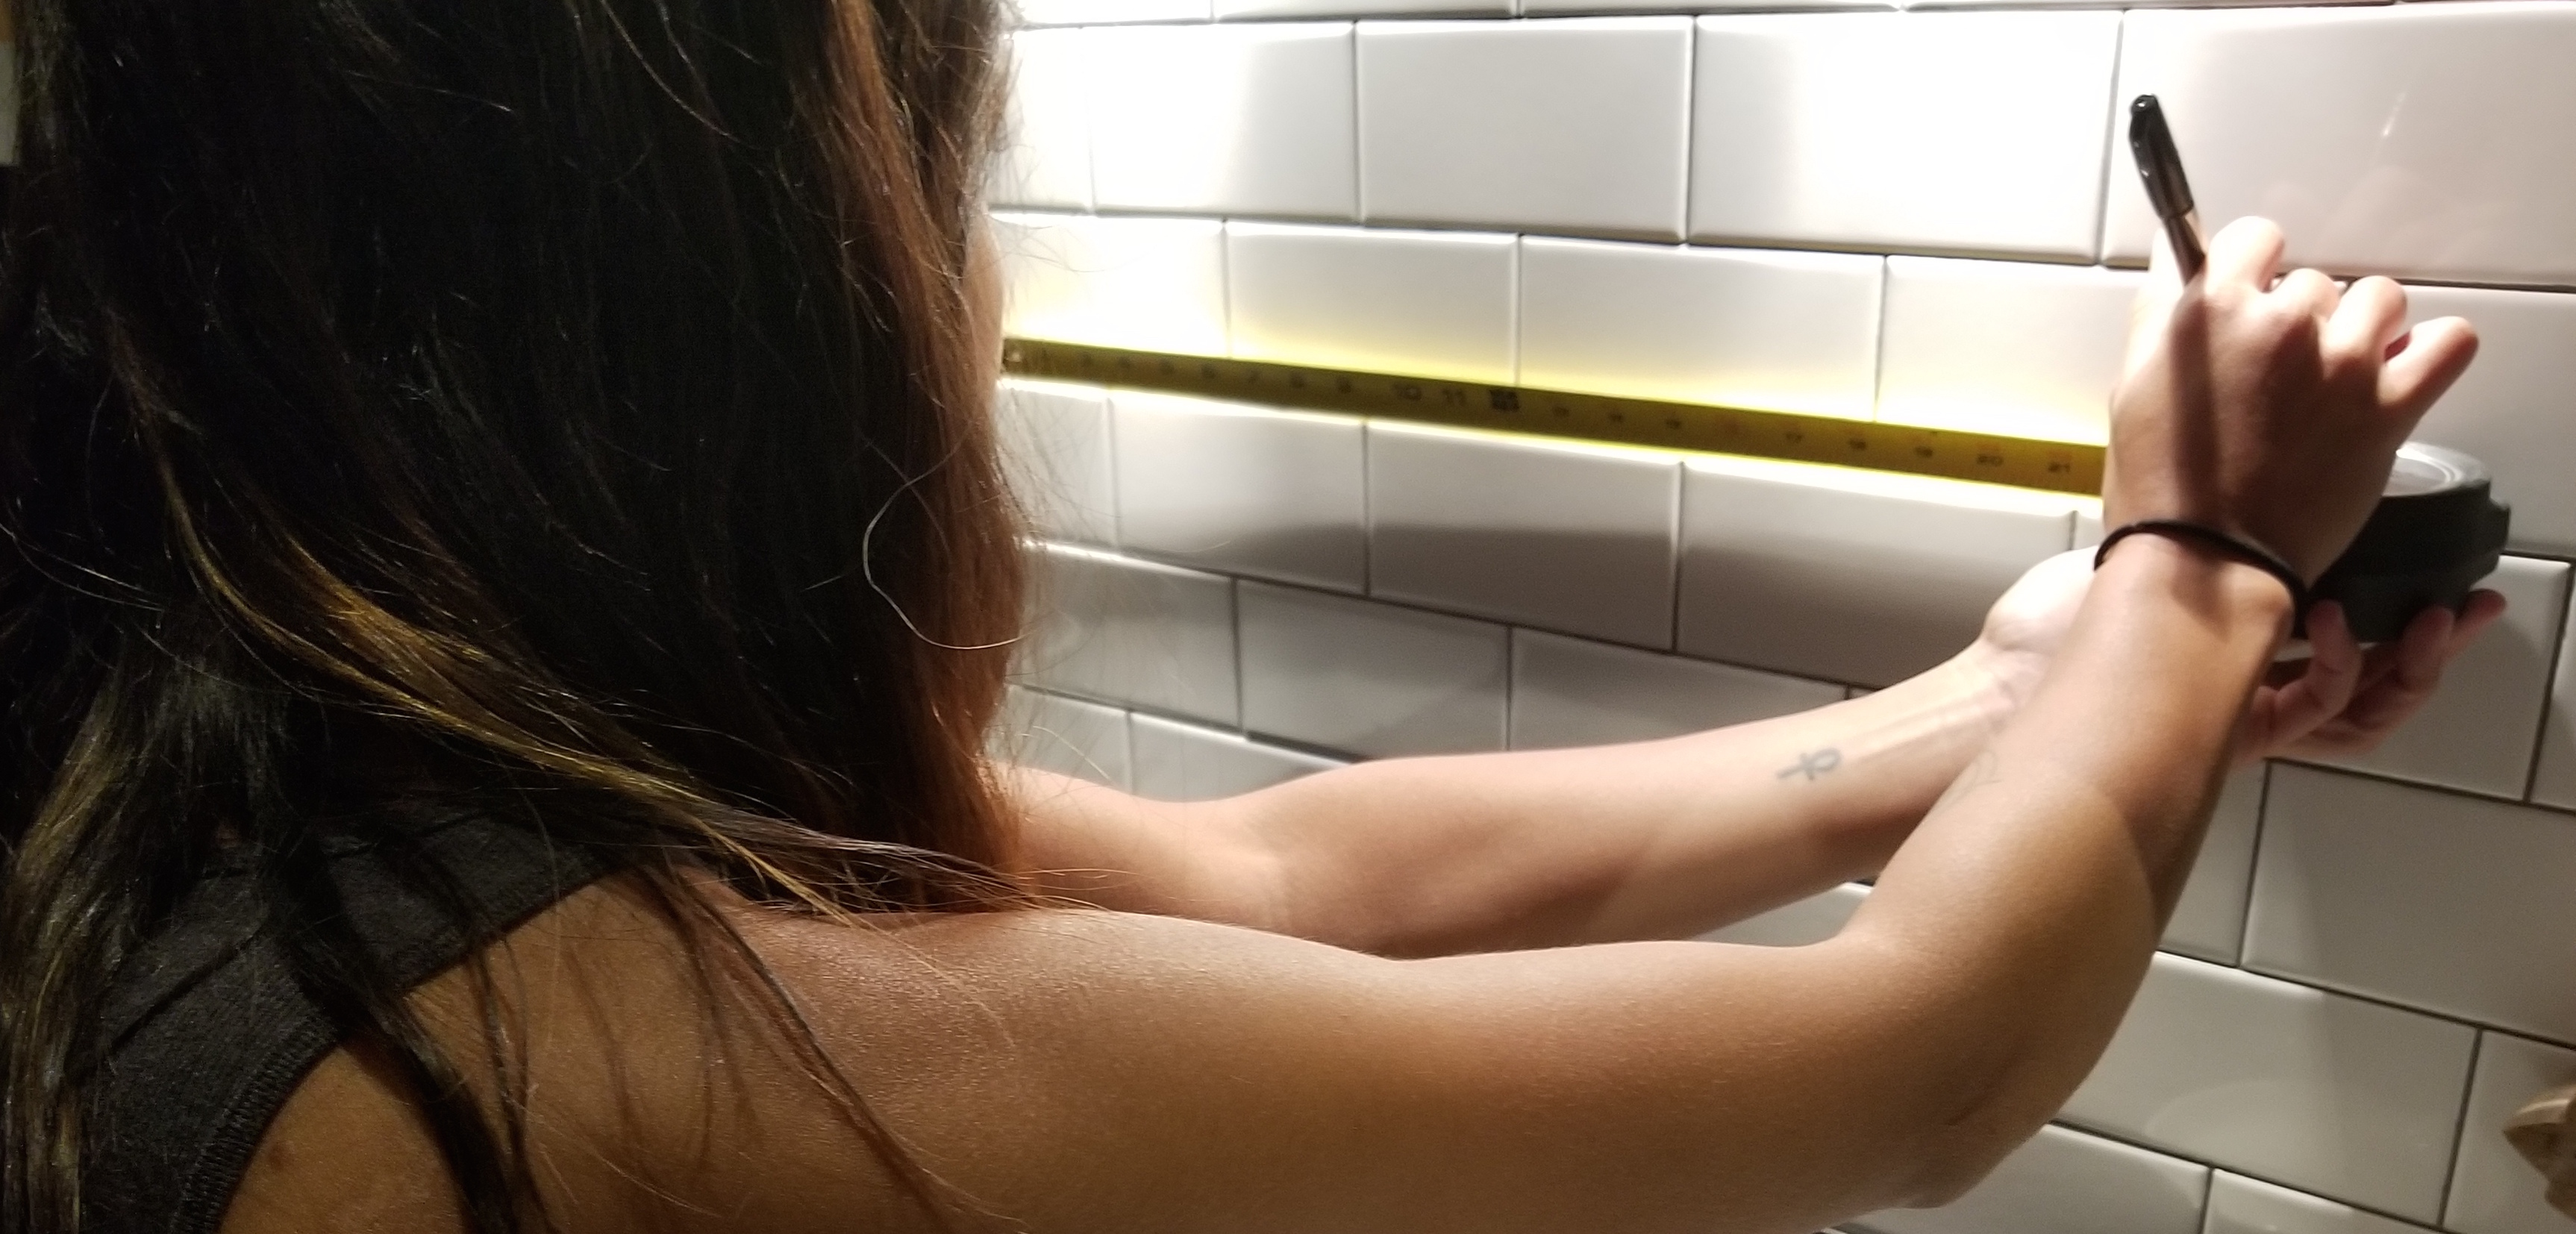
Step 1: Measure and mark your wall
Before you do anything, you need to figure out where exactly your shelves are going to go. If you’re installing shelves above your kitchen counter, make sure anything you’re planning on putting on top of your counters will fit under the first shelf (i.e., leave enough space for your coffee machine, toaster, etc.).
Then, make sure you can actually reach at least the first two shelves, unless your kitchen shelves will only have decorative items on them. You also need to make sure the distance between the shelves makes sense in regards to what you’re planning on putting up there.
Measure everything and draw where your bracket holes will go with an erasable marker (easily removable on tiles, not so much on walls. You can just use a pencil in that case). Also, use a level so your shelves are straight.
Use your judgment. You got this.
Step 2: Drill pilot holes (If you’re just drilling into regular drywall, skip to Step 3)
Now the real nightmare begins.
If you’re drilling into tiles, you must first pray to the tile gods. The main reason we didn’t do this ourselves is because I would have had a panic attack if I had cracked any of the tiles.
Cover your counters with a sheet or towel, otherwise everything will get dusty. Then fetch your drill and drill ½” pilot holes for each screw/toggle bolt. I suggest watching this video on how to drill holes in tiles.
Once you’re done drilling the pilot holes, the hardest part is done. You can relax, superstar.
Pro tip: Make sure to have spare tiles just in case.
Step 3: Insert toggle bolts and screws
If you’re using toggle bolts, finding studs doesn’t matter anymore. Toggle bolts can handle a lot weight. The ones I’ve listed can hold up to 238 lbs.
If you find a stud directly behind your bracket, then you don’t need a toggle bolt for that bracket. But you need to be really lucky to have your studs perfectly aligned with where your brackets are going to go.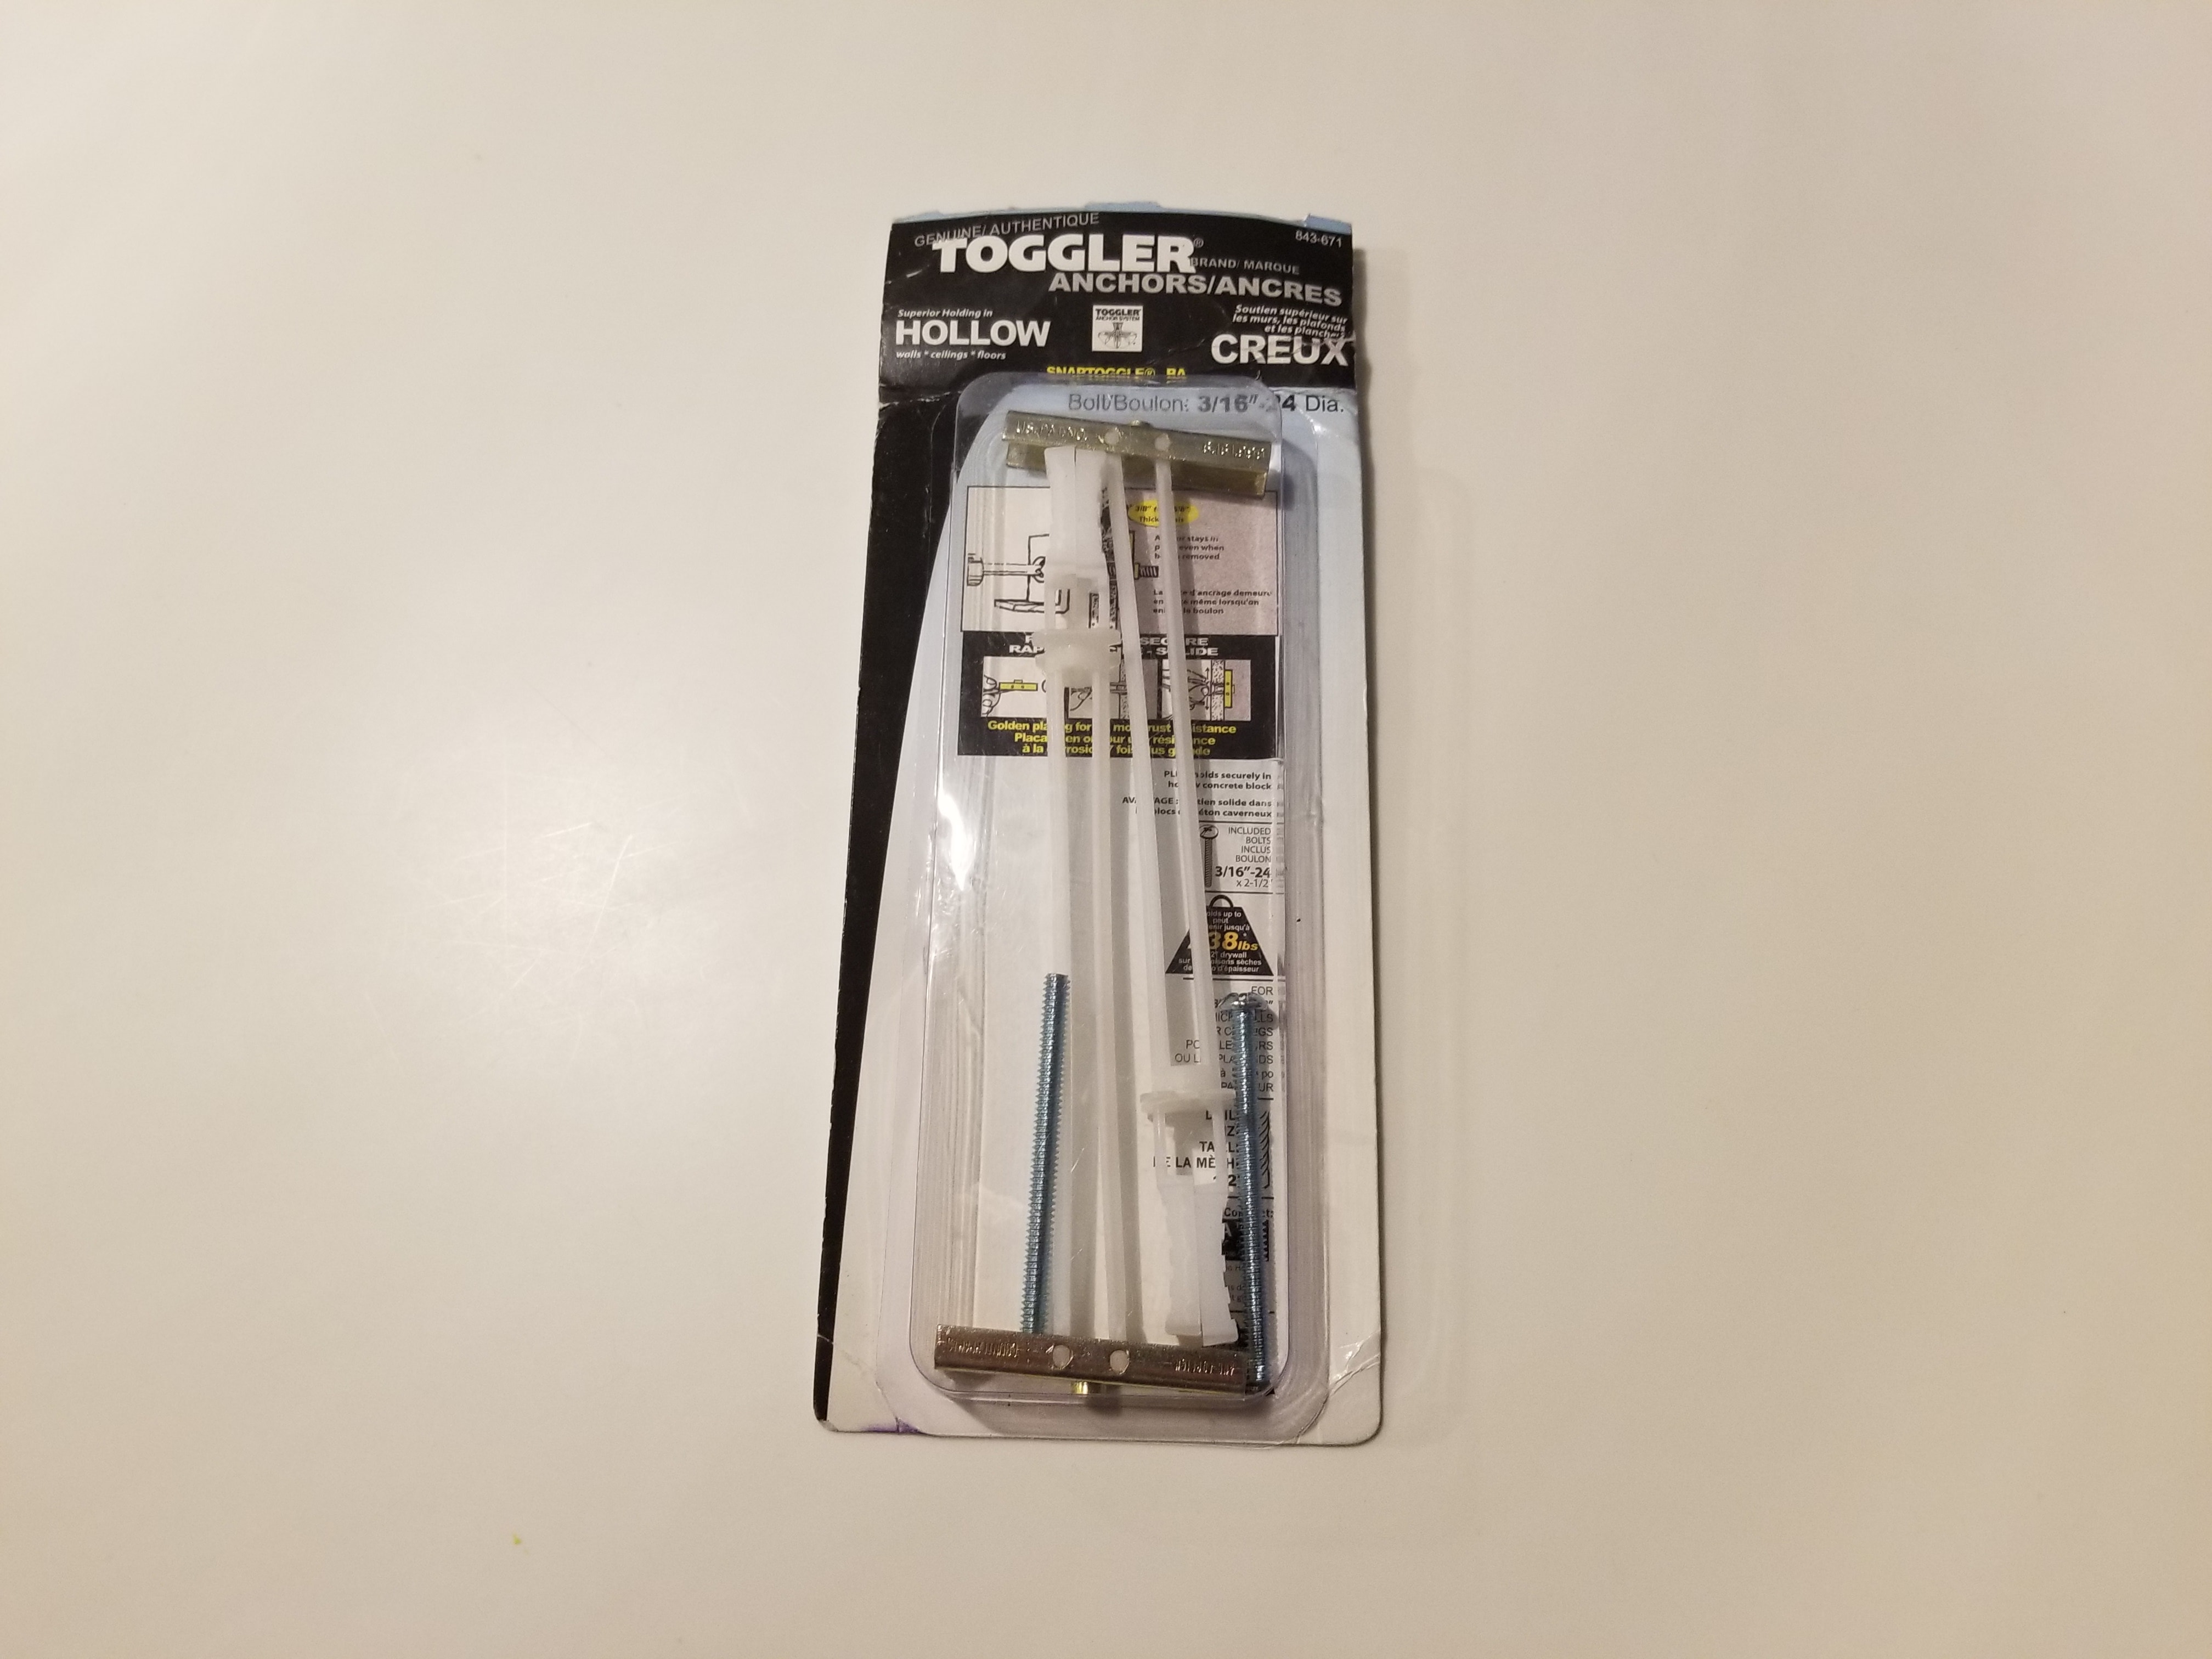
Read the instructions on the toggle bolt packaging to insert them properly. Use 1 bolt per bracket, so 2 bolts per shelf. If you want to use more that’s fine too, but I don’t think it’s necessary.
Once your snap toggle bolts are in, screw the brackets to the wall.
Step 4: Fasten brackets to the shelves
After completing step 3, you should have all your brackets drilled to the wall. All that’s left to do is drill your brackets to your kitchen shelves.
You should put the “prettier” side of your shelves facing down and the imperfect side facing up since the bottom is what’s going to be the most visible.
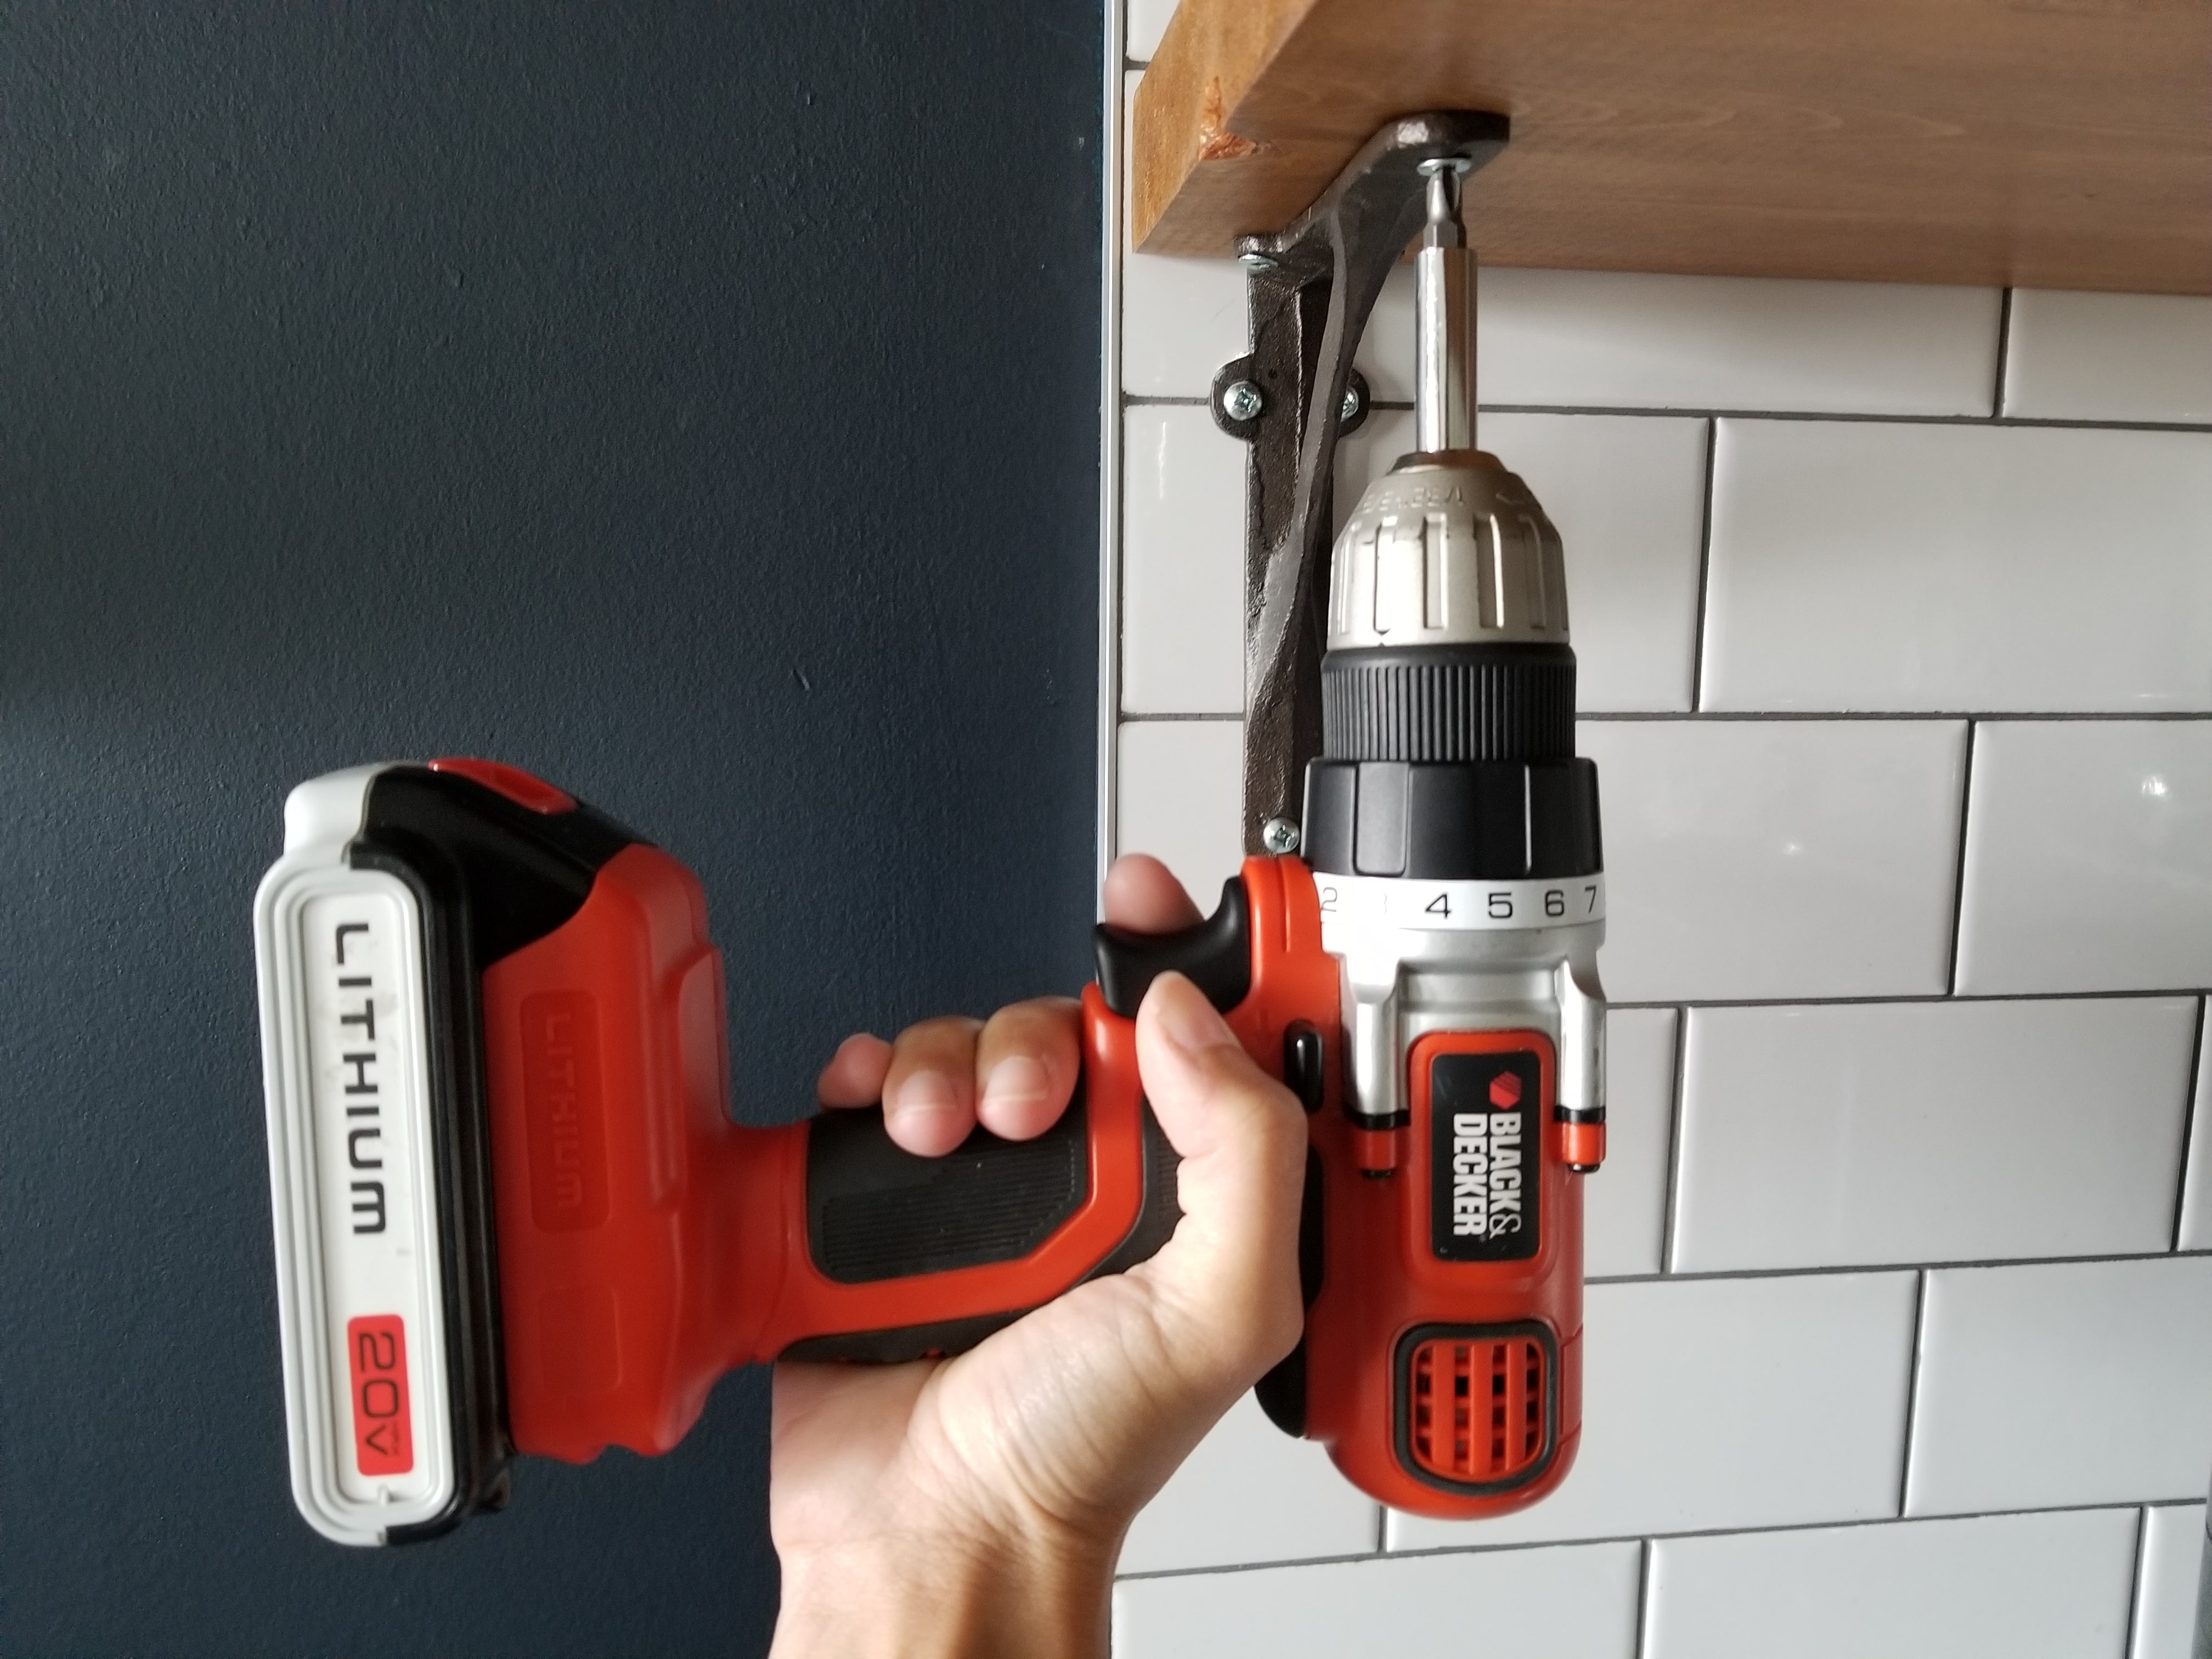
Simply place the shelves on top of your brackets and drill them into place, and you’re all set.
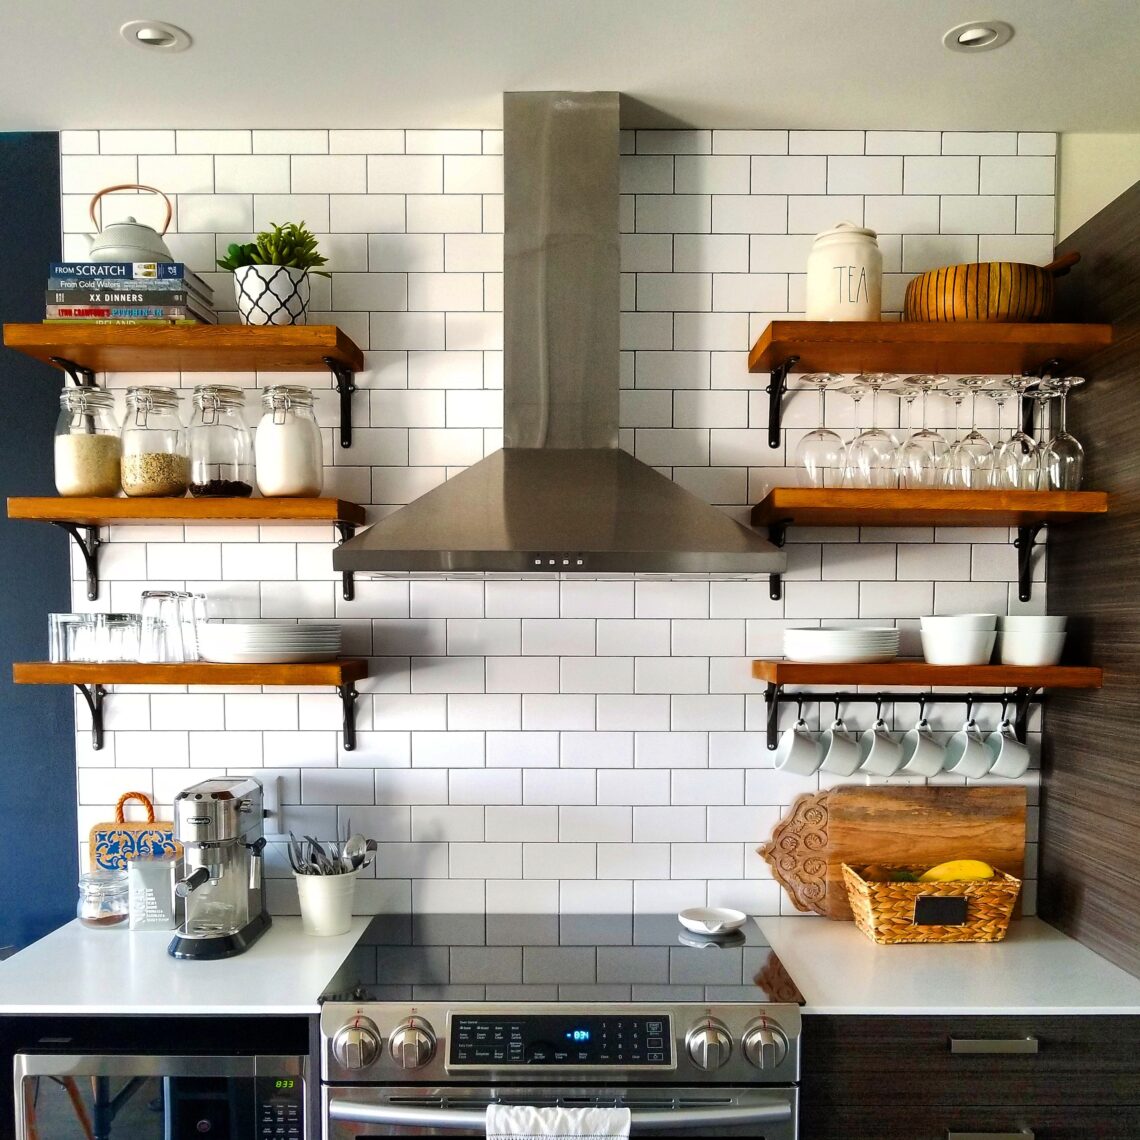
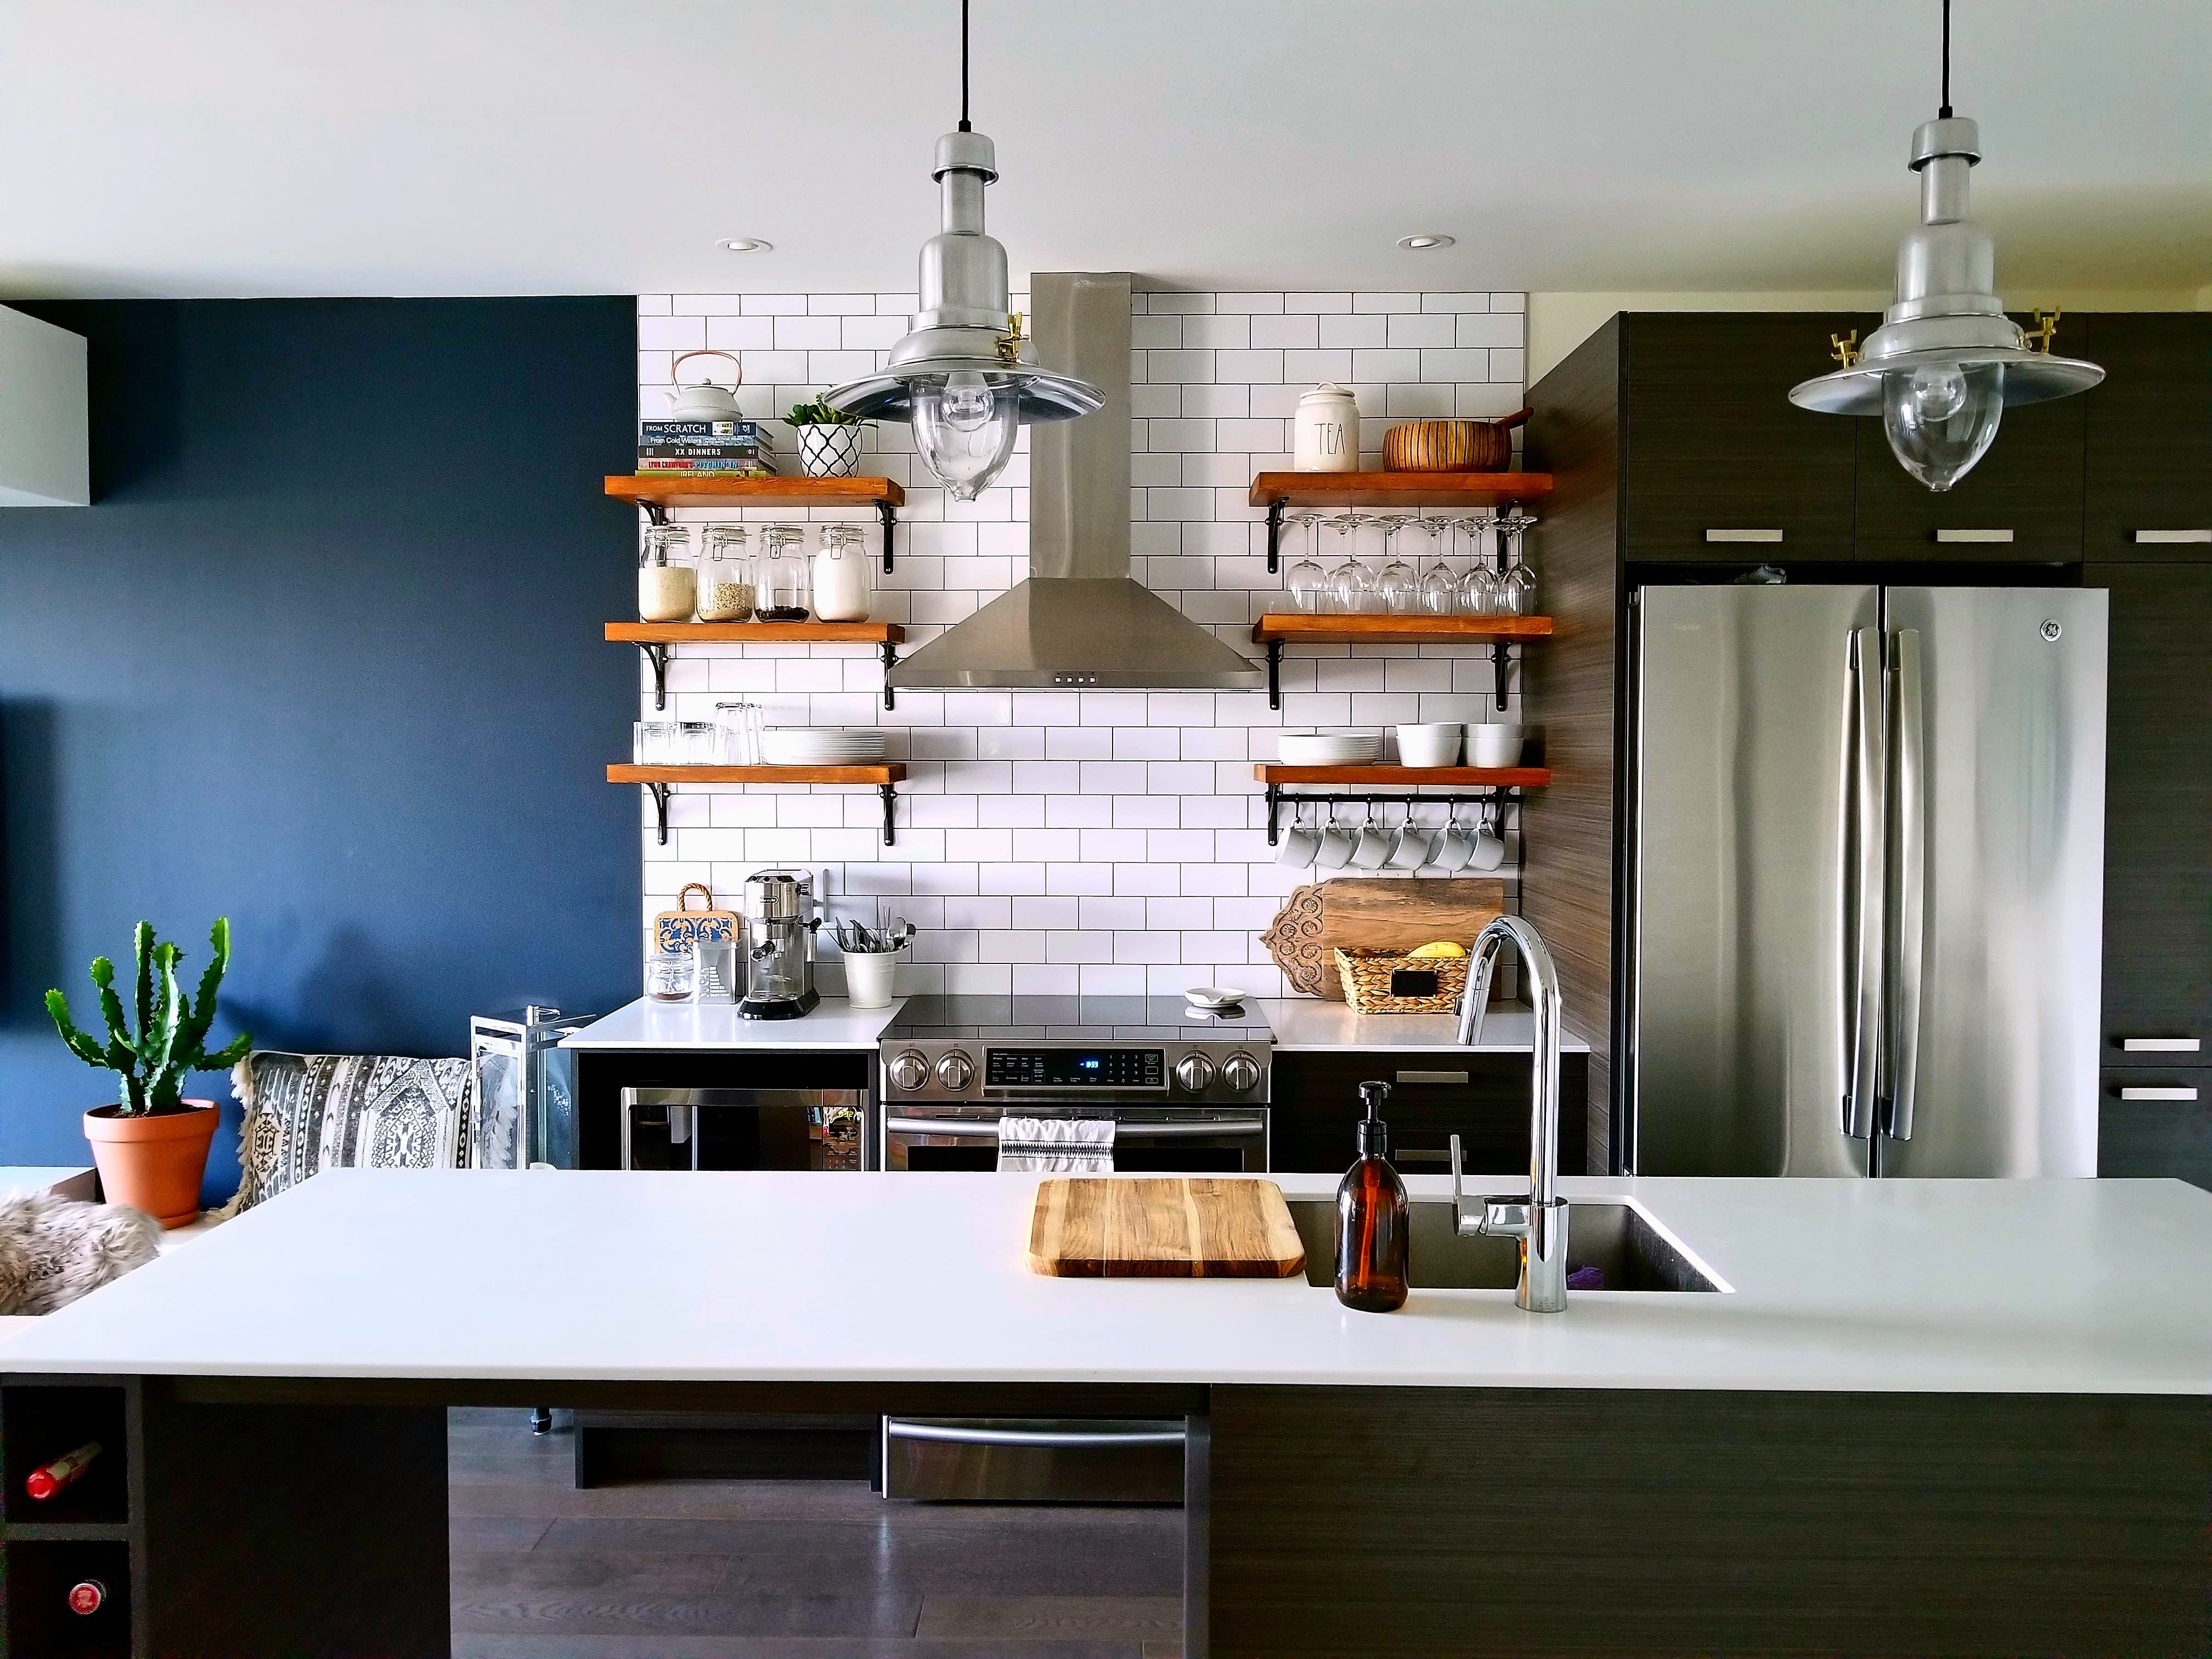
BEFORE

AFTER
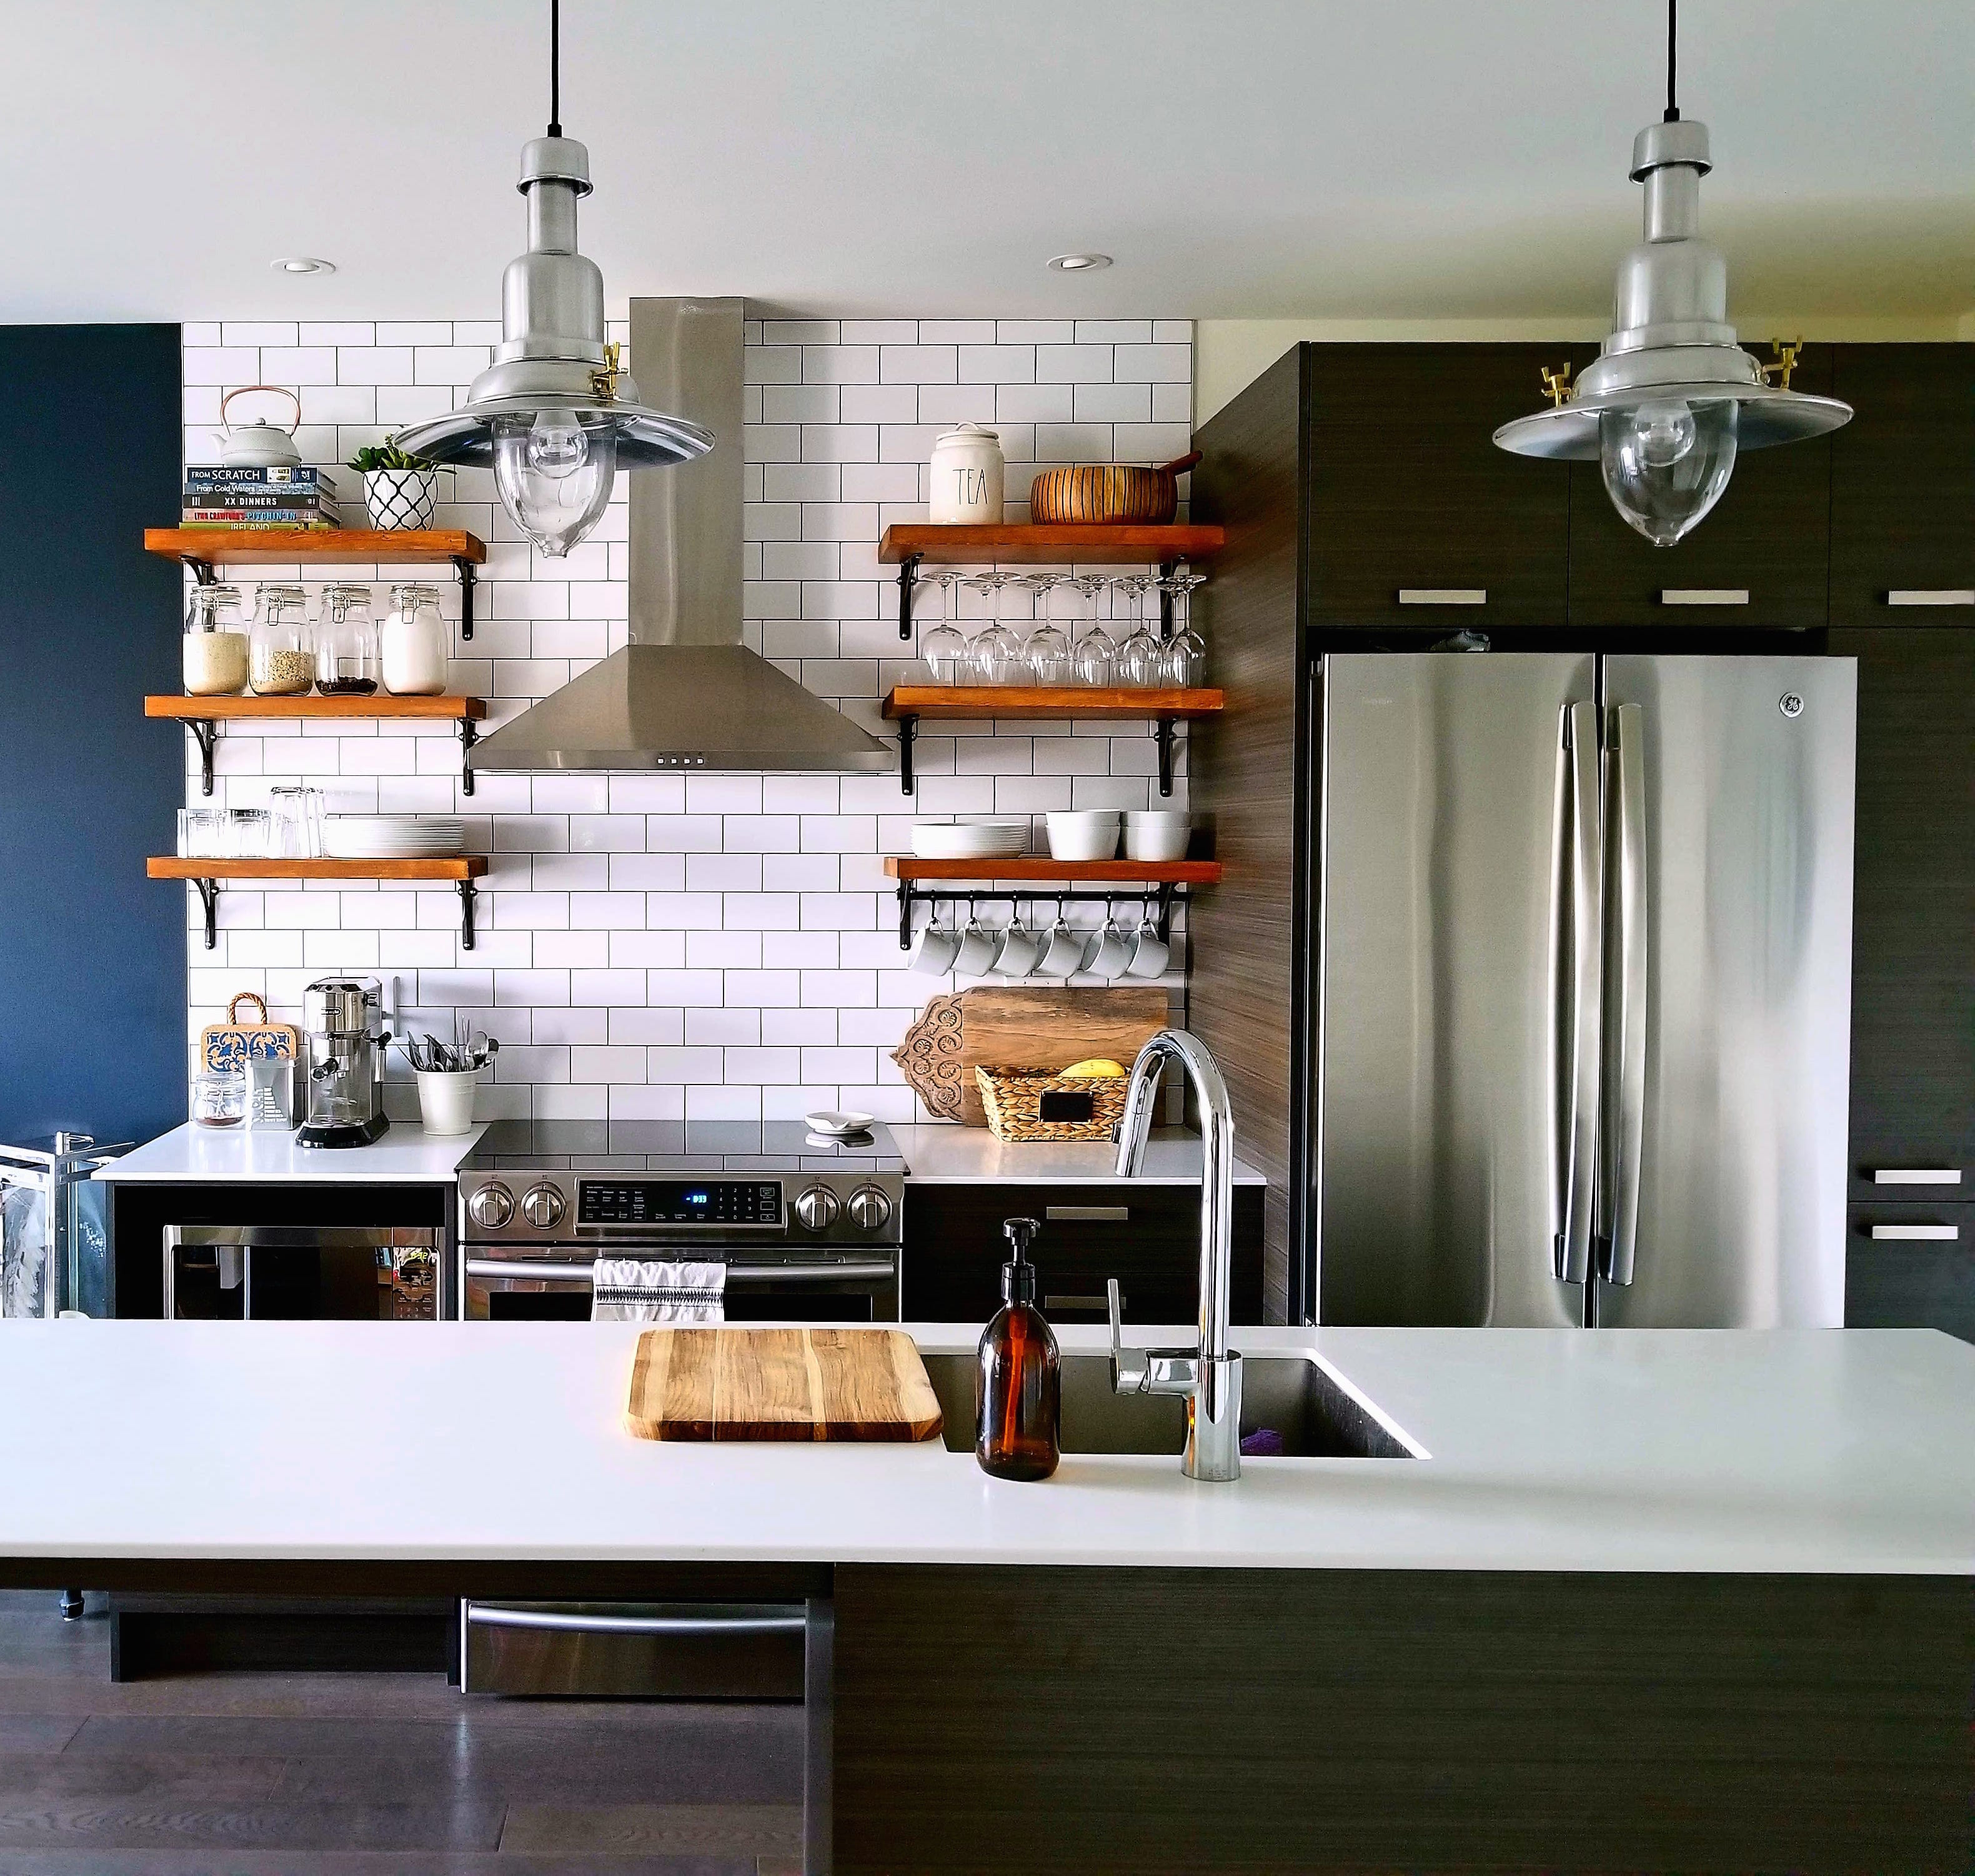
Now you can sit back and enjoy your gorgeous, custom-made open kitchen shelving.
Want to tackle other DIY projects?
Check out my post on how to make a white faux brick wall.


2 Comments
Angie
Awesome DIY! Those shelves look great in your kitchen!
Thanks for sharing 🙂
smallspacedesigner
Thanks so much Angie 🙂