How to Install a Hexagon Tile Backsplash
When we first decided to install a hexagon tile backsplash in our bathroom, we told ourselves we would do it the old-fashioned way: real tiles, mortar, grout, sweat, and tears.
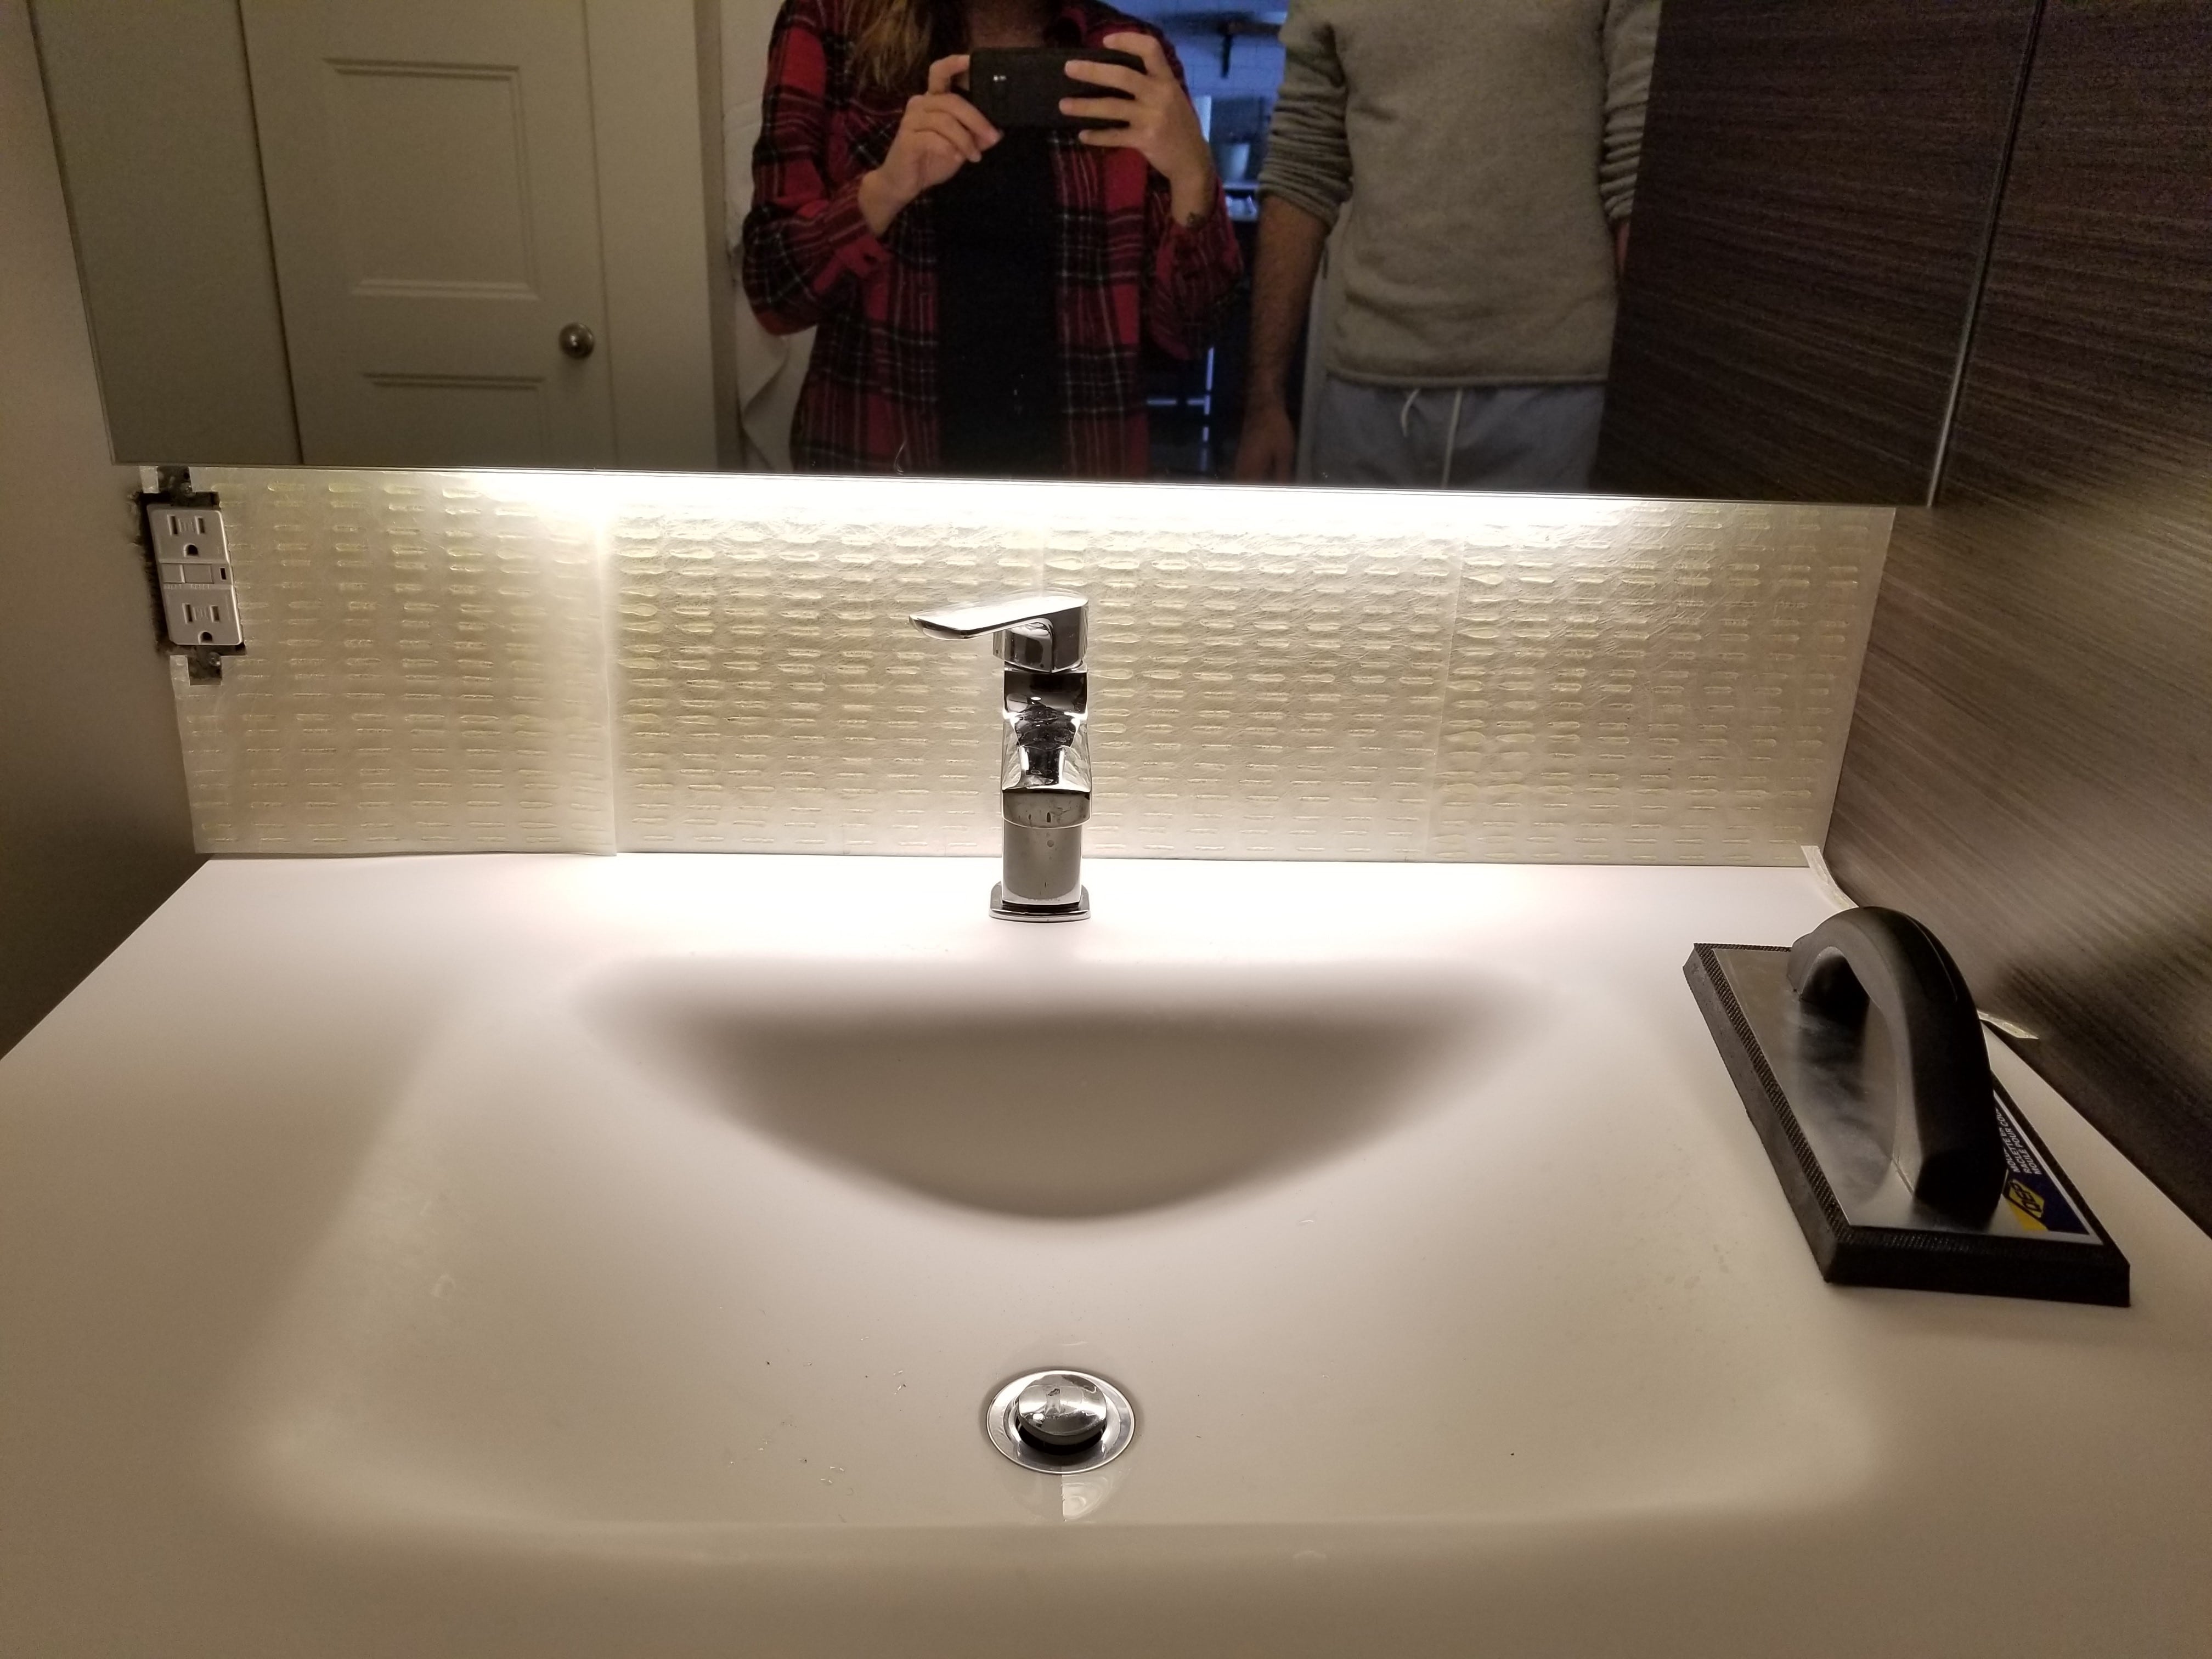
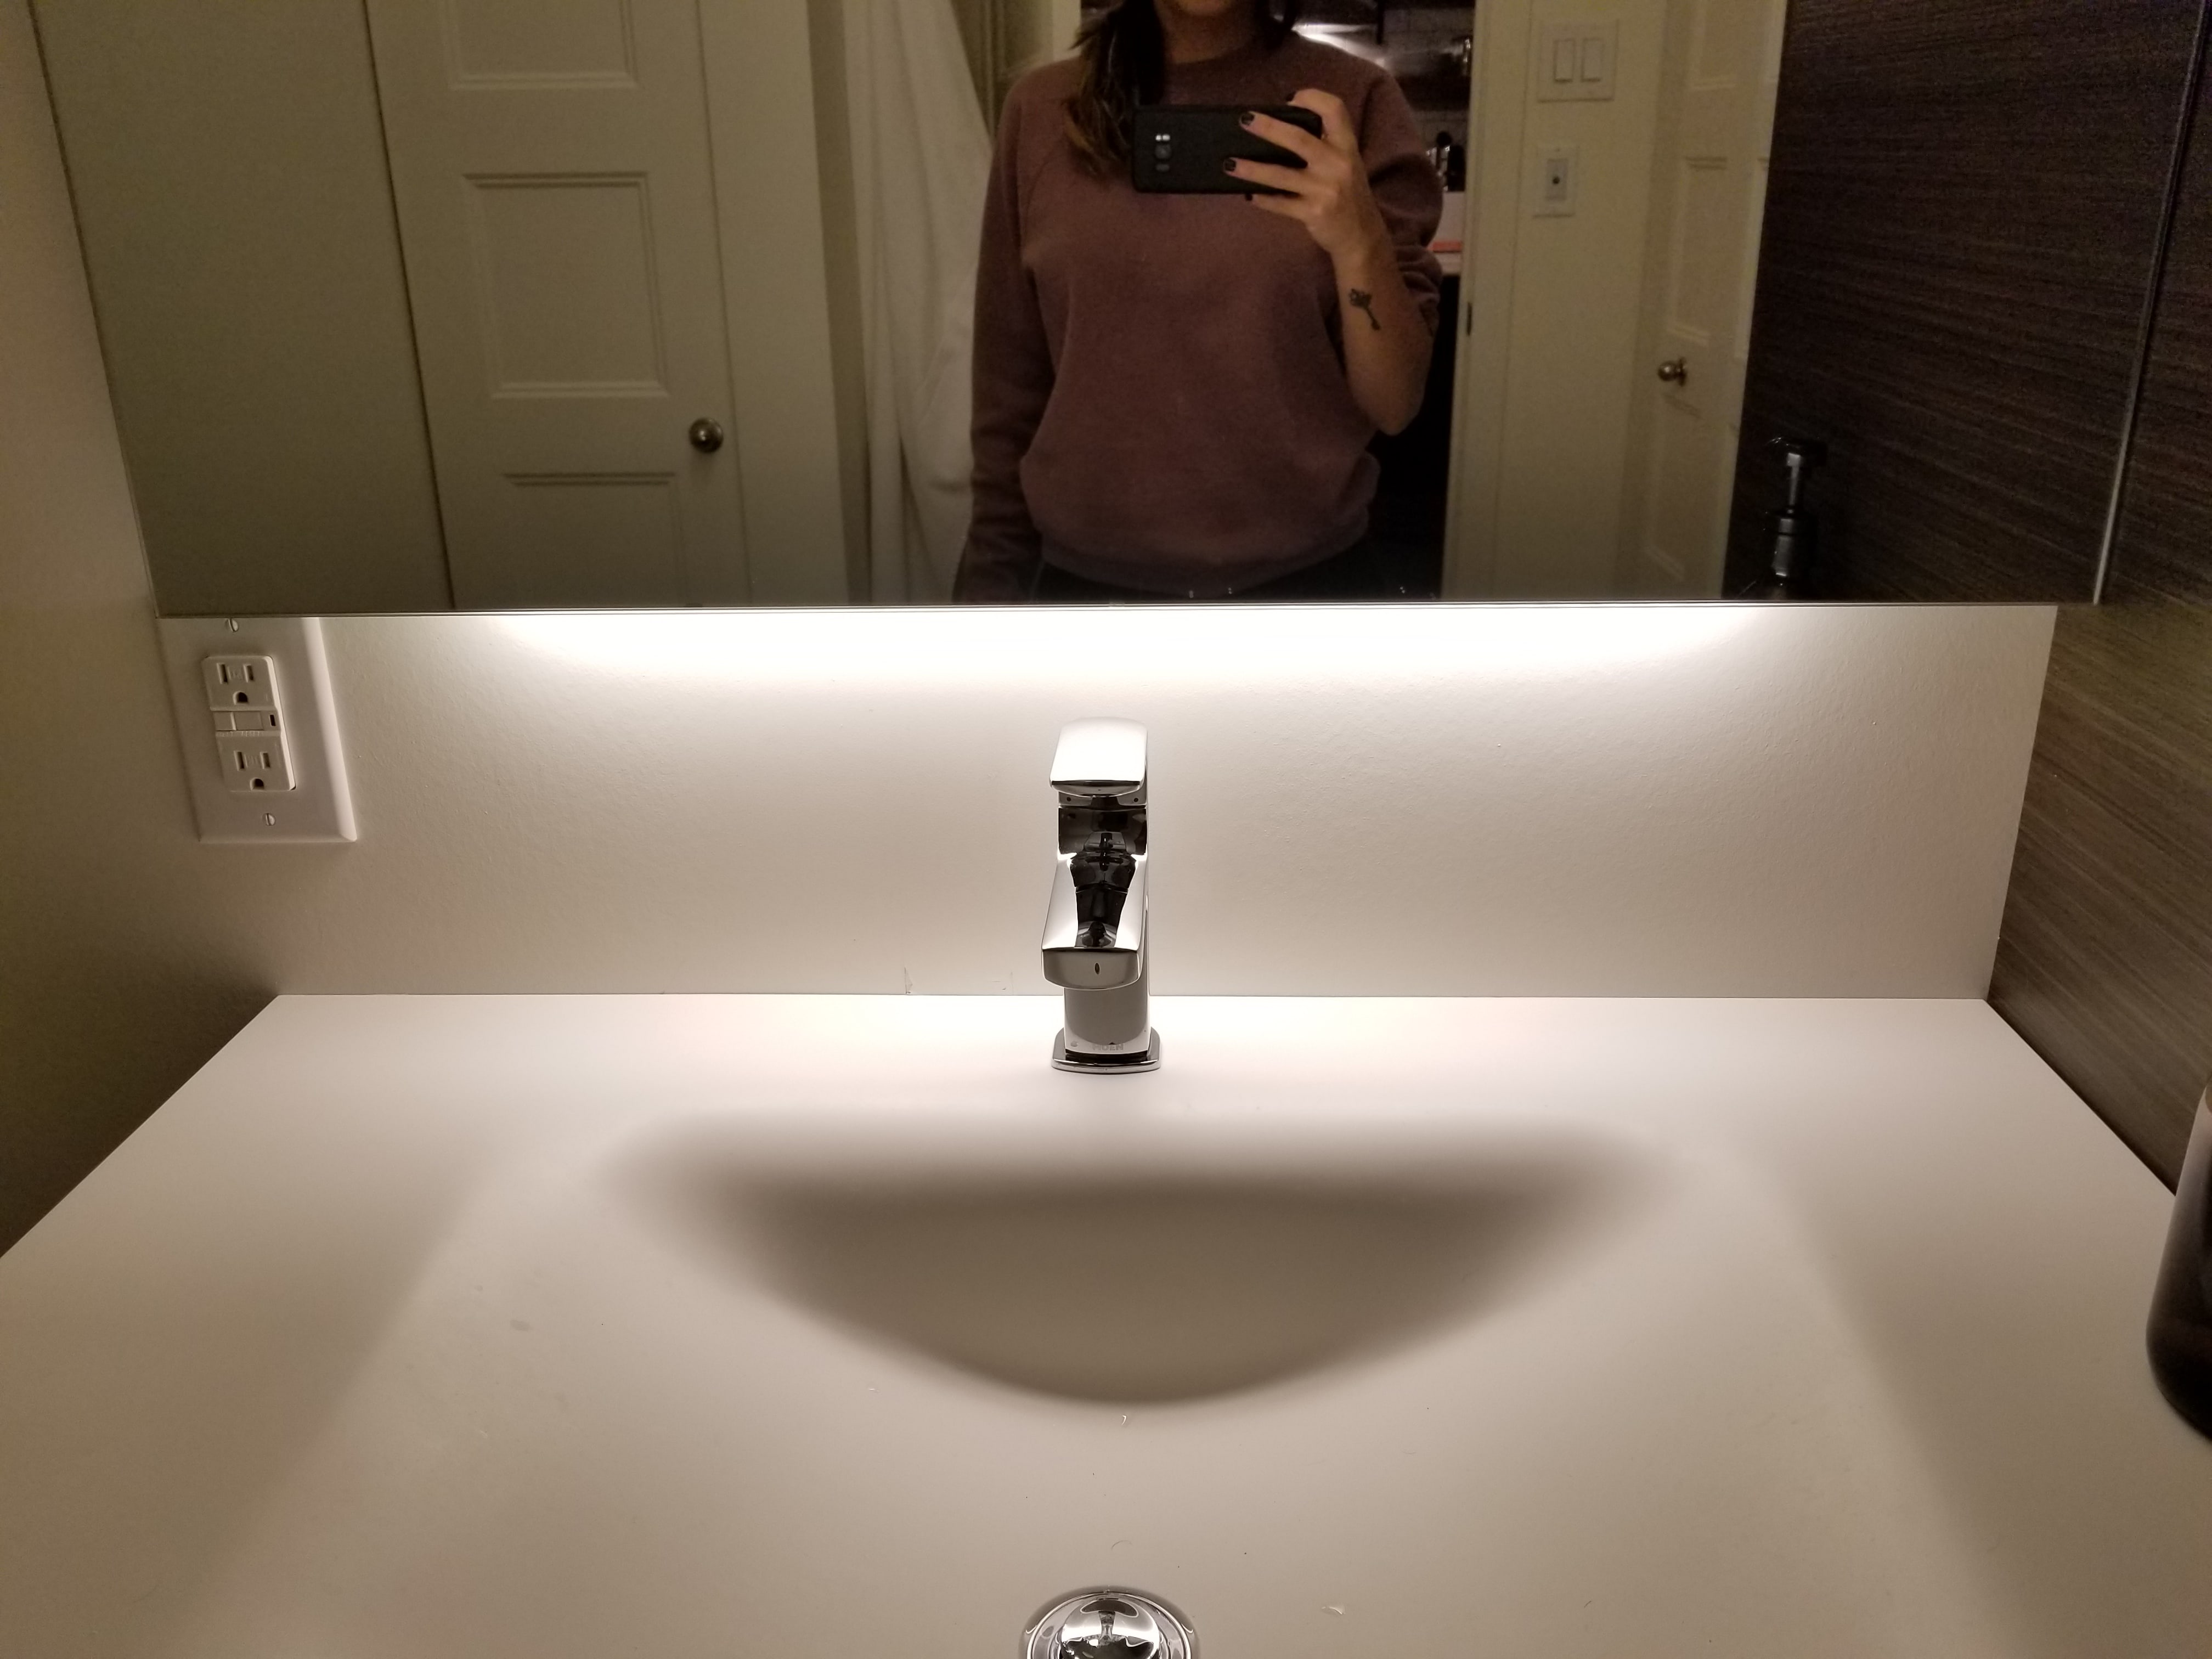
I bought the hexagon tile sheets, the mortar, the grout, and all the other tools and materials needed – I was super pumped to get the party started. The paint above our bathroom sink had already started peeling off, so installing the hexagon tile backsplash was somewhat of a priority.
We cut the tiles to size (more on that later), and we were getting ready to rip open the bag of mortar when all of a sudden, we stumbled upon this video. And that’s when everything changed.
Turns out, WE DIDN’T NEED MORTAR, NOR DID WE NEED TO MIX THE GROUT FROM SCRATCH. There are these amazing adhesive tile mats and pre-mixed grout that will make your life way easier! We returned all the tools and materials we no longer needed and bought the pre-mixed grout and adhesive tile mats instead.
And so our tiling journey began.
Materials & tools
- Hexagon tile sheets (ceramic)
- Pre-mixed grout (in the color of your choice)
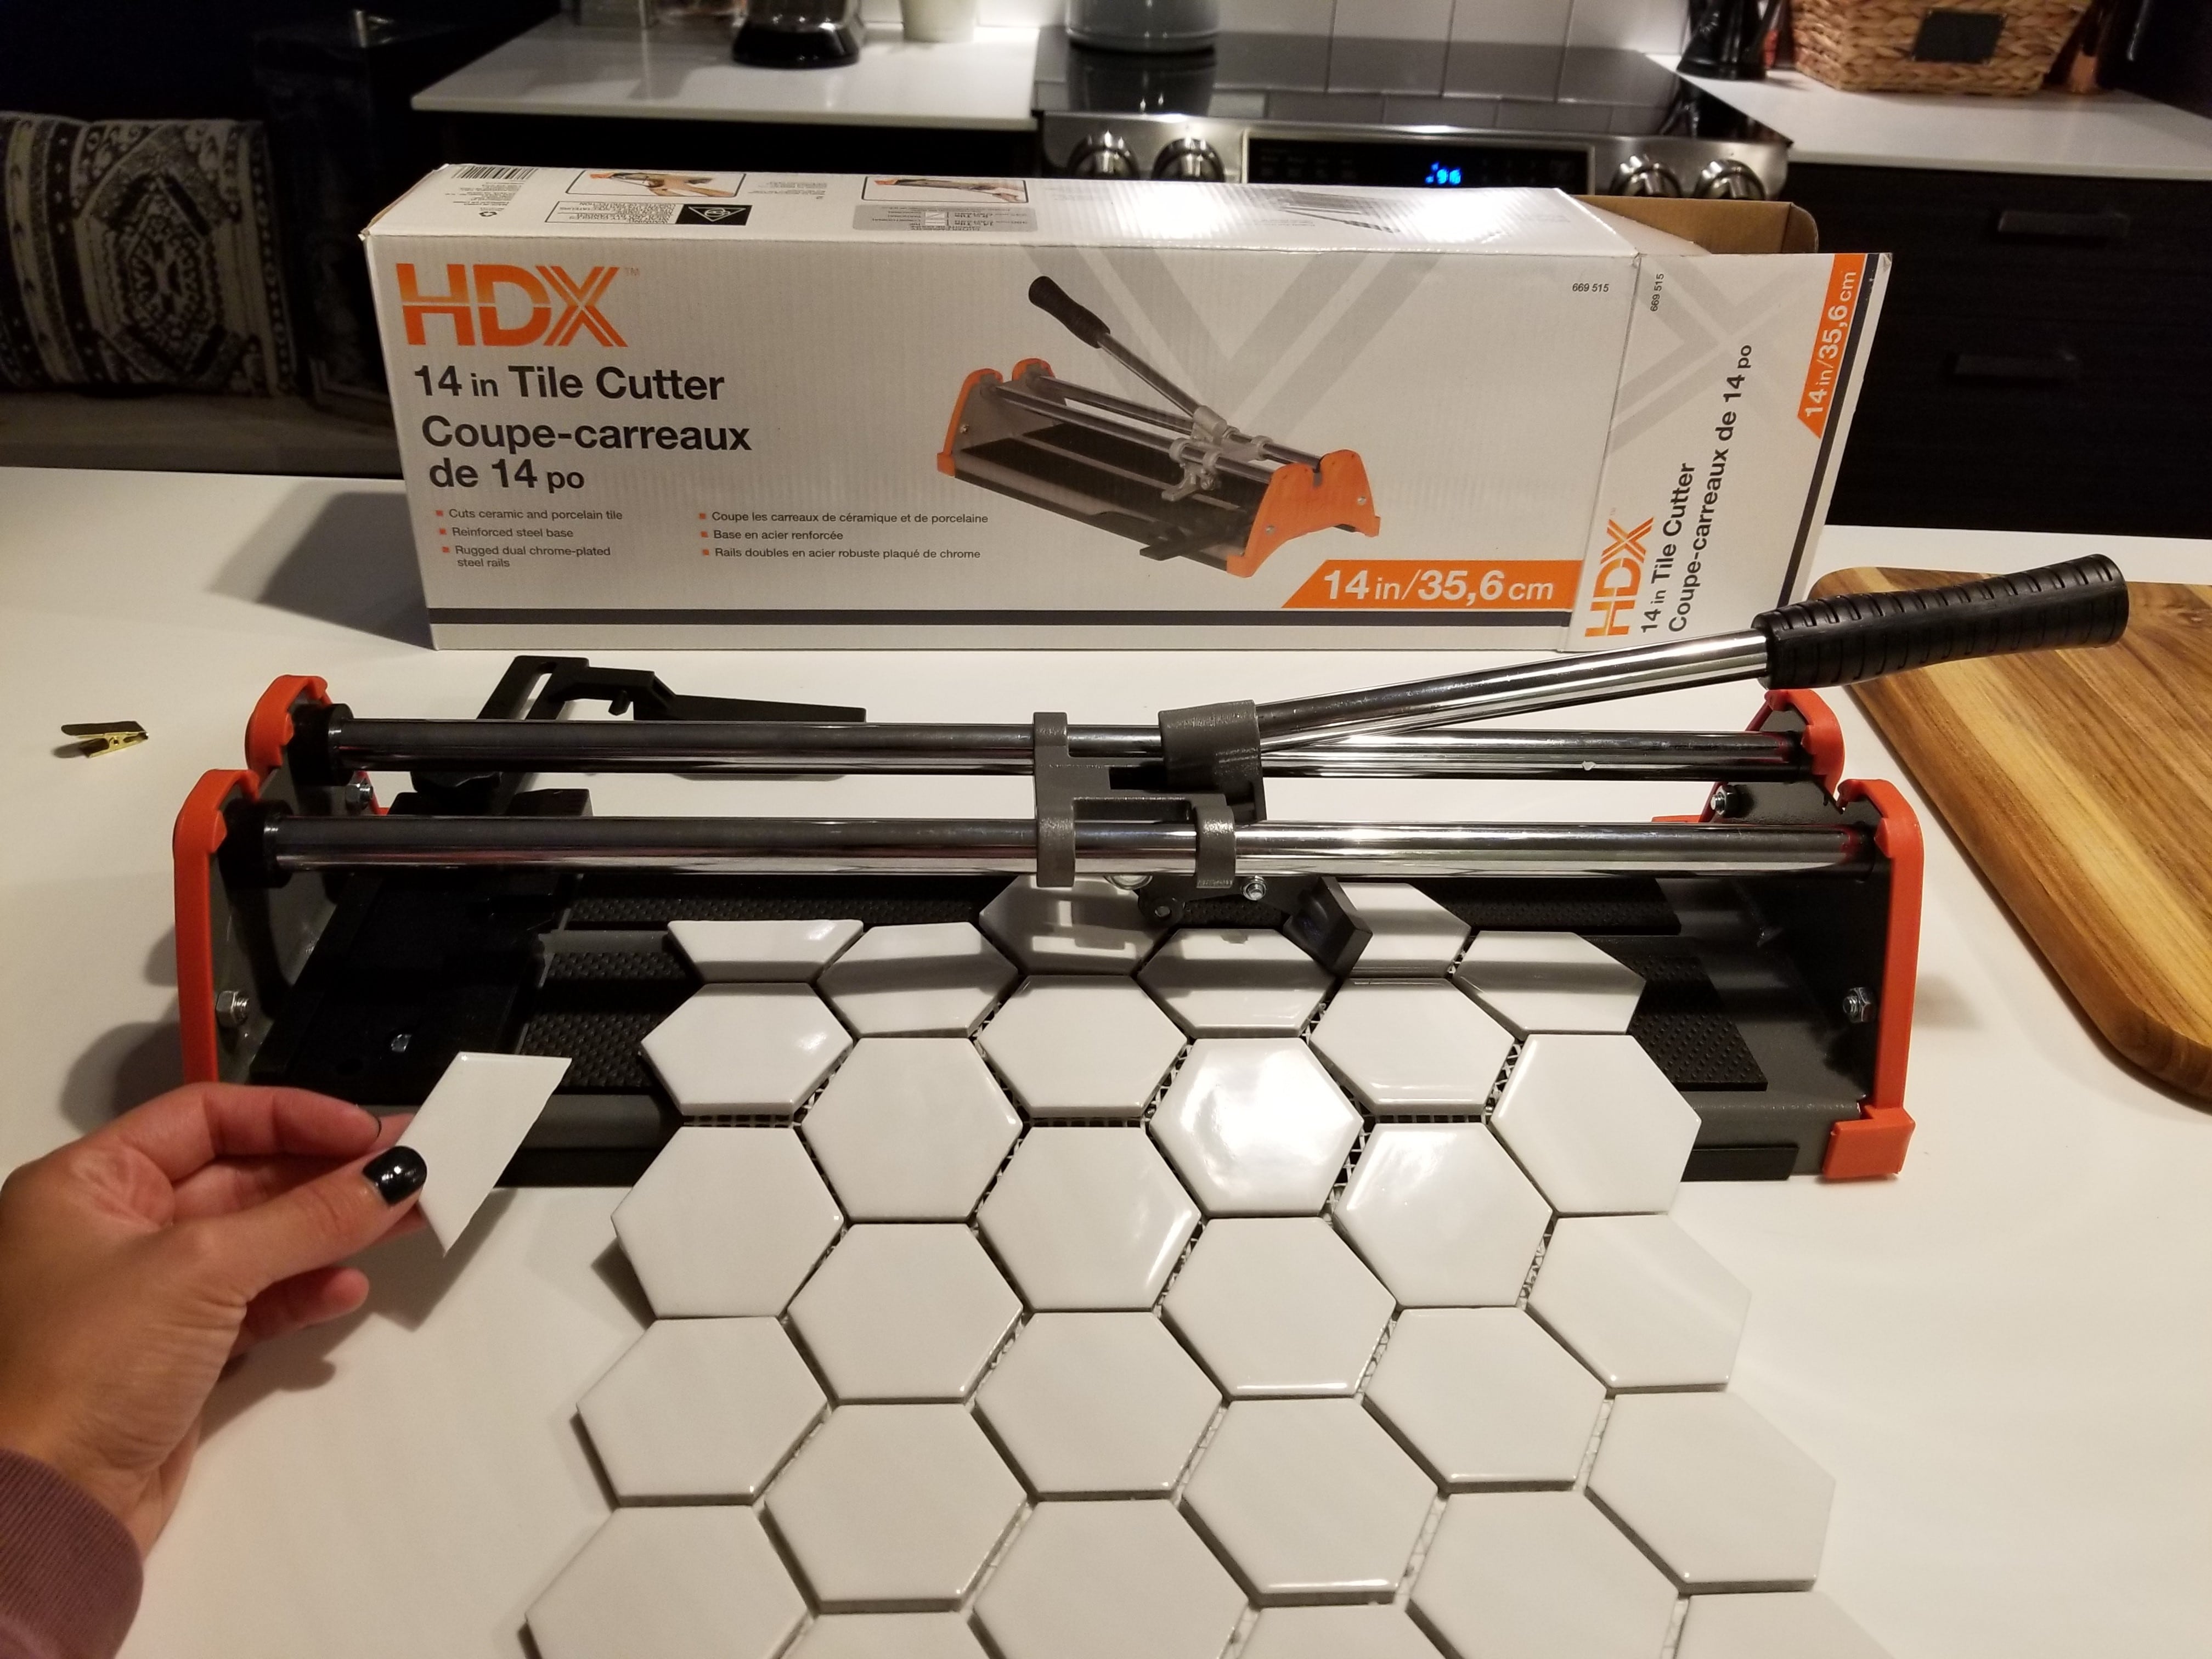
- Manual tile cutter
- Tile nipper
- Adhesive tile mats
- Sponge
- Painter’s tape
- Bucket
- Grout Float
- Rock (a random rock you find outside will do just fine)
Steps on how to install a hexagon tile backsplash
1. Measuring all surfaces
You need to measure your wall to make sure you get the right amount of hexagon tile sheets (generally measured in square feet).
Once you buy your tiles, mark them according to the wall measurements so you can make the proper cuts. Keep in mind the affordable tile cutter I’ve recommended is only good for straight cuts that are made down the middle of your hex tiles; the uneven cuts will be made with the tile nipper.
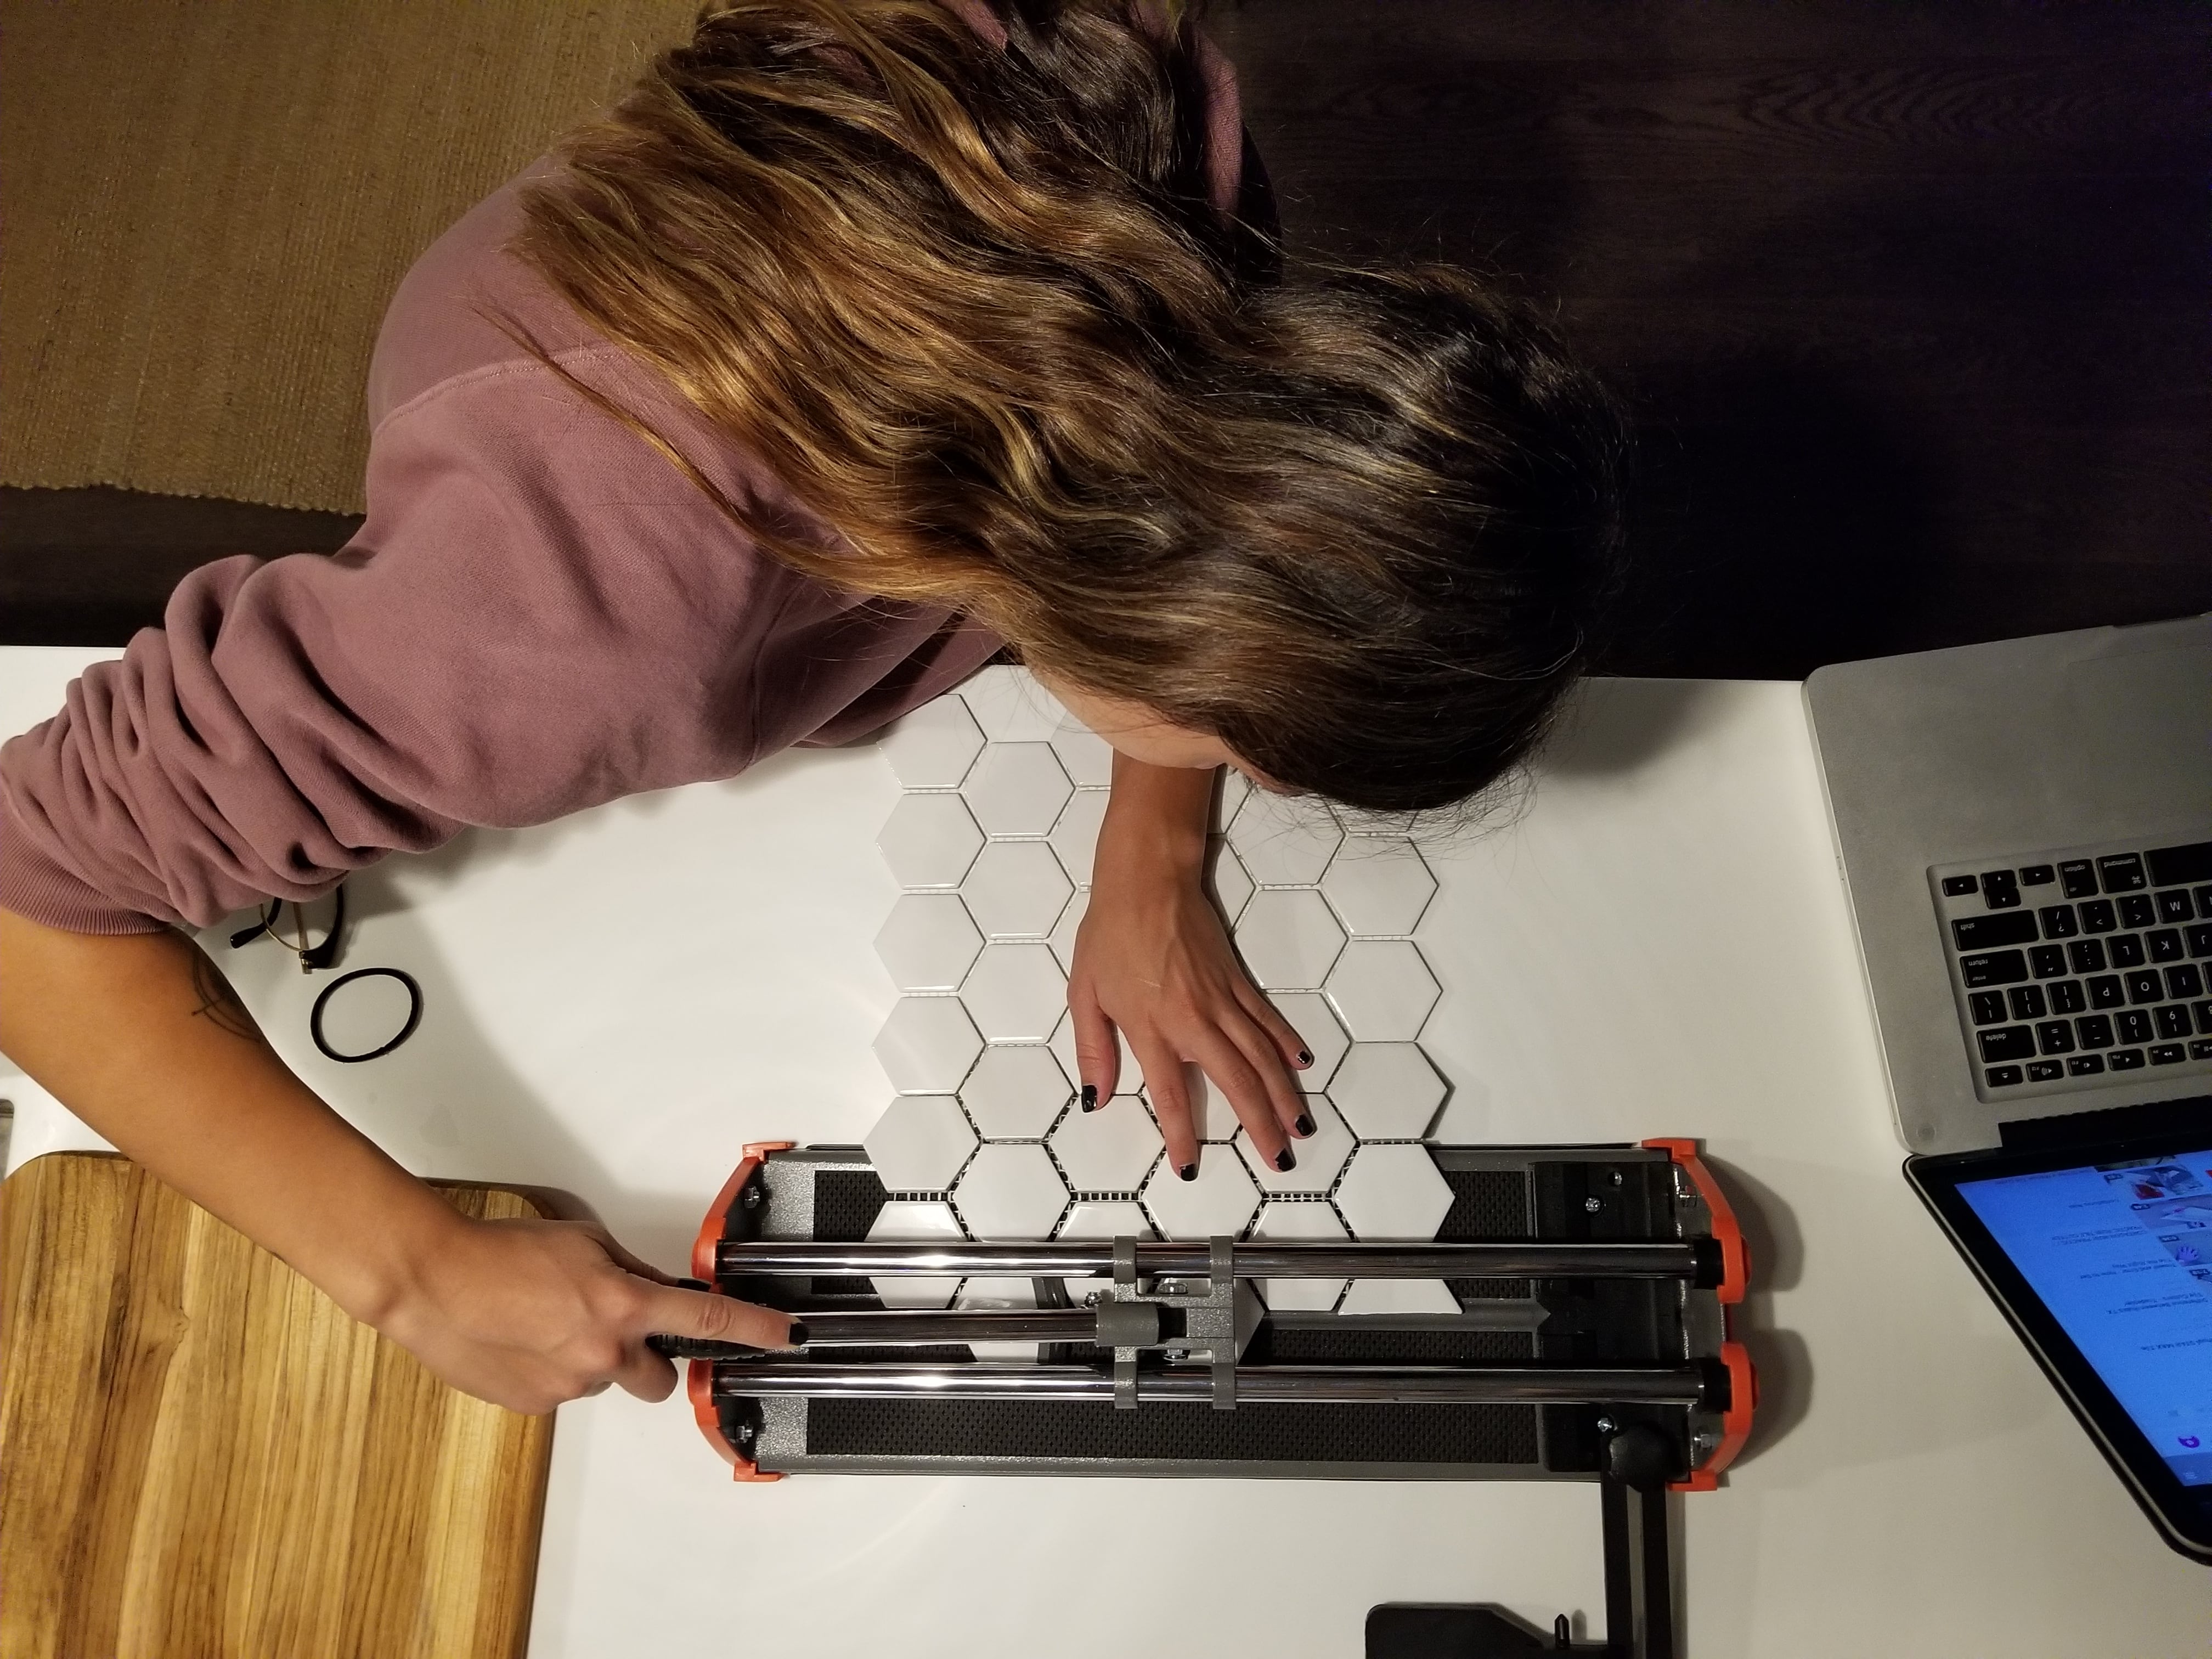
2. Cutting and smoothing out the tiles
This is the most nerve-racking part of the project. I recommend watching this video to learn how to use a manual tile cutter properly. You’ll be nervous at first, but after the first couple of cuts you’ll be fine.
You’ll notice most of your cuts aren’t perfectly smooth, and this is where the rock comes in. You can use it to file your tiles, or you can buy a tile stone (but why spend the money? Rocks are free!).
You’re also going to have to make uneven cuts, especially if you have power outlets. You’ll need to use a tile nipper for those, and this video helped us learn how to use one. It’s great exercise for your hand muscles (and by “great” I mean your hands will probably hurt for the next 3 days).
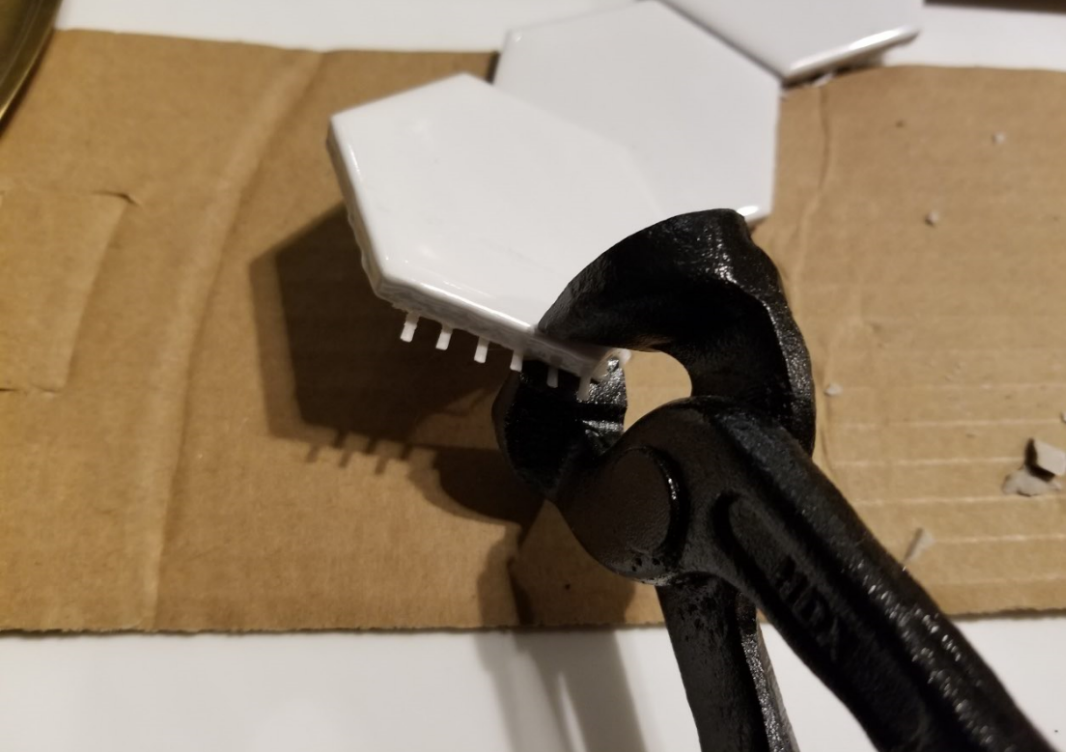
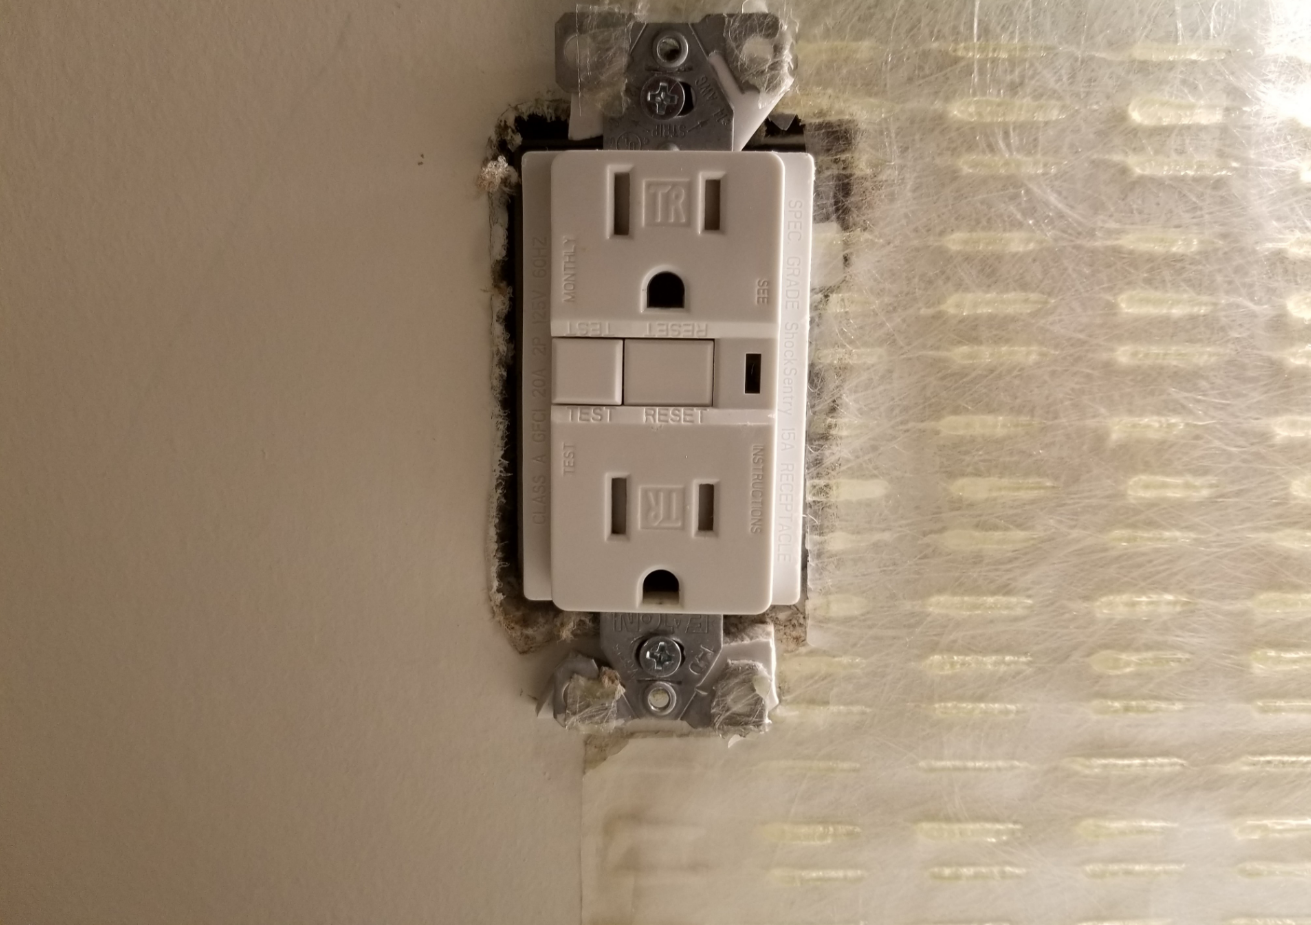
Note: you’re going to insert some tiles under your electrical outlet’s face plate so that it properly rests on top of the tiles. Here’s (yet another) tutorial video that shows you how to do that.
3. Sticking the adhesive tile mats
All you need to do is read the instructions on the adhesive tile mat packaging and get to sticking. It’s way easier than using mortar, and the best part is there’s no mess.
Simply peel the back side of the tile mats and stick them to your wall (cut them to size if you have to), and voila. On to step 4!
4. Installing the hexagon tile sheets
It might take a few tries to get this part right, but all you need to do is peel away the front side of your tile mats, align the hexagon tile sheets, and stick them.
Press down on the tiles with the grout float just to make sure the tiles are securely stuck to the tile mats. Once you press down on the tiles, don’t try to move them around.
5. Applying the grout
This is the final (and annoyingly messy) part. Make sure you cover the area under the tiles so that you’re not stuck scratching grout off your counters later. You should also consider putting tape in corners to protect your cabinets.
Take your grout float, put some pre-mixed grout on it, and smear it across your tiles diagonally to really fill all the cracks. If you miss some spots, just use your fingers to rub in the grout.

Wet your sponge in a bucket, wring it well, and wipe off all the excess grout. Rinse and repeat a whole bunch of times until you get it all off, and change the water in the bucket often.
Note: Don’t let the grout dry for too long before wiping it off with a damp sponge. Read the instructions on the packaging for best results.
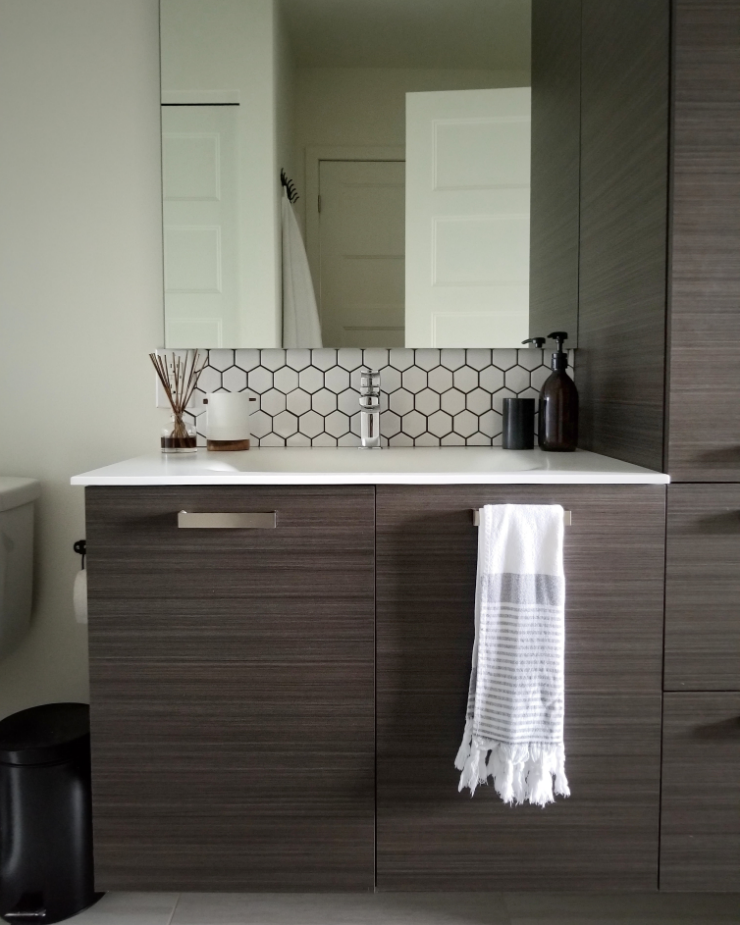
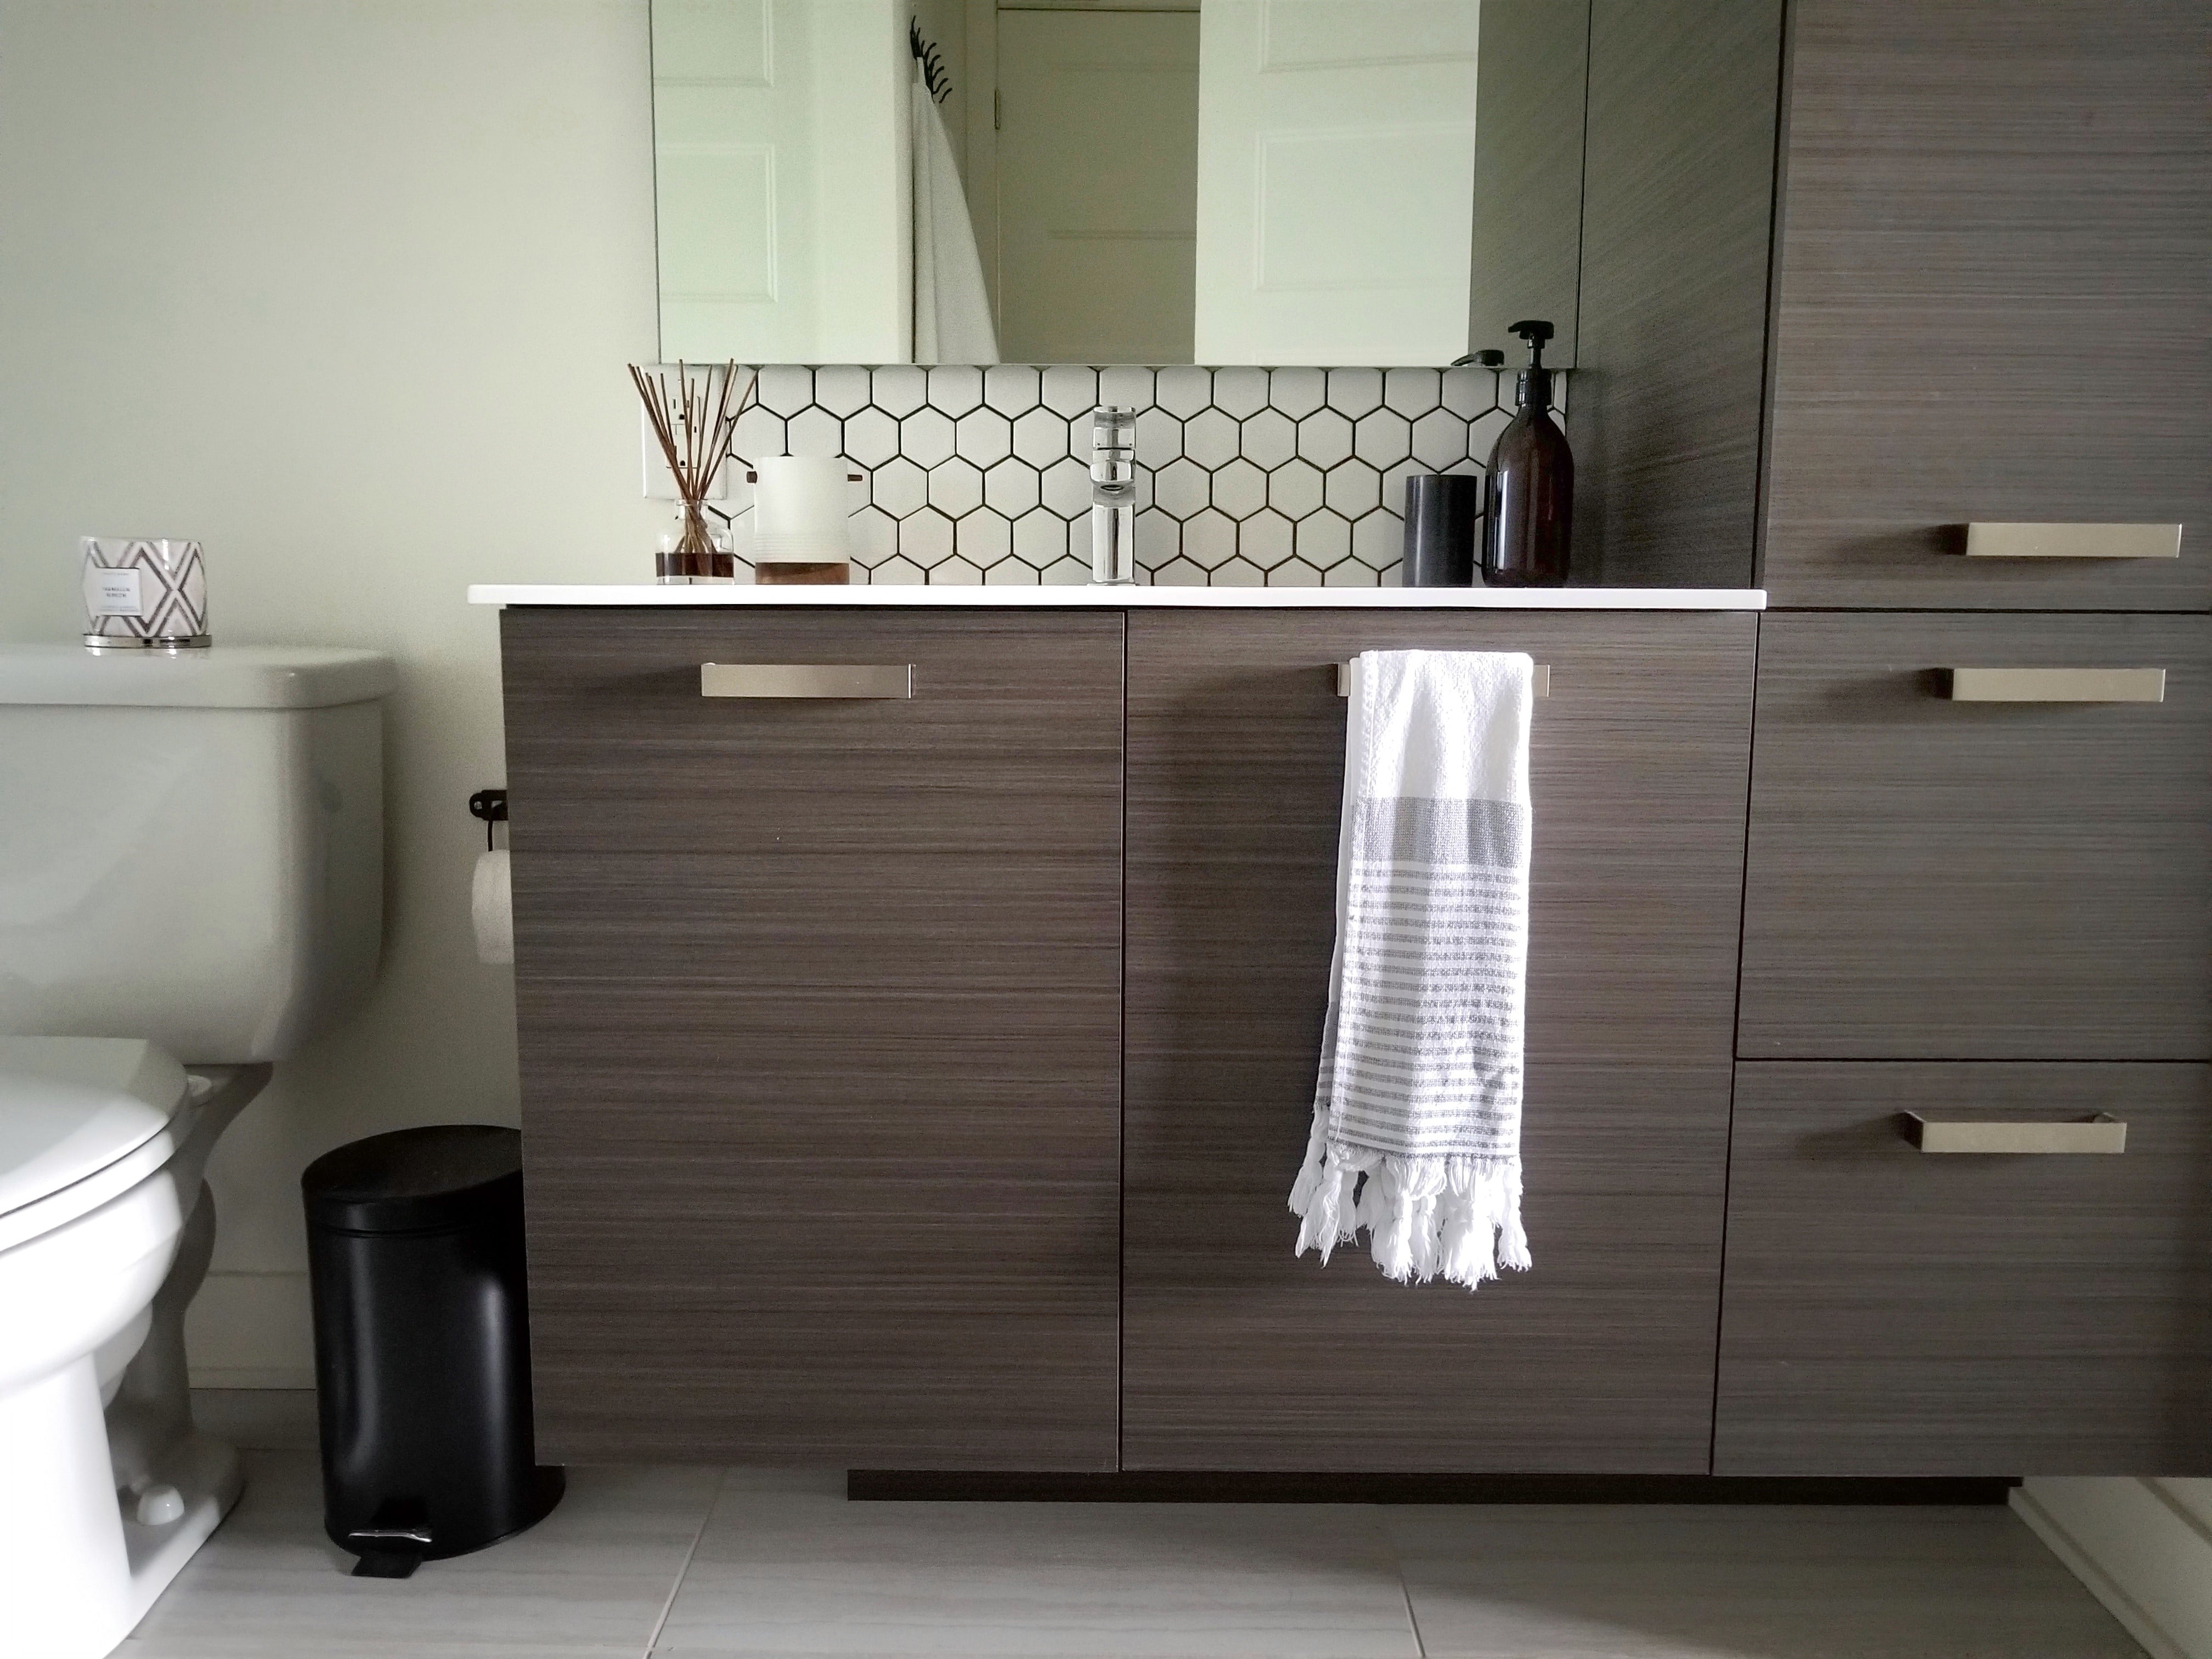
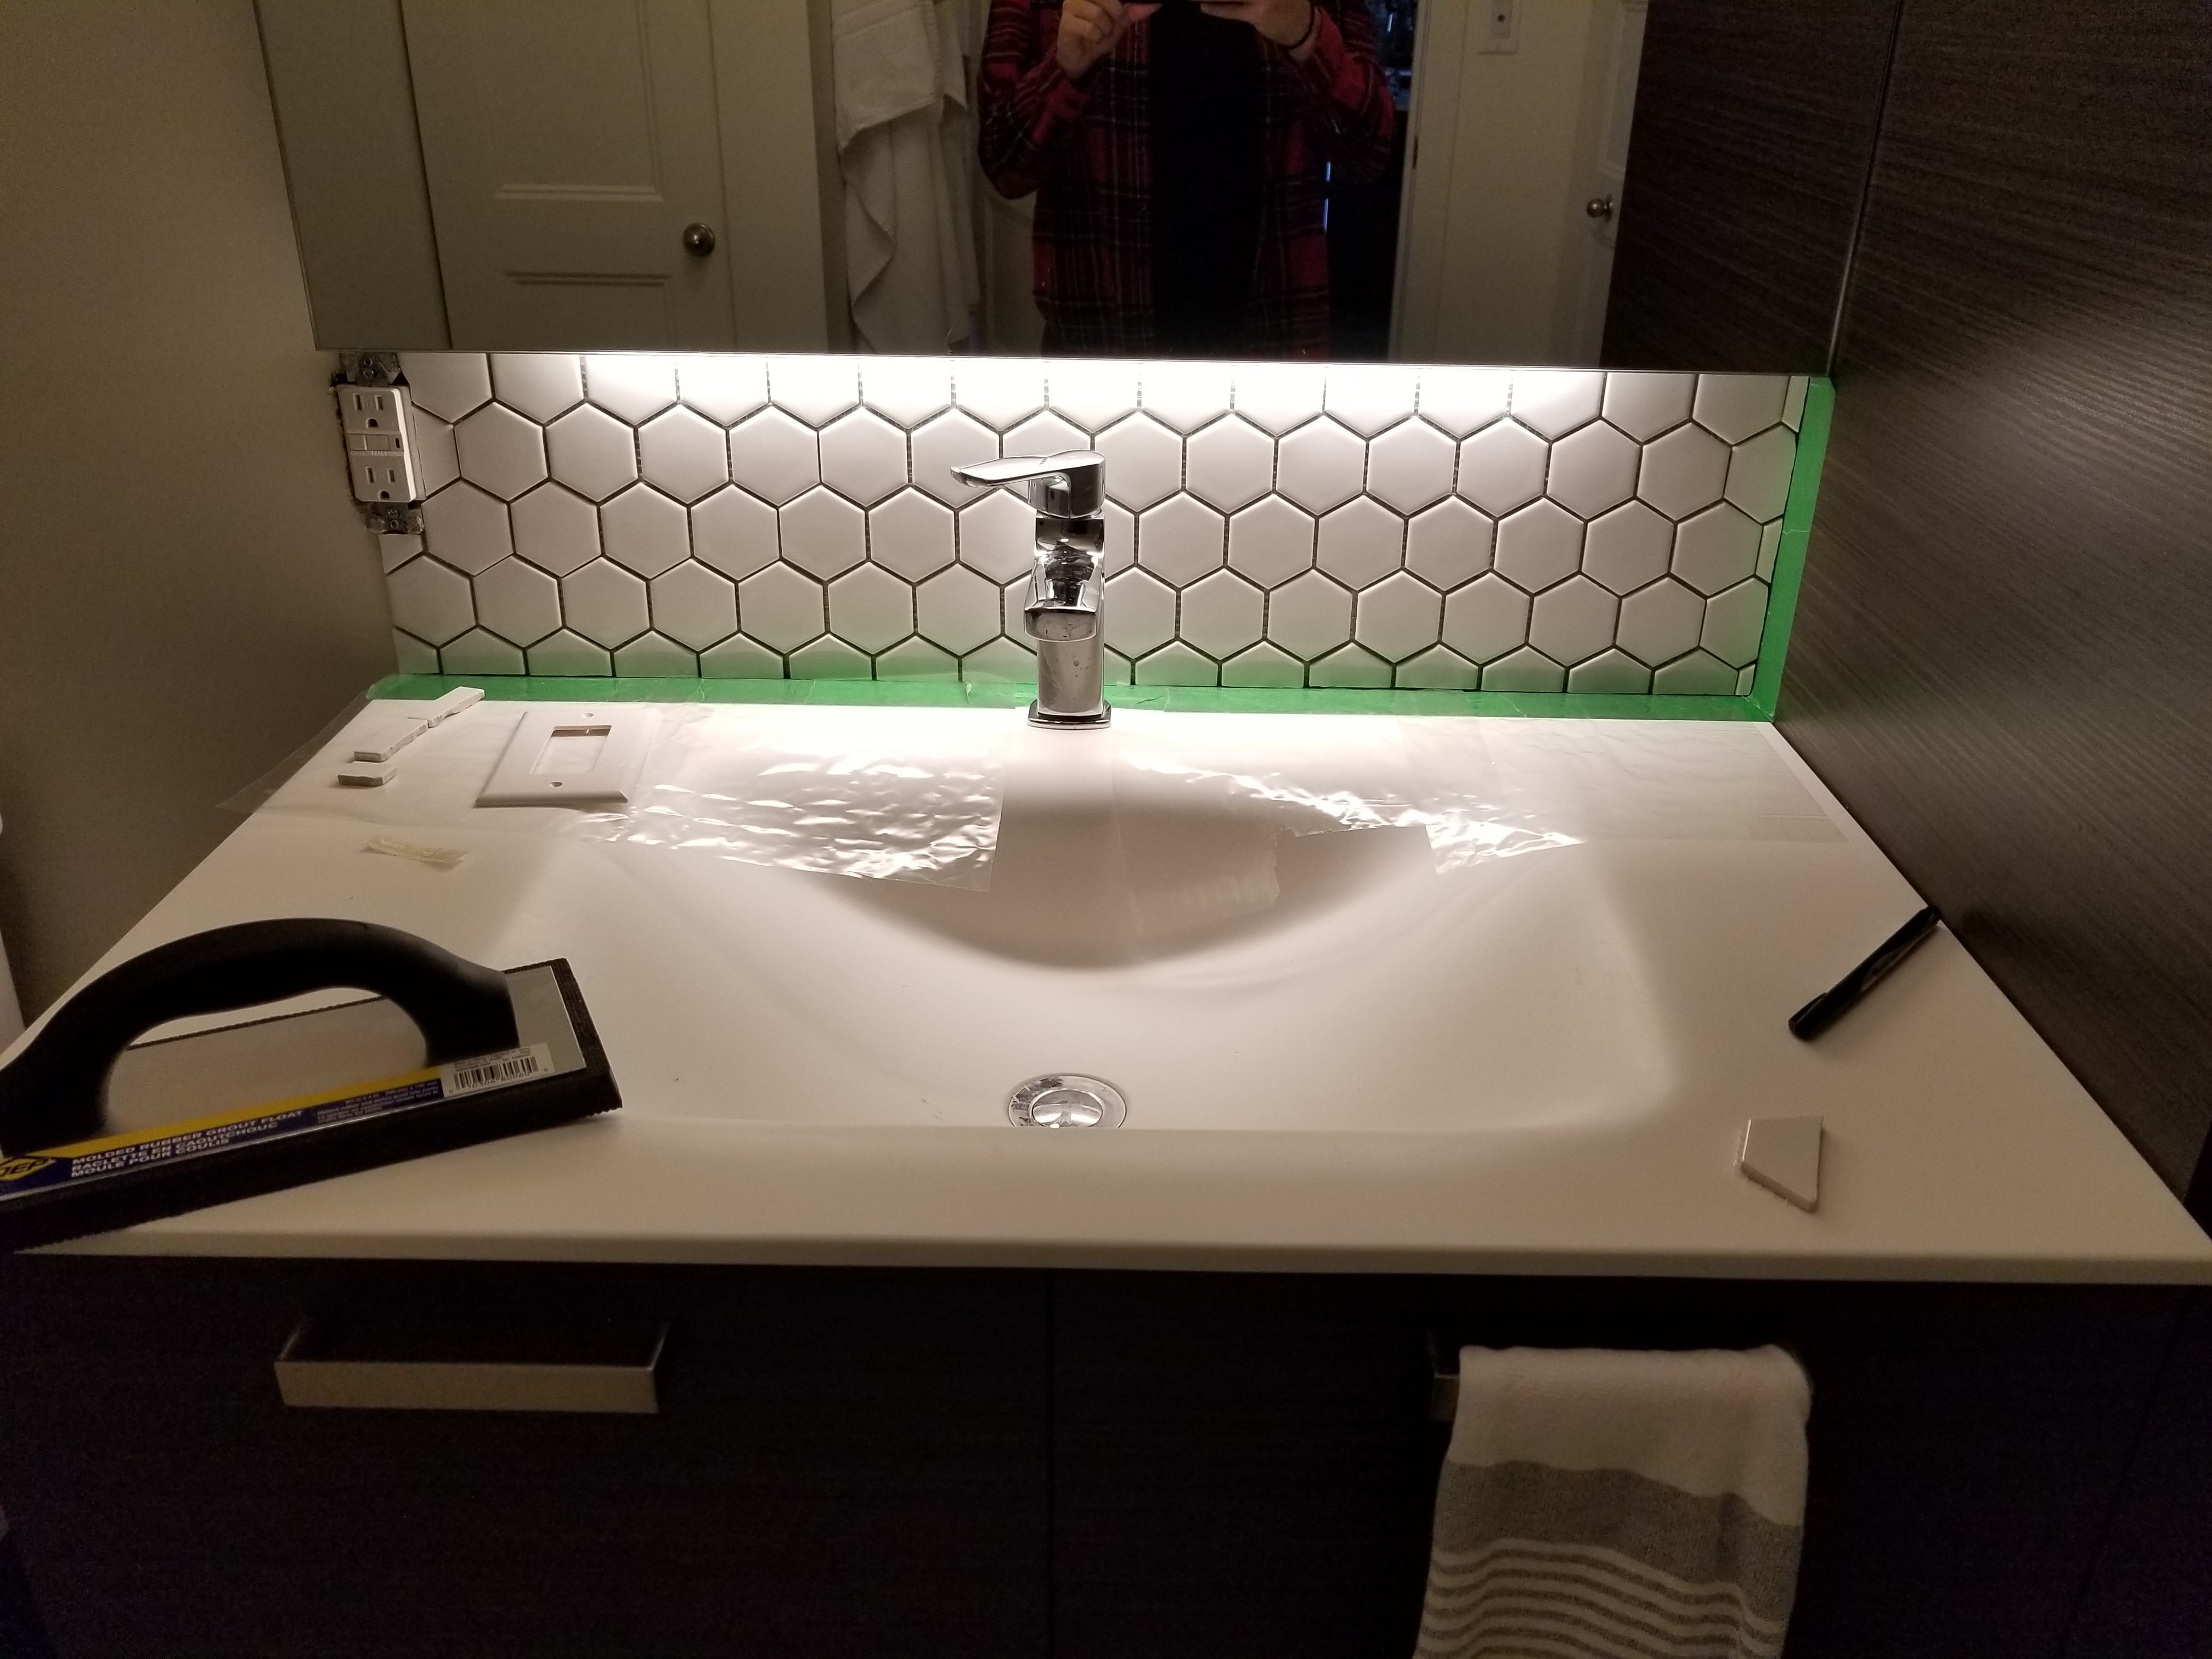
Final results
Here’s a before and after of our bathroom.
We used dark grey grout to really make the tiles stand out, but you can use a lighter grout color if you want to be more discreet. You can even choose different colored hex tiles, but you need to make sure you’re using ceramic tiles, otherwise the tile cutter and nipper won’t work.


You May Also Like
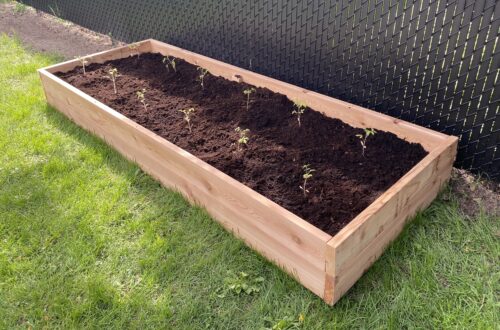
Easy Raised Garden Bed for Beginners | DIY Vegetable Garden
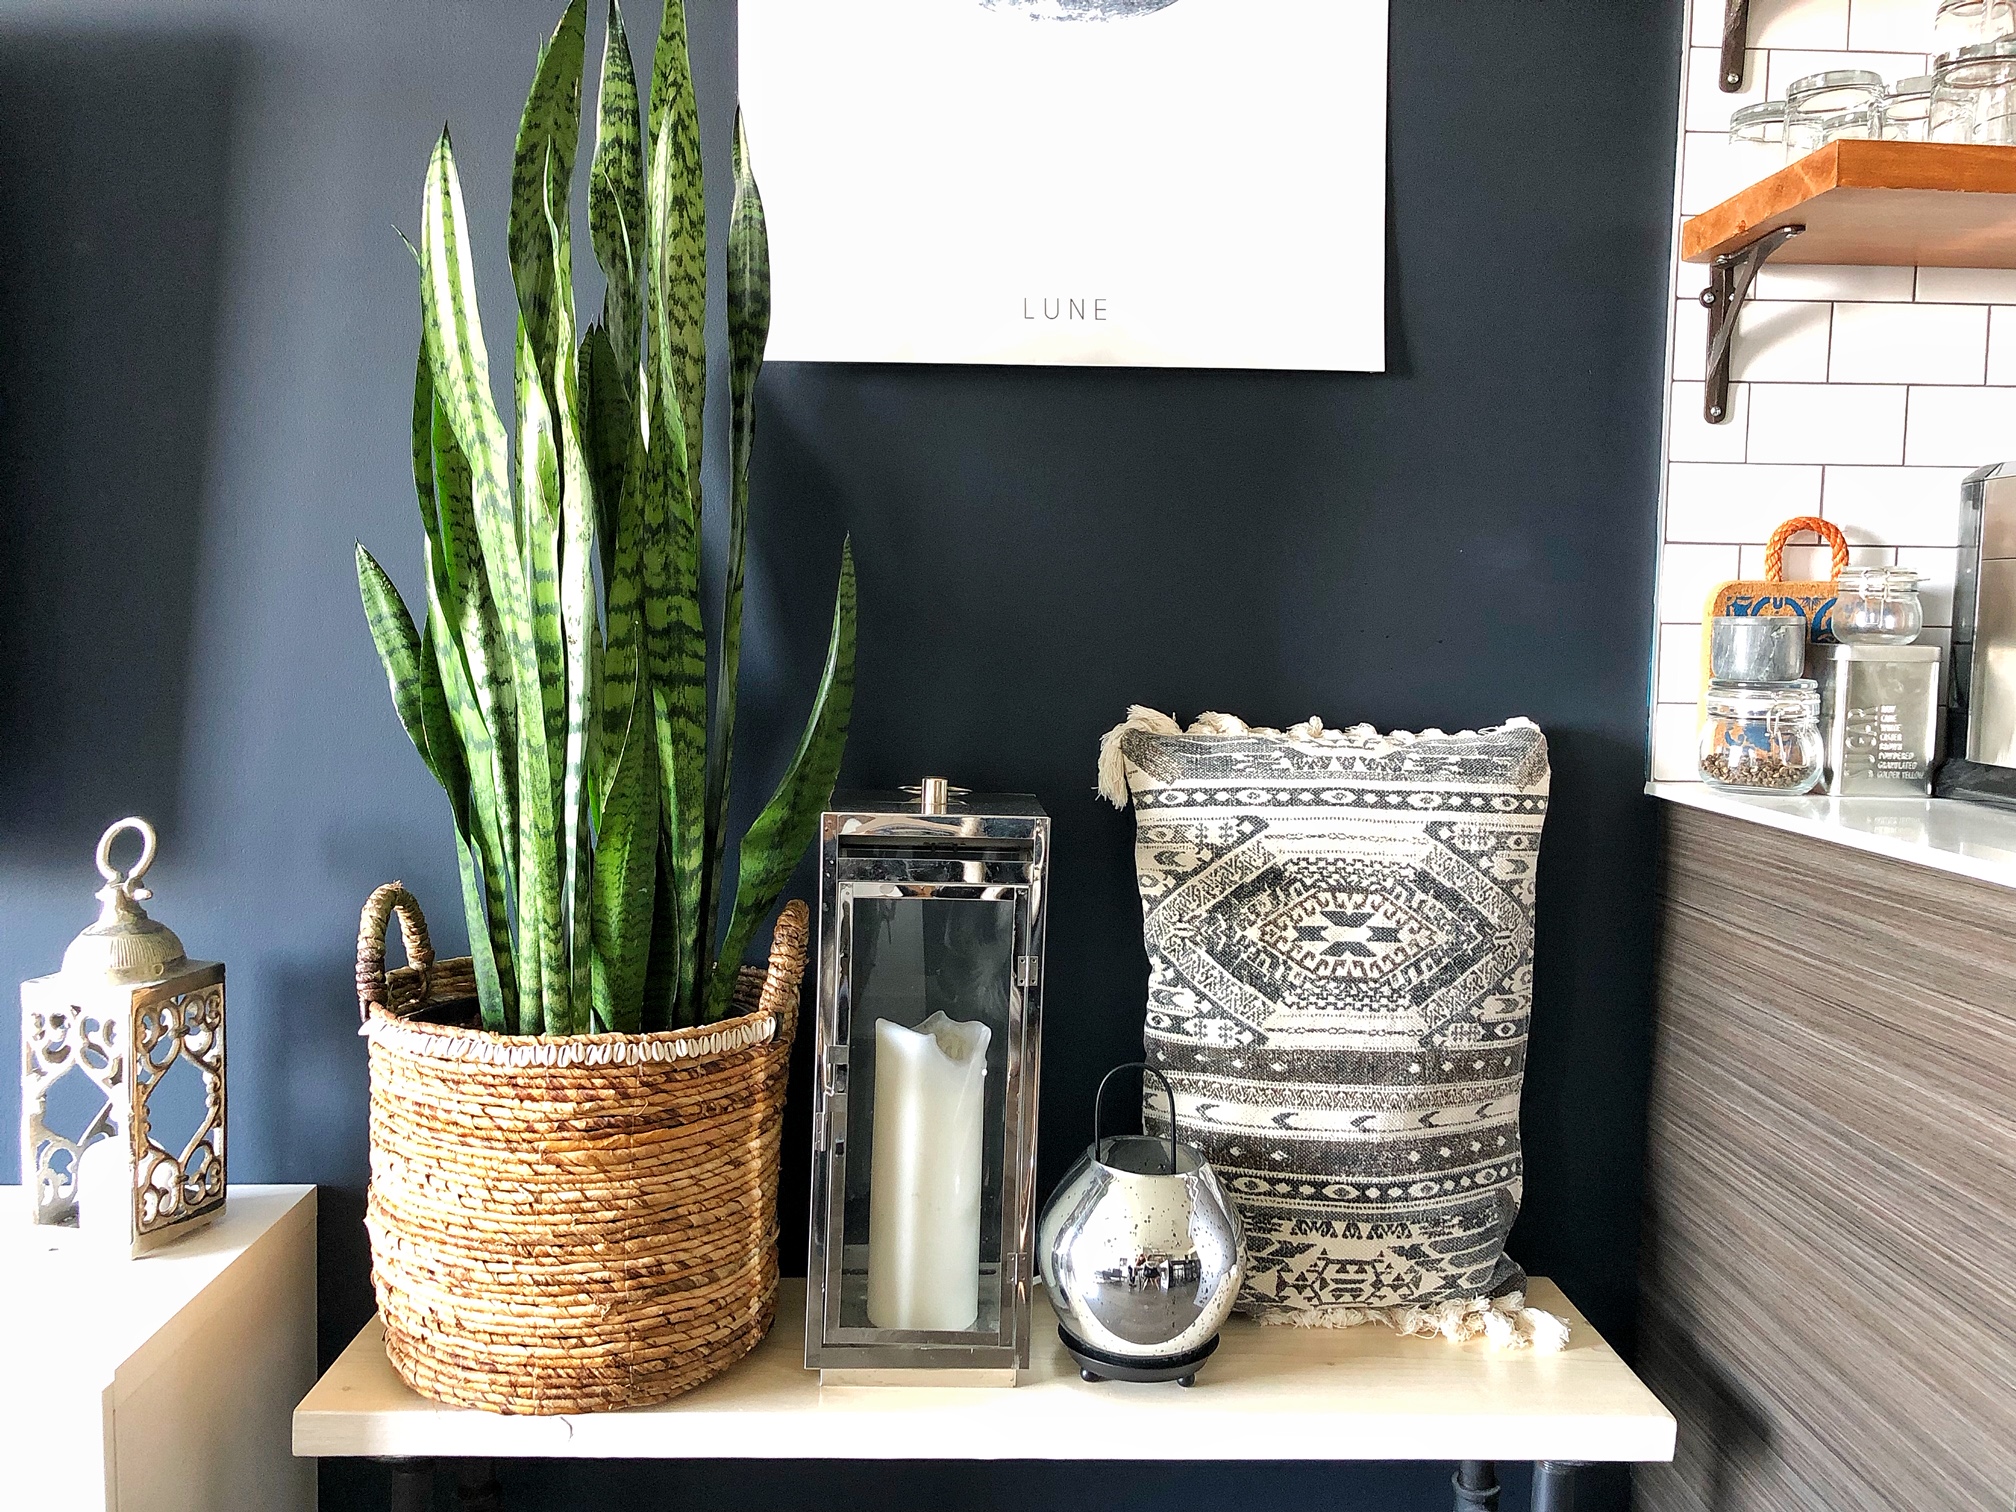
DIY Wicker Basket Planters
